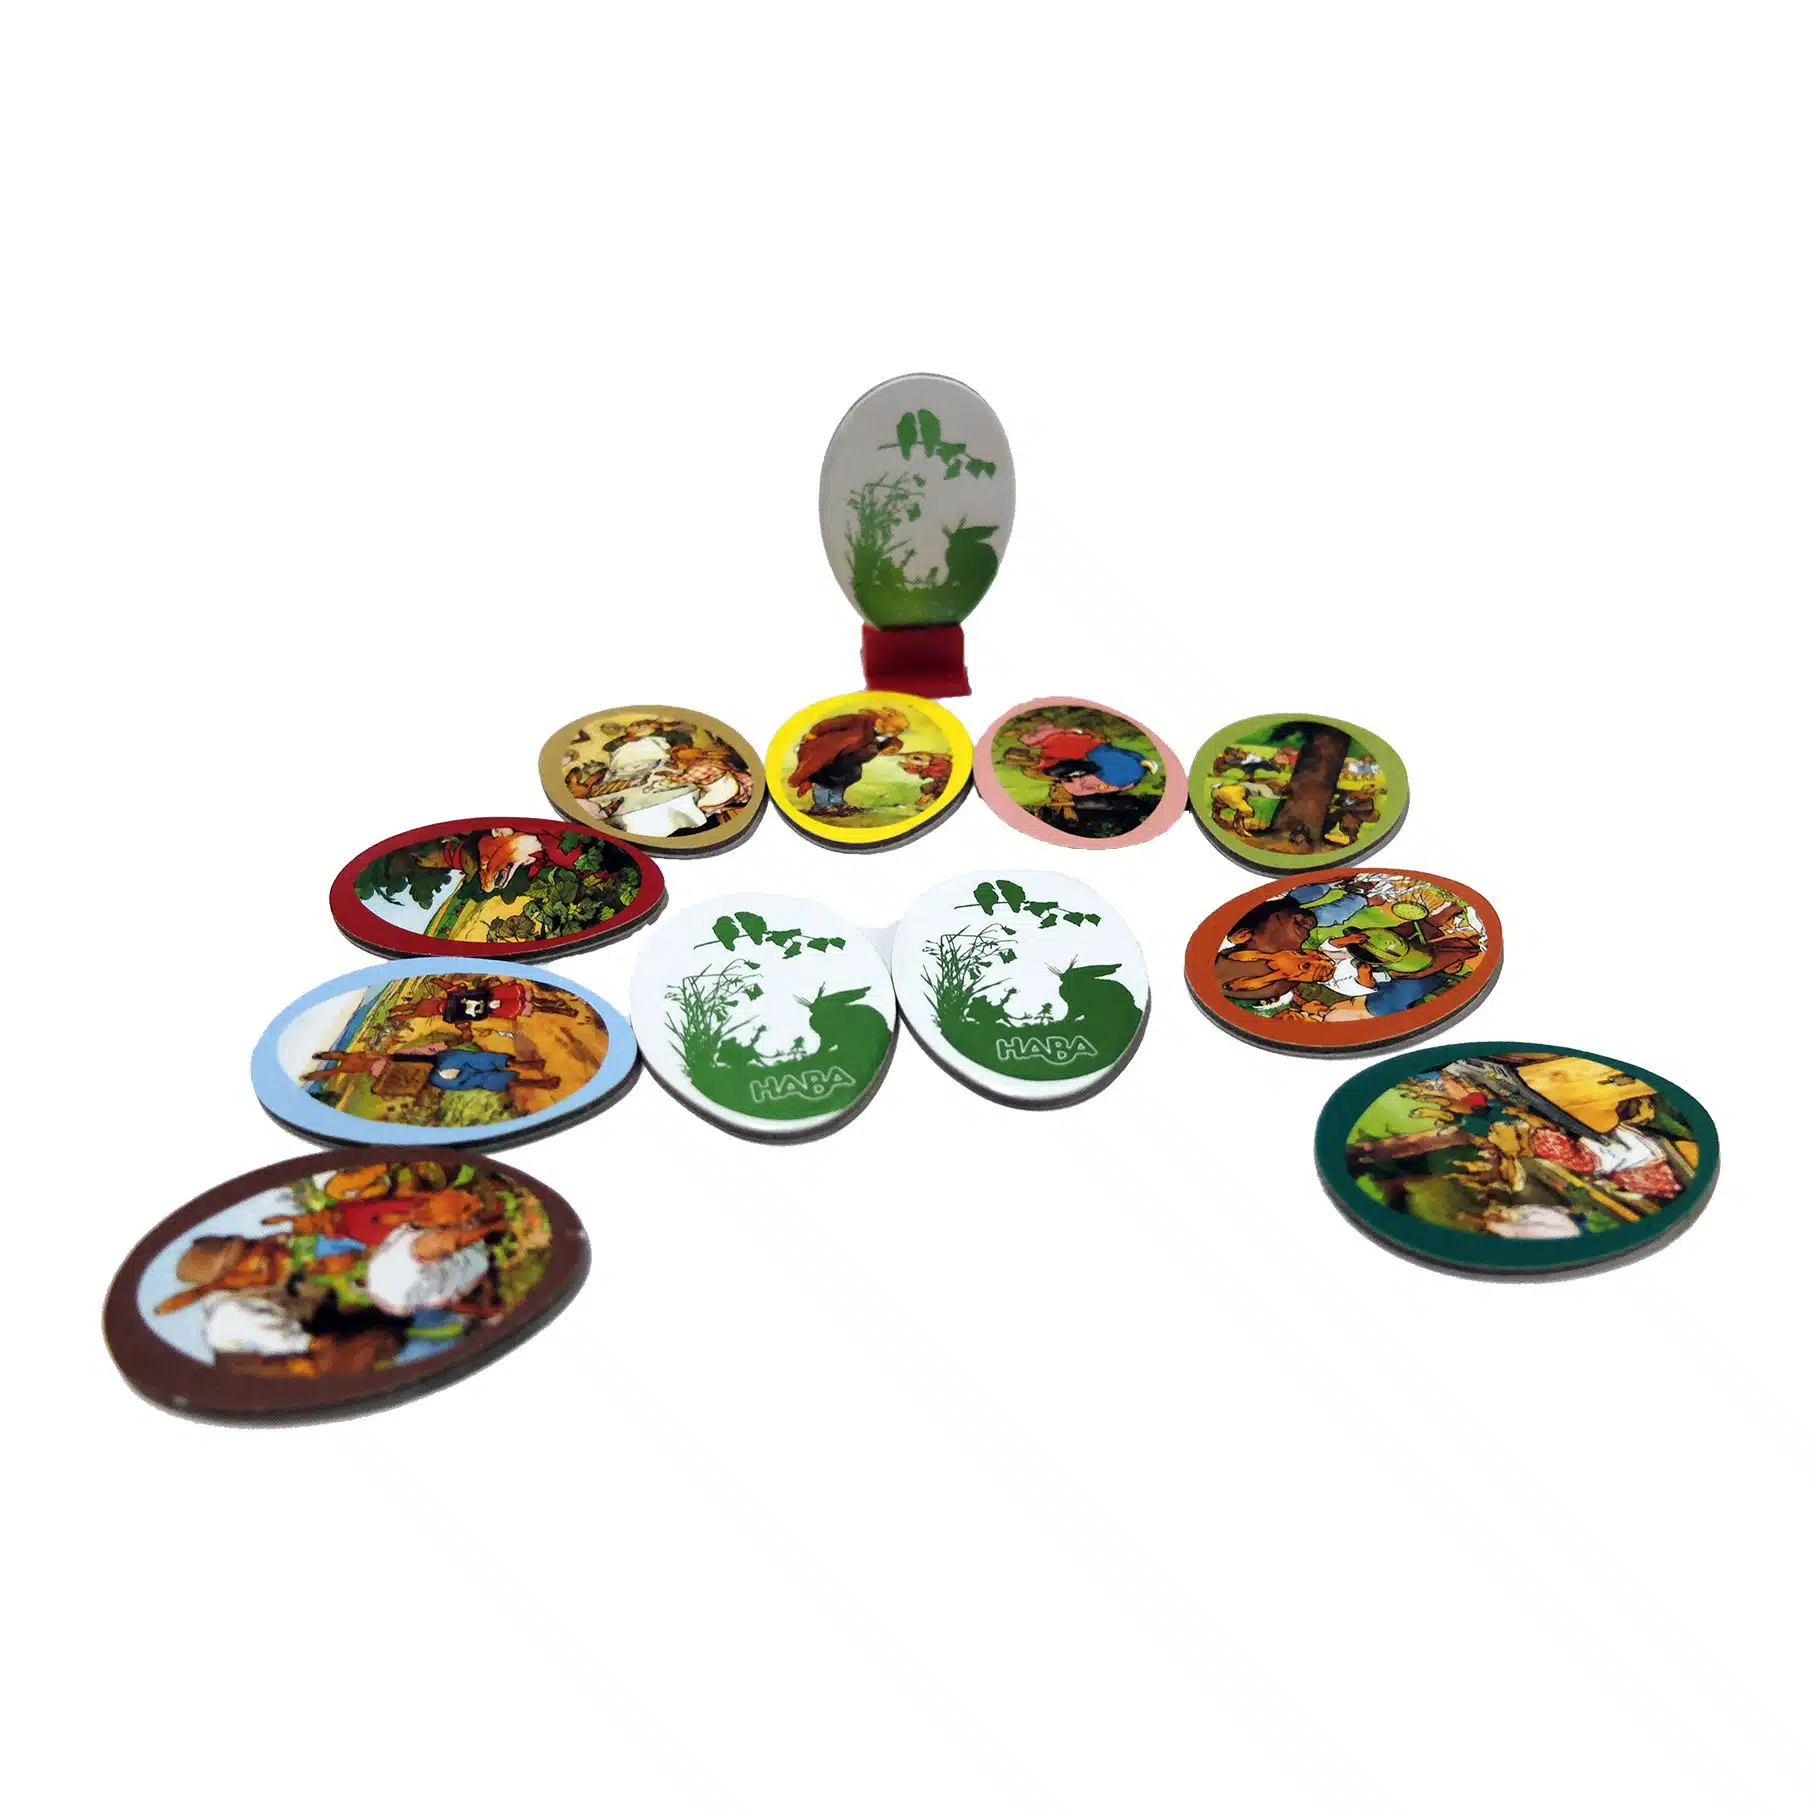
Custom Miniature
for Board Games & Tabletop Games
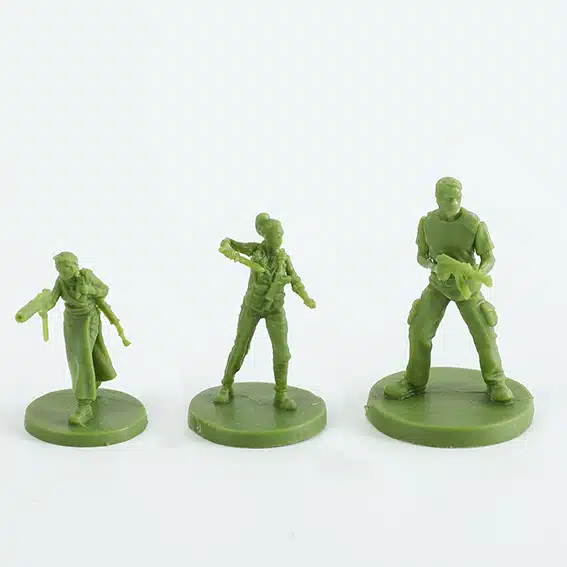
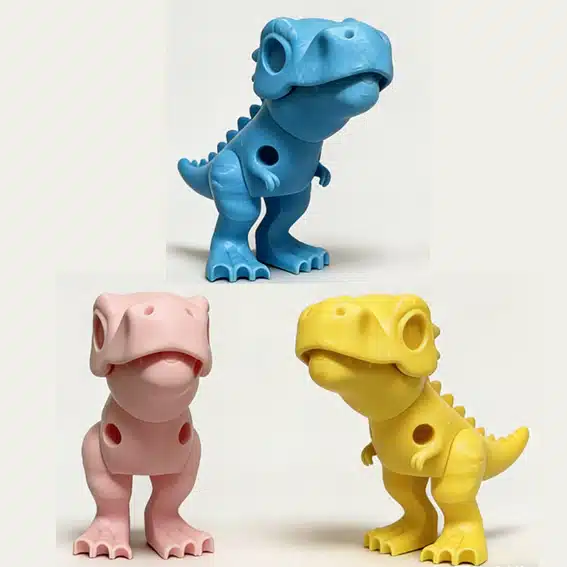
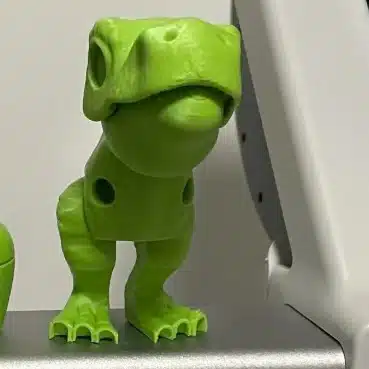
Choosing the right scale and material is the first decision in custom game miniature manufacturing. At FUNWAY, we produce custom board game miniatures in plastic, resin, and metal—ranging from 10mm army figures to 40mm+ collector pieces. We do not choose scale from the render alone: every figure must survive tooling, fit the box and insert, and remain stable through repeated gameplay. If the scale is pushed too far, weapons break, bases tip, and facial detail disappears—problems that are expensive to fix after mold release.
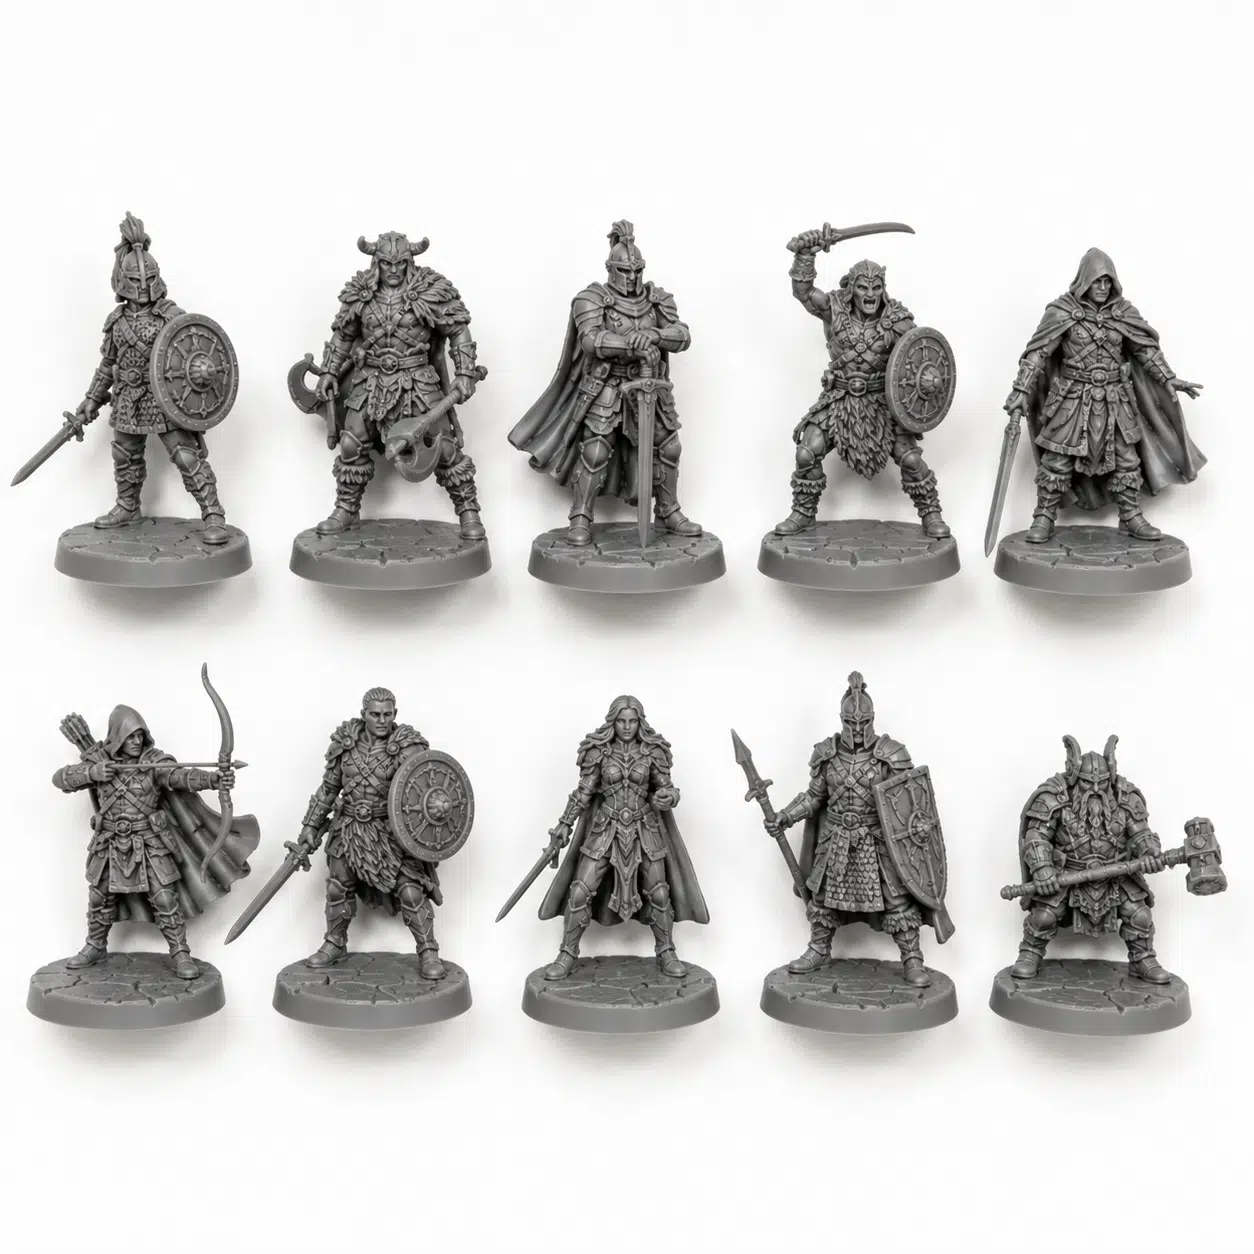
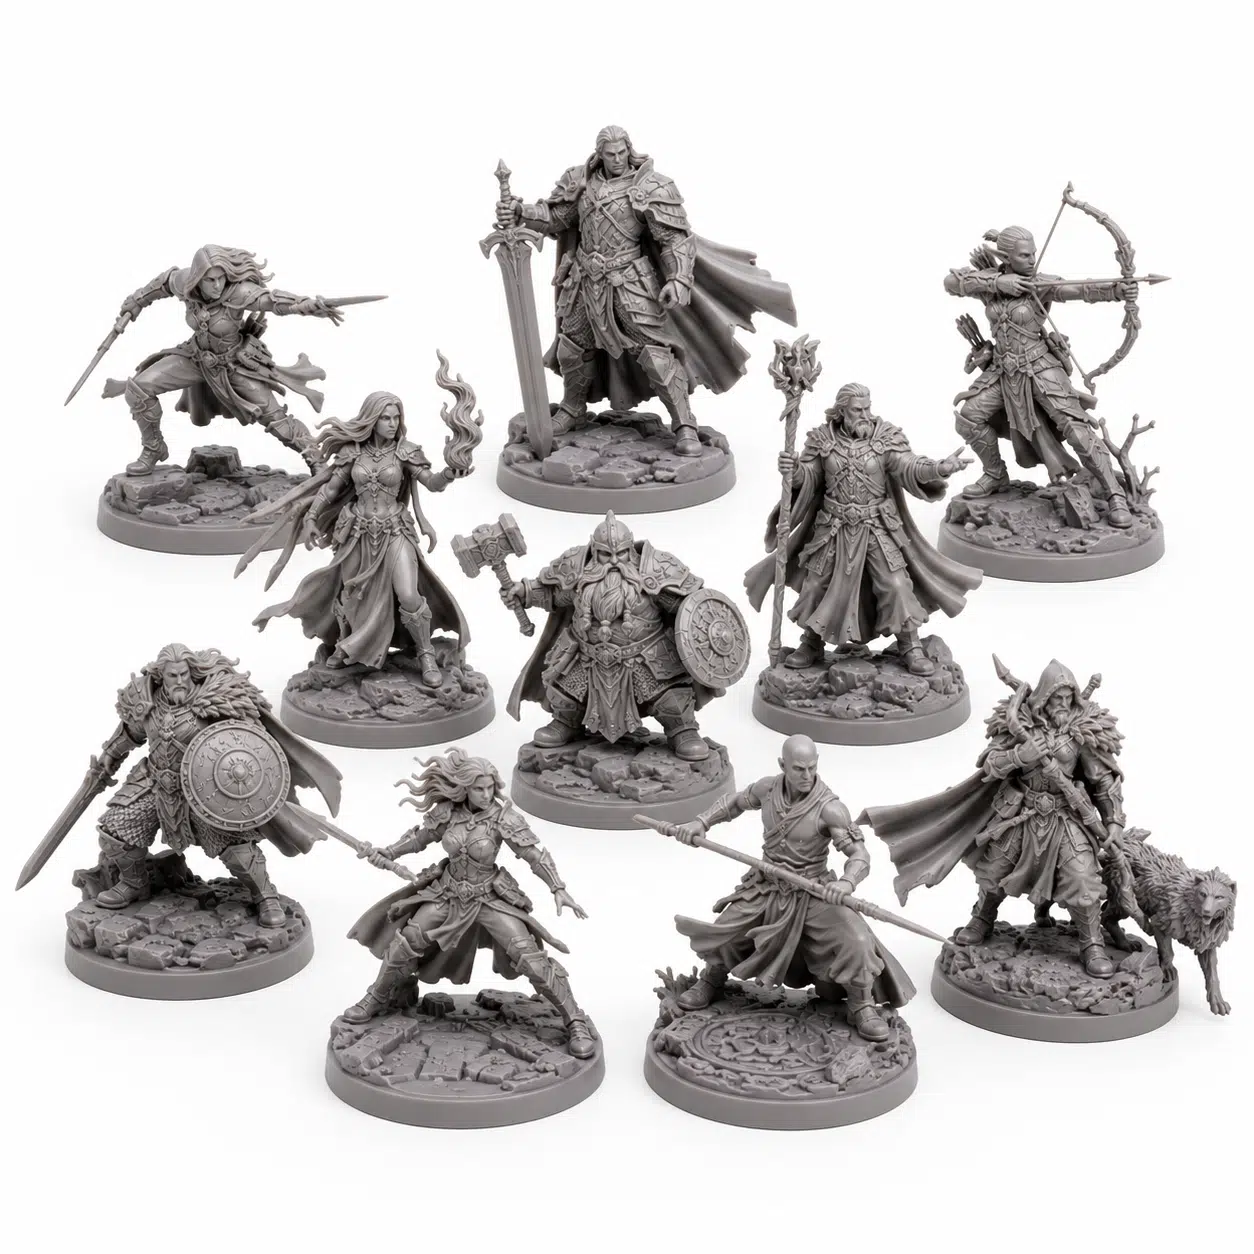
Miniature Types We Produce
Specification | Details |
|---|---|
Materials | ABS, PVC, HIPS (plastic) / Resin (polyurethane) / Zinc alloy, Pewter (metal) |
Scales | 10–15mm, 25–28mm, 32–35mm, 40mm+ (custom available) |
Measurement Baseline | Eye-level or total height (locked before sculpt approval) |
Base Types | Integrated (molded-in) / Slot-base / Socket assembly / Custom base |
MOQ | 1 piece (resin prototype) / 500+ pieces (injection molding bulk) |
Turnaround | Resin prototype: 5–7 days / Injection mold + sample: 15–20 days / Bulk: 20–30 days |
Color Options | Pre-colored plastic, hand-painted, spray-coated, or custom color matching |
Packaging | Blister pack, tray insert, or loose bulk (coordinated with box design) |


We Provide All options for Custom Game Miniature
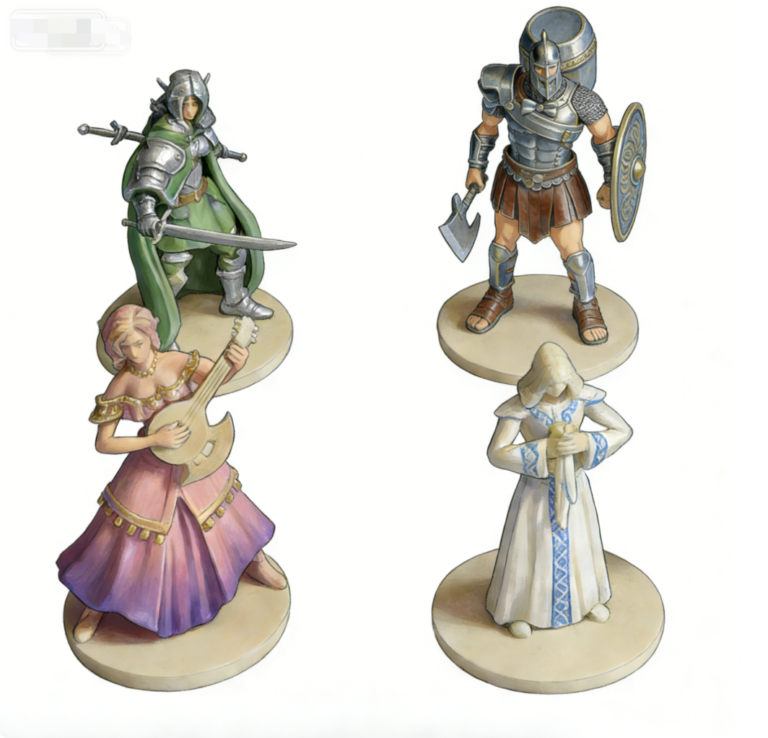
Custom Miniatures Sizes & Scale Standards
Miniature scale should be fixed early, before sculpt details are finalized. Late changes often break production limits—thin parts, unstable bases, or oversized figures that no longer fit the box or insert.
Scale must work in real use, not just renders. If the base is too large, the pose unstable, or parts too fragile, the scale is not suitable.
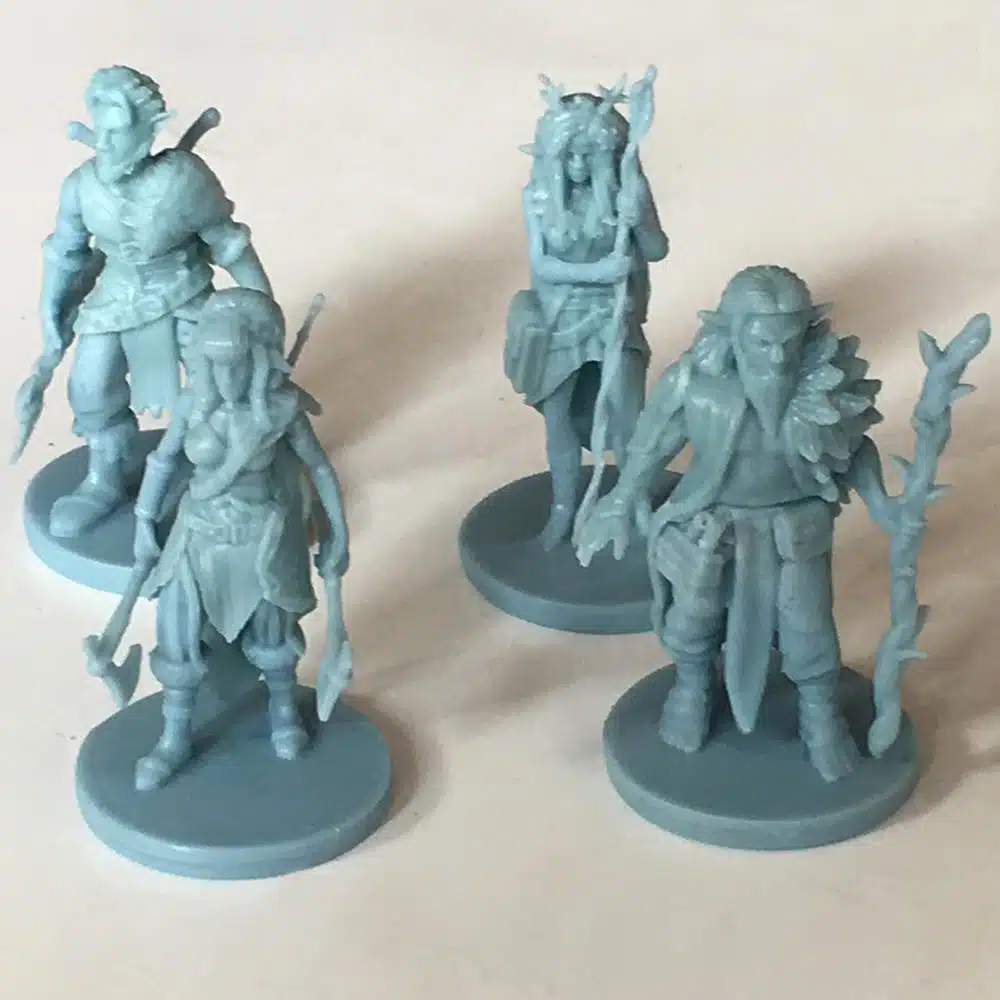
Common Tabletop Scale Standards & Measurement Baselines
Miniature scale must use one consistent measurement standard. Mixing methods (eyes, head, helmet, etc.) leads to mismatched proportions across the set.This only becomes obvious when expansions or different factions are placed together, so the rule must be fixed from the start.
Industry-Standard Miniature Scales
Measurement Baselines: Eye-Level vs. Total Height
Eye-level scaling is preferred for humanoid figures, as it avoids distortion from hair, helmets, or raised parts and keeps proportions consistent.
Total height scaling is better for monsters or display pieces where full silhouette matters. It should not be mixed with humanoid standards. Scale must be fixed before sculpt approval to avoid costly rework.
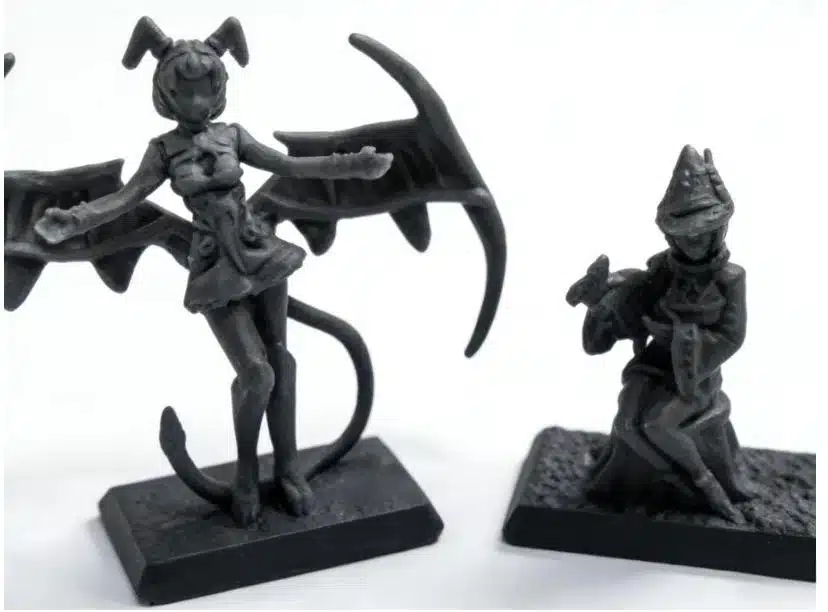
Scale-Driven Engineering Constraints
Small figures can’t hold unlimited detail, and large ones aren’t just scaled-up versions. Each scale has its own limits.
Small scales lose detail in faces, fingers, and thin parts. Larger figures face issues like shrinkage, warping, and fragile extended elements without support.
Undercuts and weak structures must be reviewed before tooling, as fixes after mold
These engineering checks are part of our complete custom board game manufacturing workflow, ensuring your miniatures integrate cleanly with custom game boards, tokens, and boxes.
Base Integration & Tolerance Management
The base affects stability, board fit, and durability, not just appearance.
Integrated bases are molded with the figure and are more reliable for mass-market games with fewer assembly issues. Slot or socket bases suit hobby kits but must account for paint thickness; otherwise they may become too tight or loose, affecting stability.
Consistency Across Core Games & Expansions
For expansions, scale references and dimensions must be recorded to keep consistency. Without this, later releases can drift in size and break visual continuity across the same character line.
Custom Miniatures Materials: PVC, Resin, and ABS
Material choice is critical in miniature projects. A wrong selection can cause breakage, bending, loss of detail, or cost issues at scale.We choose material based on the sculpt, not the other way around, to avoid production and durability problems.
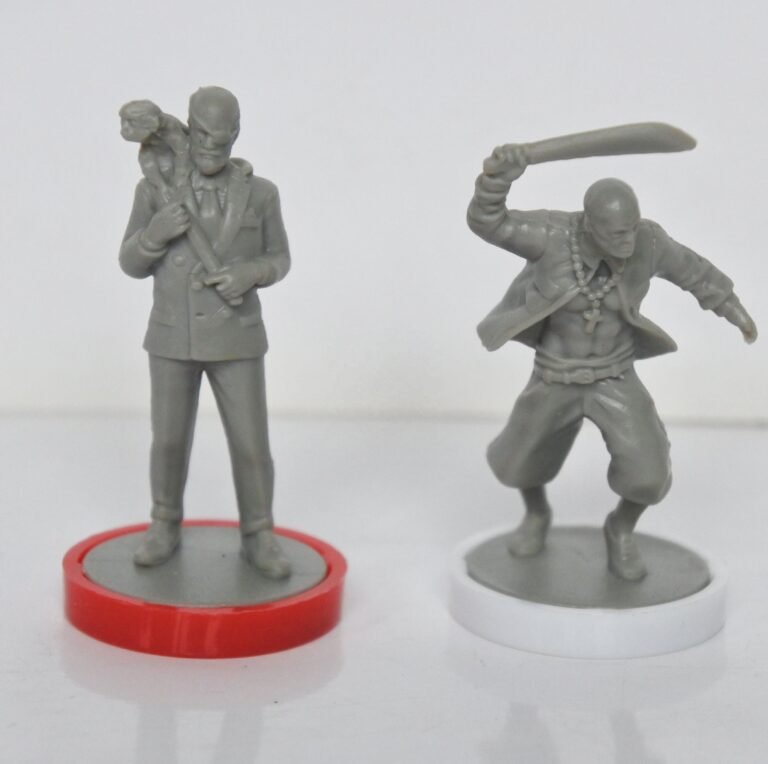
High-Detail PVC (Polyvinyl Chloride)
PVC is the standard material for mass-market miniatures, offering good durability for handling, shipping, and large production runs.
However, it cannot preserve ultra-fine sculpt details. Thin or sharp elements often need early adjustment, as shrinkage and mold limits can affect the final result. It suits high-volume durable figures, not resin-level detail without design changes.
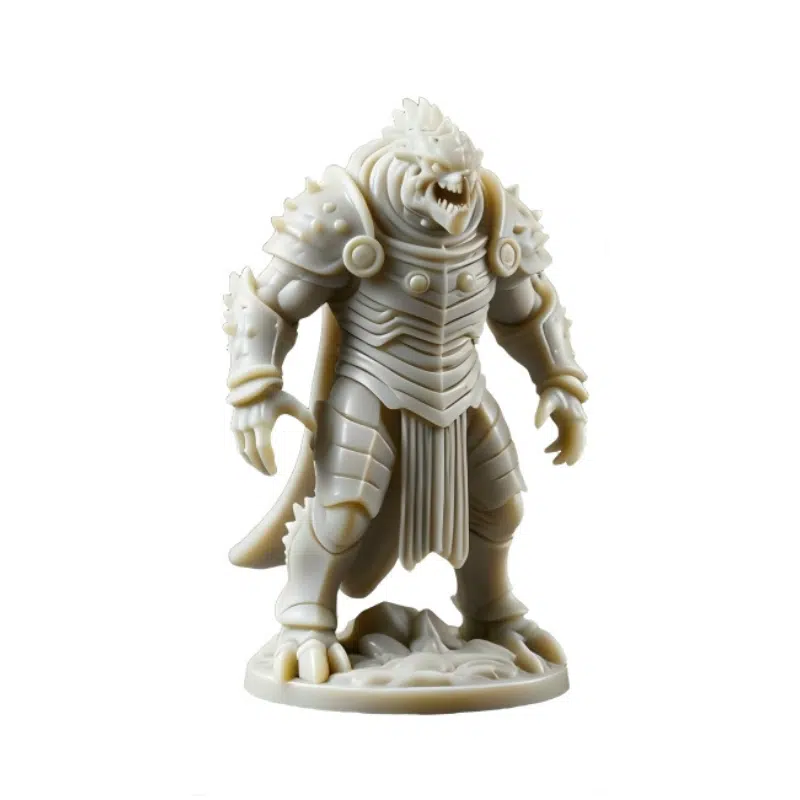
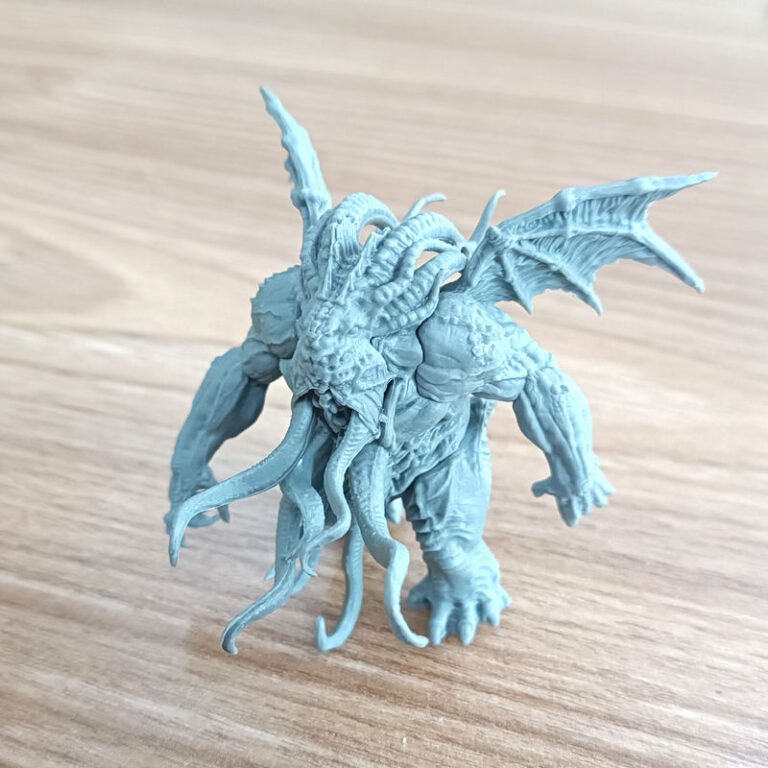
Professional Resin Casting
Resin delivers high detail and is suited for small runs, prototypes, or collector pieces.
However, it is brittle and can break on thin or extended parts, making it unsuitable for heavy handling in mass-market games. It fits detail-focused projects where durability is less critical.

ABS (Acrylonitrile Butadiene Styrene)
ABS is used for harder, sharper parts in sprue-based or assembly-style miniatures, suitable for hobby or tactical kits.
It requires stricter design and tooling, with less flexibility and higher risk of cracking on thin parts. It fits hobby-focused products, while PVC is generally better for mass-market handling.
Custom Miniatures Color & Surface Finishing
Color finishing should be set based on production volume and usage, not sample appearance alone.Hand painting increases cost at scale but improves detail. Molded color is efficient for mass production but limits fine visual effects. The wrong choice can either raise cost too much or reduce visual quality under use.


Hand Painting
Hand painting is used when paint meaningfully adds value, such as collector pieces, limited runs, prototypes, or premium editions. It enhances faces, armor, cloth, and small details, but each color or effect increases labor cost.
It is slow and not suitable for very large volumes. Proper priming is also required to ensure paint adhesion and reduce wear during handling. For mass-market games, simpler finishes or molded color are usually preferred, with minimal shading if needed for depth.
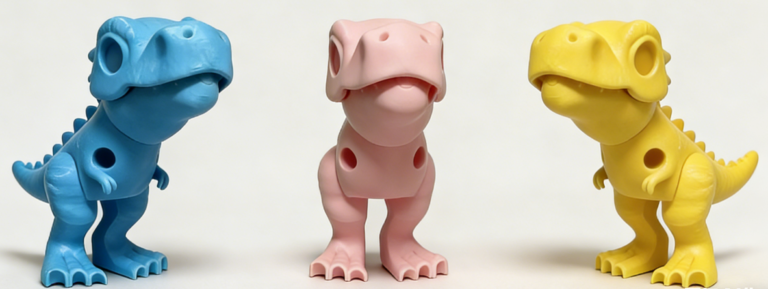
Solid Color Injection & Material Tinting
Solid-color injection is a practical option for high-volume miniatures, with color mixed directly into the plastic. It improves durability since edges won’t chip like paint, making it suitable for mass production and player-color systems.
Pantone matching should be confirmed early, but molded colors will still differ slightly from printed or screen references. While efficient, this method does not add detail—weak sculpts become more noticeable. It works best for simple, color-driven designs rather than detailed, realistic figures.
Transparent Pricing
Custom Game Miniature Pricing Examples
See real-world pricing examples for popular board game styles. Every project is unique. these estimates help you plan your budget before requesting a detailed quote.
Standard Resin Miniatures
Basic resin figures for tabletop characters and units
Component | Specification | Qty |
|---|---|---|
Miniatures | 28mm Scale | 10 pcs |
Material | Grey Resin | / |
Finish Type | Unpainted | / |
Detail Level | High Detail | / |
Included Accessories | Bases Included | / |
Estimated Quote (1,000 units)
$8 – 25 / set
Lead time: 15-60 days
Detailed Hero Miniatures
Highly detailed character miniatures with strong display appeal
Component | Specification | Qty |
|---|---|---|
Miniatures | 35mm Scale | 10 pcs |
Material | High-detail Resin | / |
Finish Type | Unpainted | / |
Detail Level | Dynamic Poses | / |
Included Accessories | Custom Bases | / |
Estimated Quote (1,000 units)
$12 – 35 / set
Lead time: 15-60 days
Understand Your Costs
Deep-dive guides to help you budget, plan, and avoid surprises.
Individual Component Pricing
Need a quote for just one component? Check individual pricing for each sub-service.
Ready to Get Your Exact Quote?
These are estimates. Your game is unique. Send us your specs and we’ll return a detailed, itemized quote within 24 hours.
Complete Custom Board Game Components
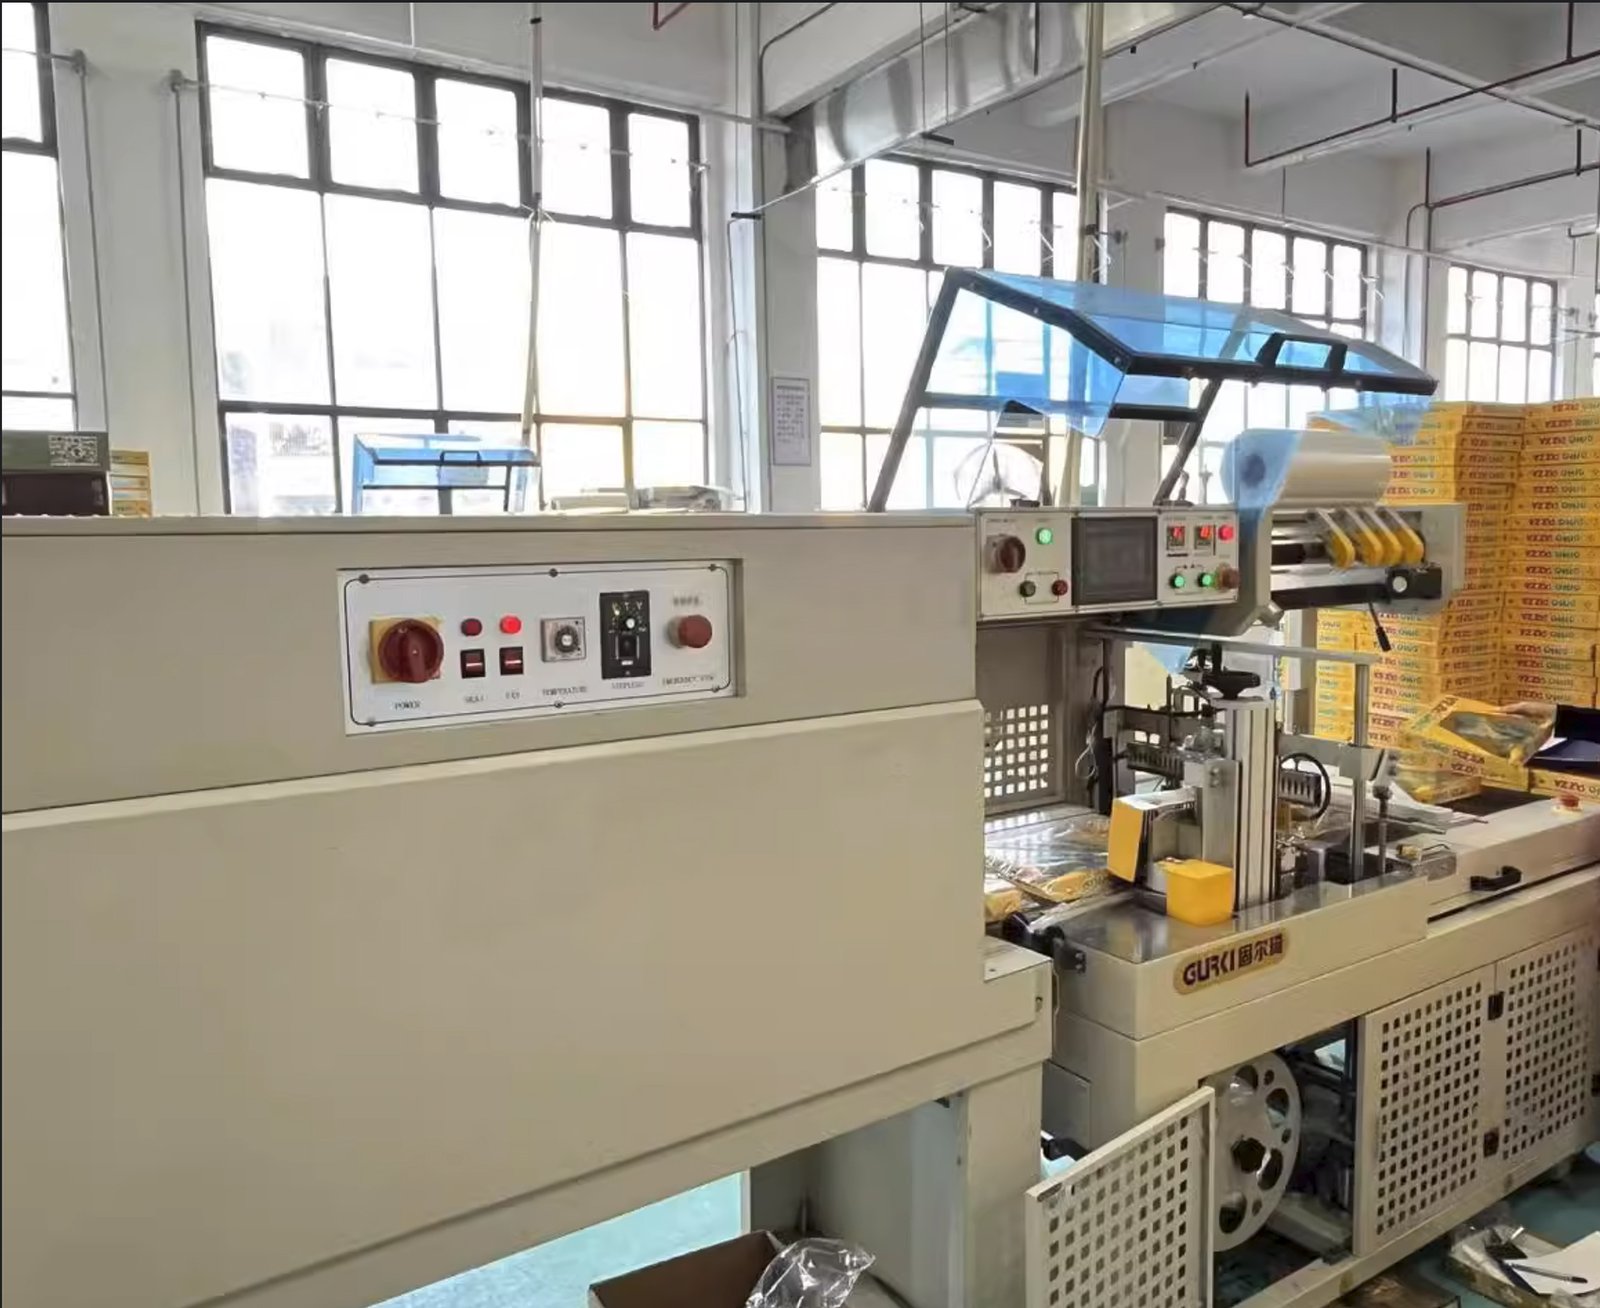
A board game is a system of interconnected components. At FUNWAY, we manufacture every element — from the board and box down to the smallest token — as one integrated production, not separate parts. Here are all the customizable components that go into a complete board game. And of course, you can choose to customize the whole or just a part of it.
| Folded or rigid boards up to 600×900mm with hinge alignment and surface finishing | |

| Telescope, rigid, and magnetic boxes engineered for fit and stacking strength | |

| Neoprene play surfaces and foldable player screens | |
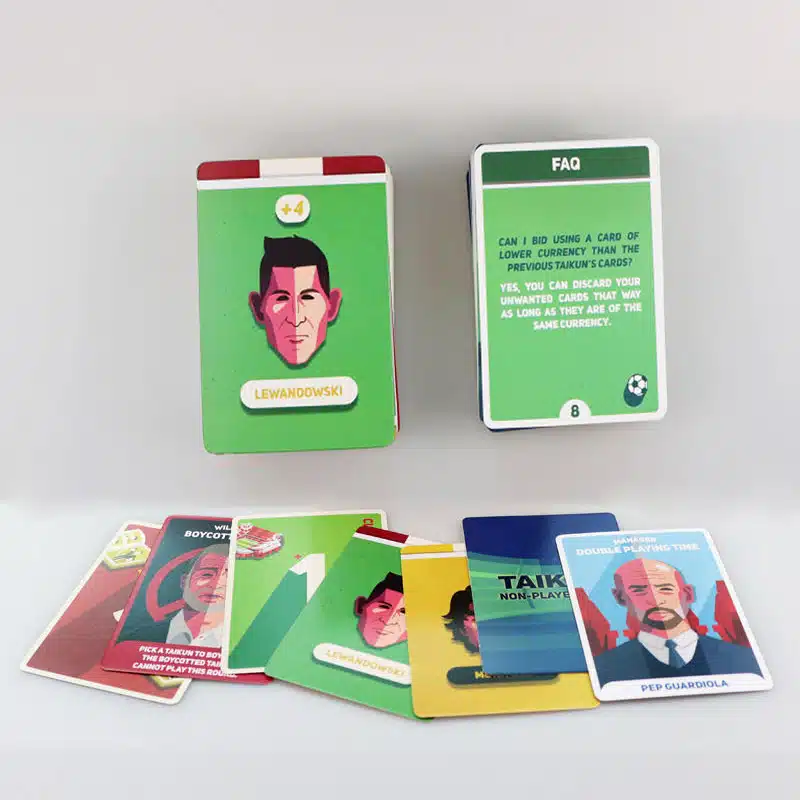
| Cardstock selection, clean cutting, and coatings for stable shuffling | |

| PVC and resin figures with mold review and scale consistency control | |
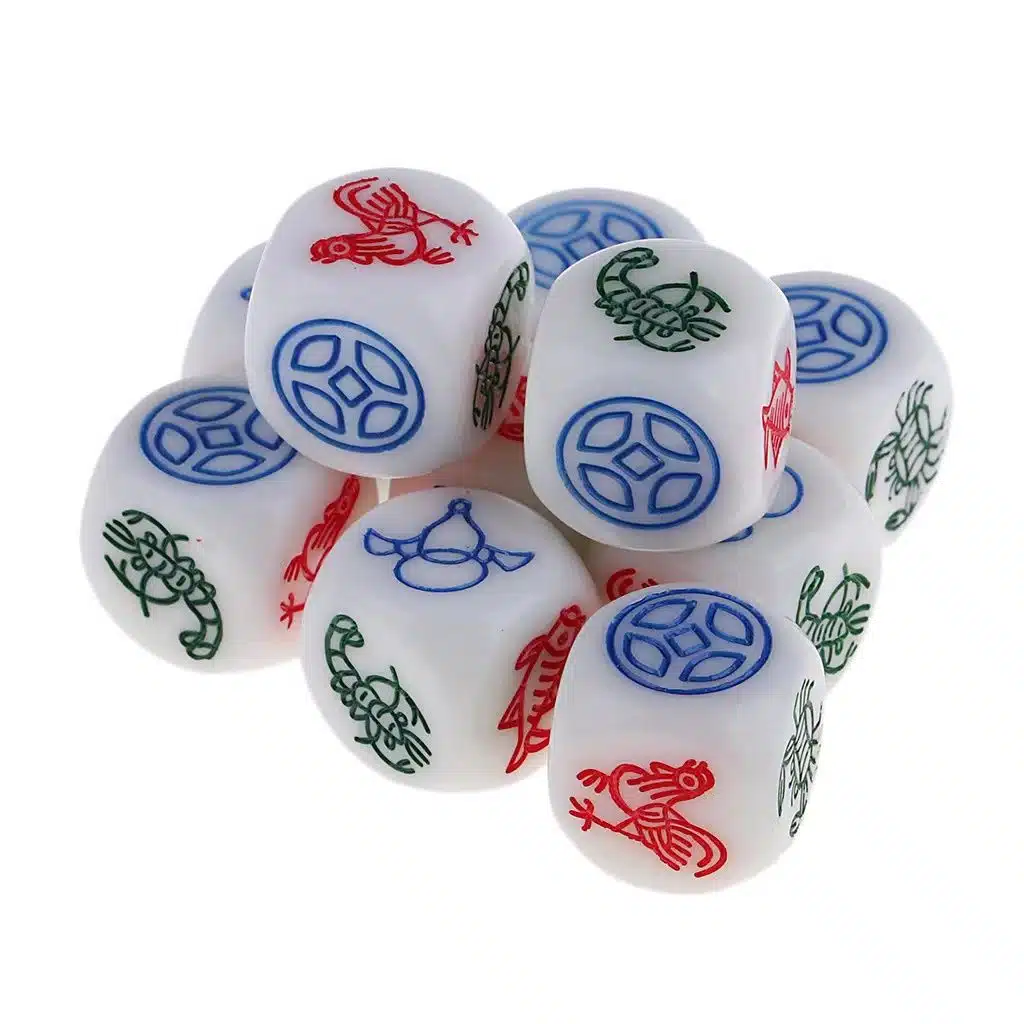
| Precision dice in multiple materials, sizes, and custom face designs | |
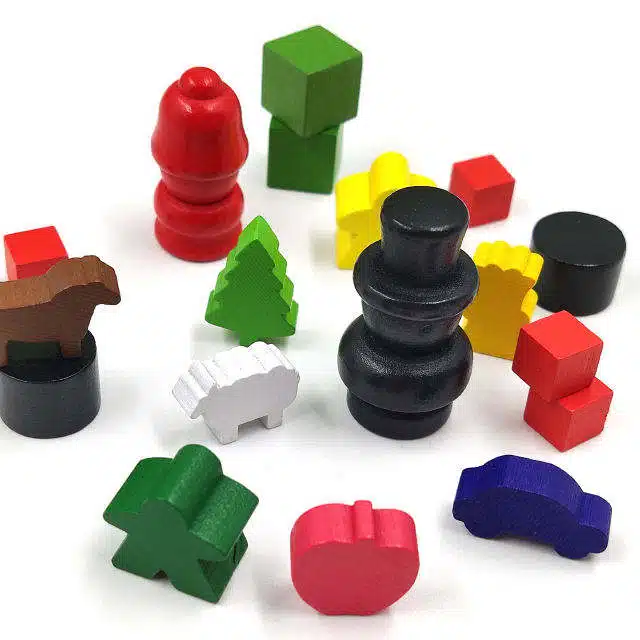
| Player markers in wood or plastic with precise silhouettes and color control | |
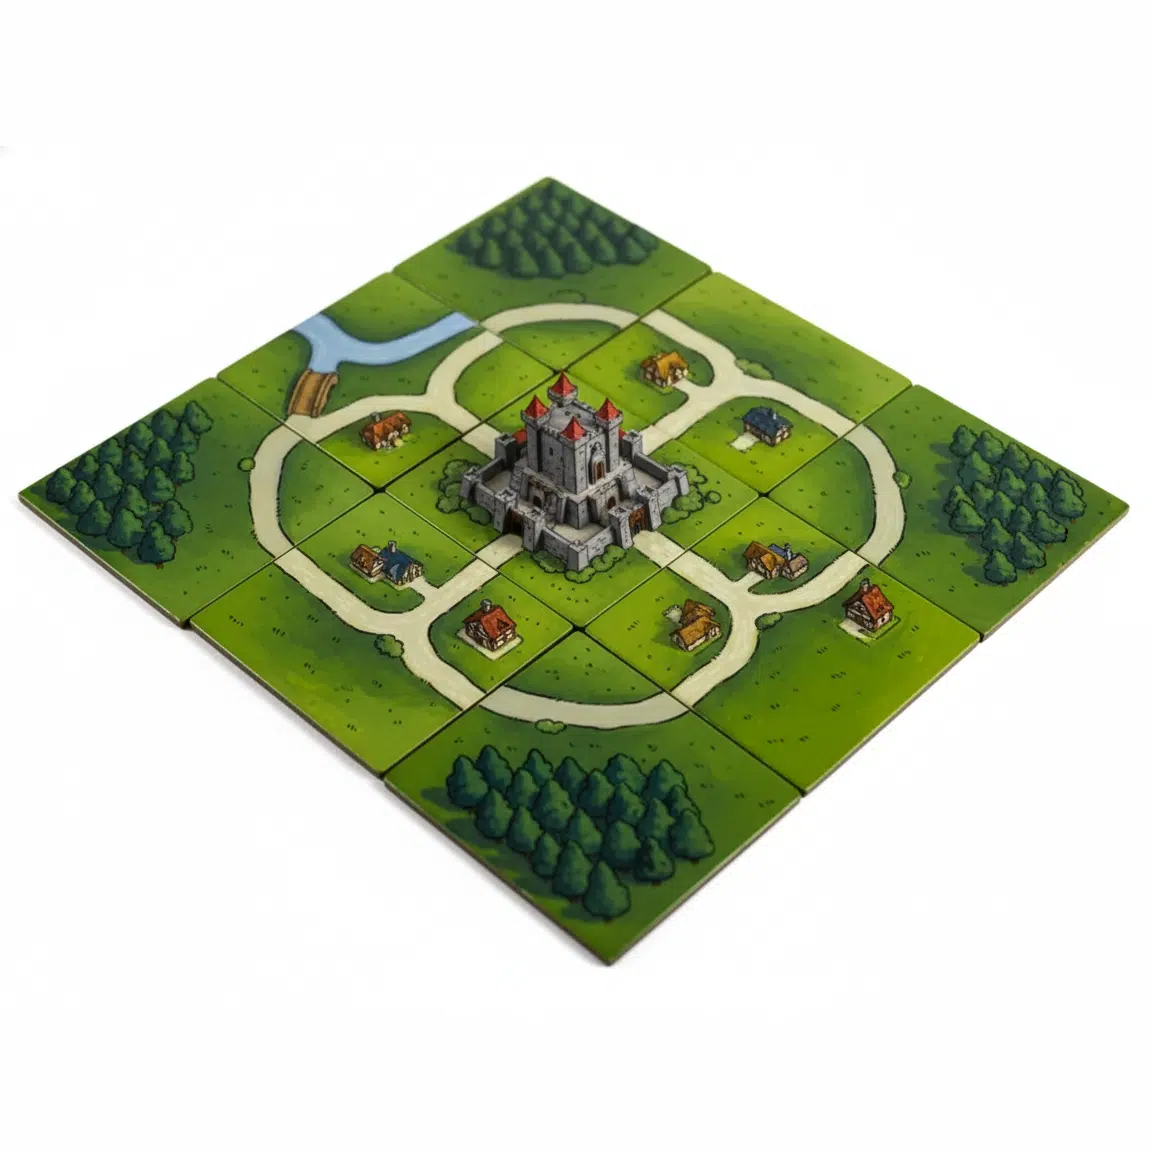
| Map and terrain modules in cardboard, plastic, or acrylic | |
| Punchboard chips, wooden discs, and counters for scores and resources | |
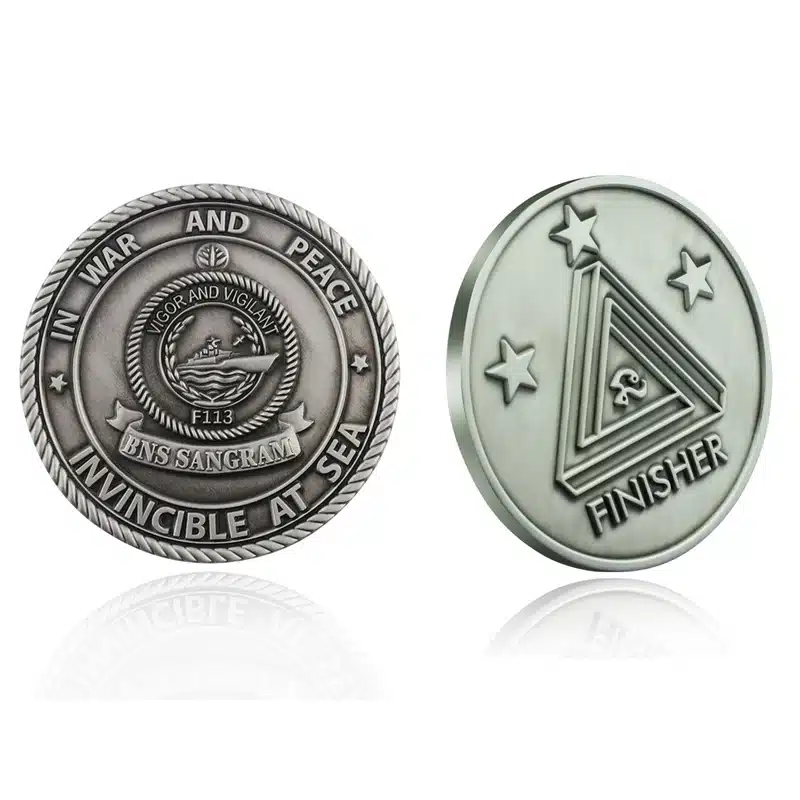
| Metal coins, wooden resources, plastic pawns, standees, and specialty parts | |
| Printed paper essentials for rules, currency, and scorekeeping |
Every component above is manufactured through our integrated production system — from component mapping and engineering review through sampling and mass production. Learn more about our complete custom board game printing services.
Why Choose FUNWAY
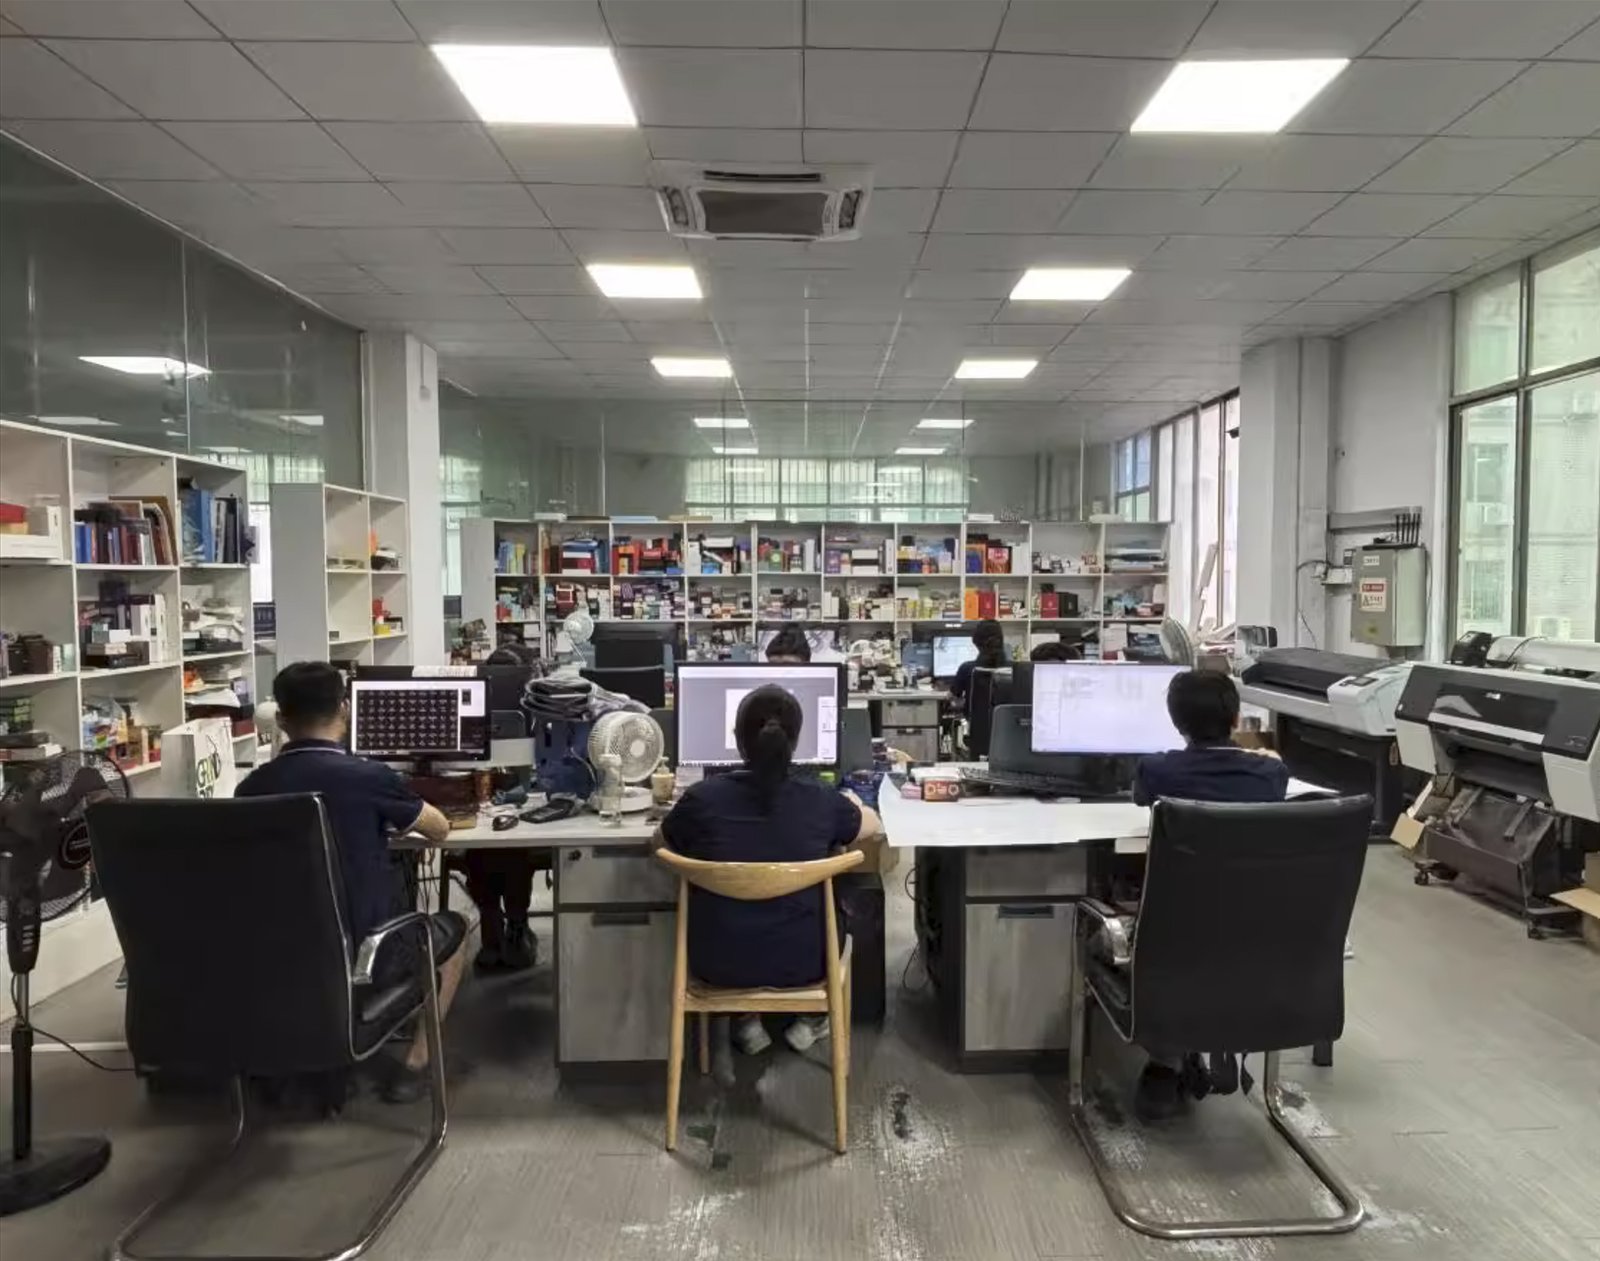
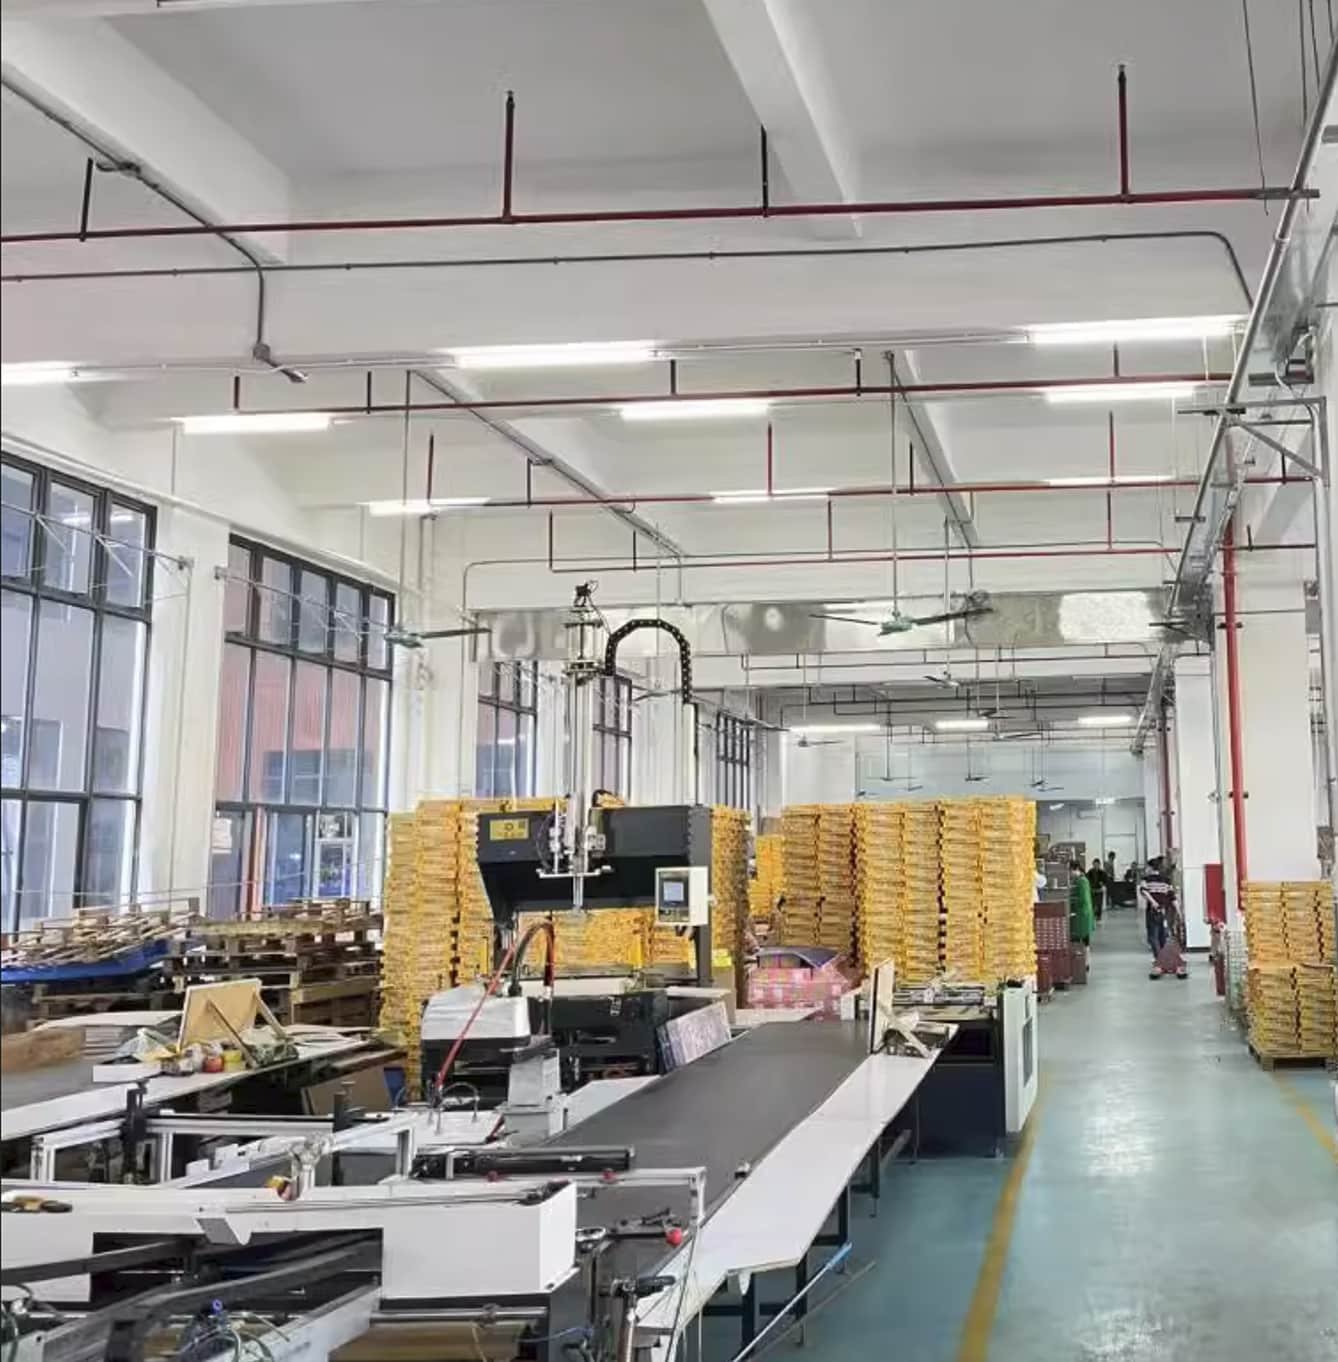
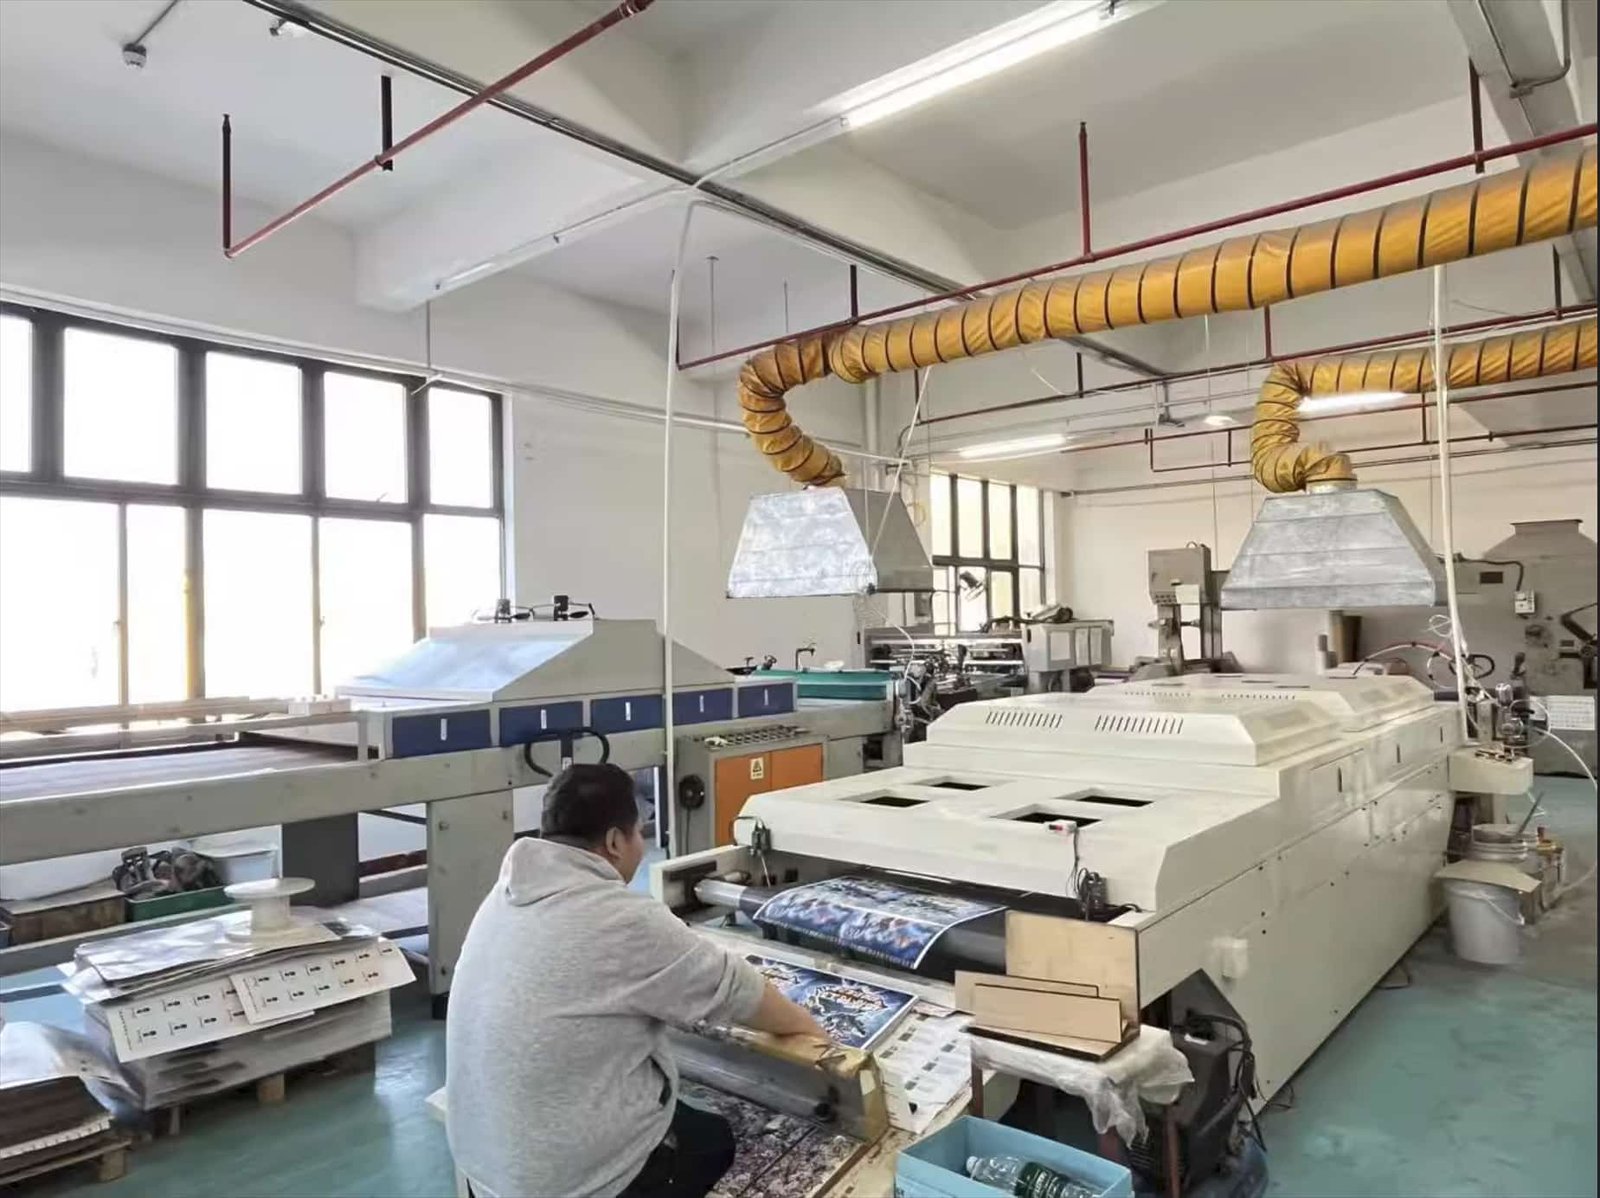
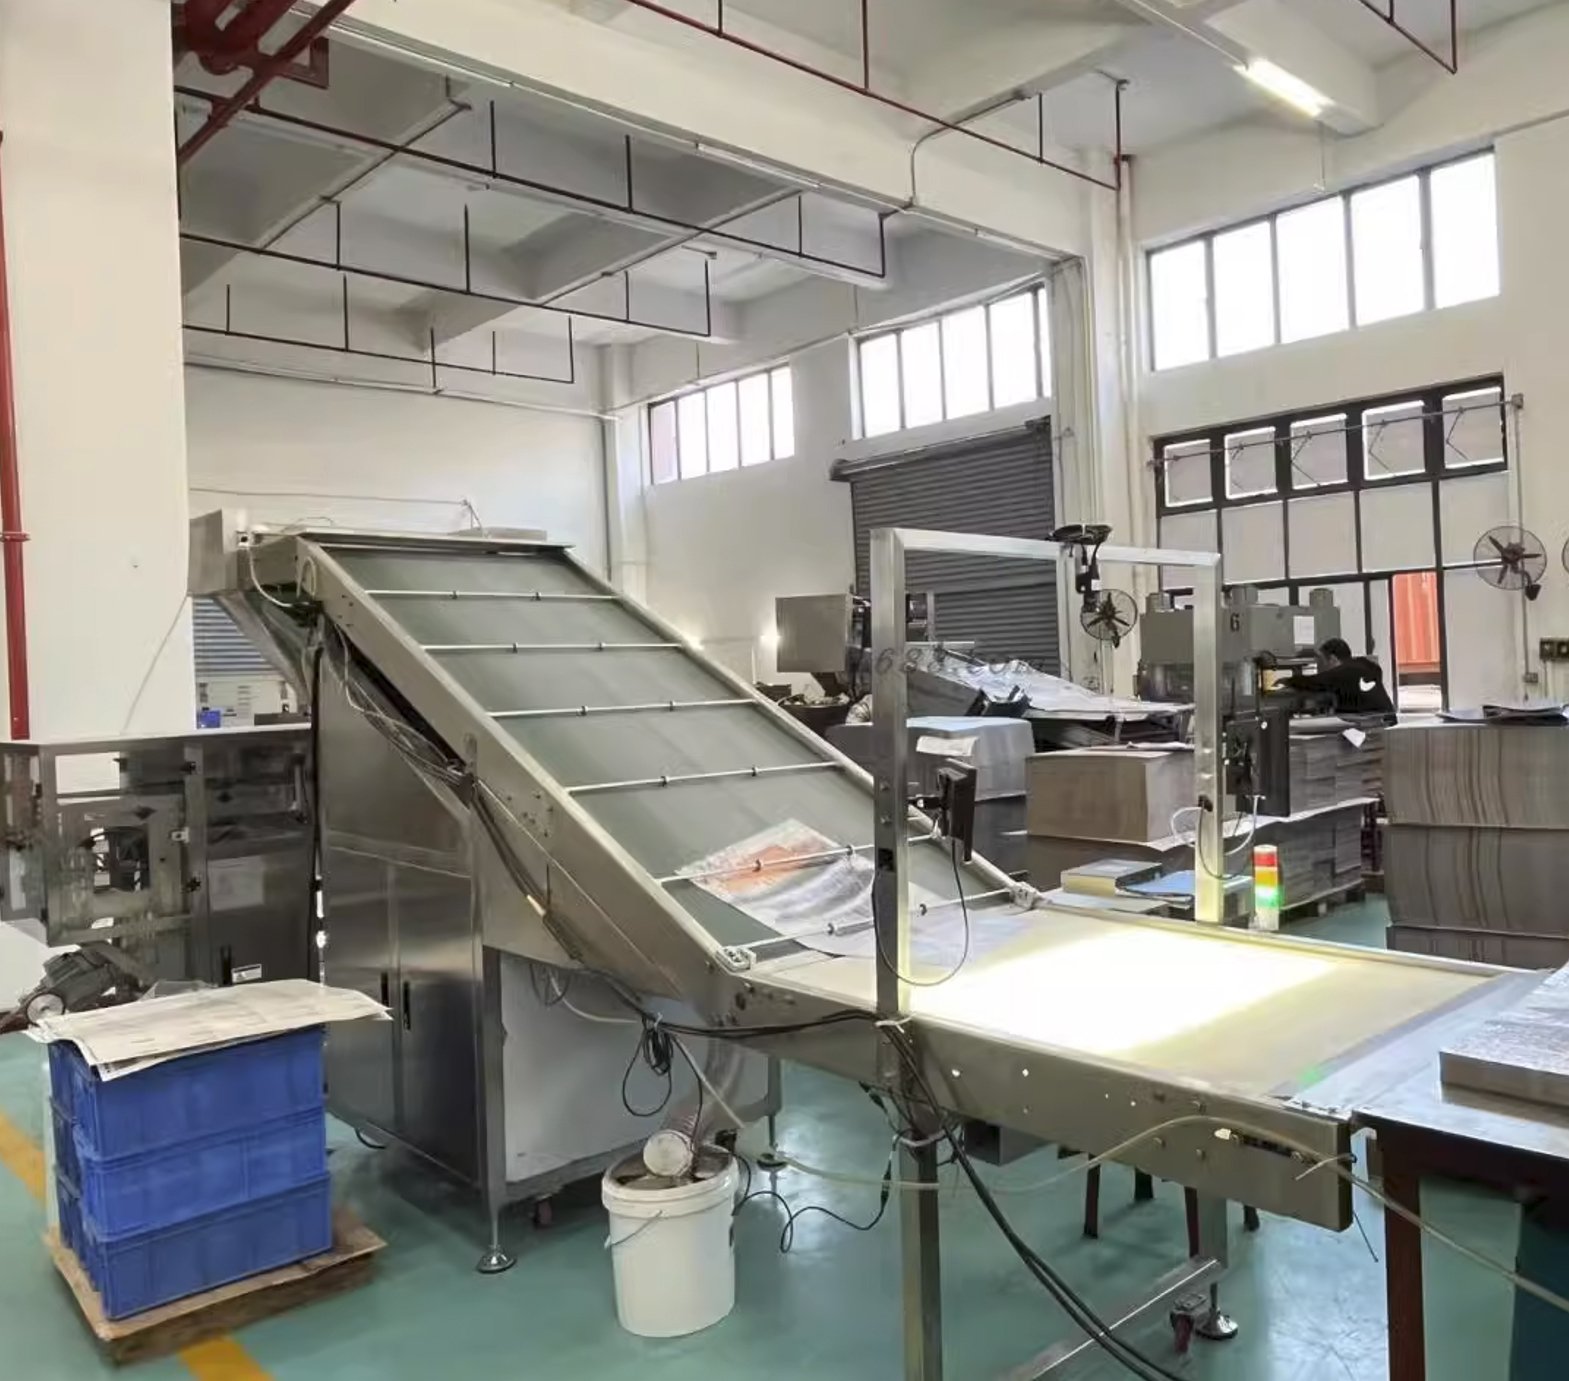
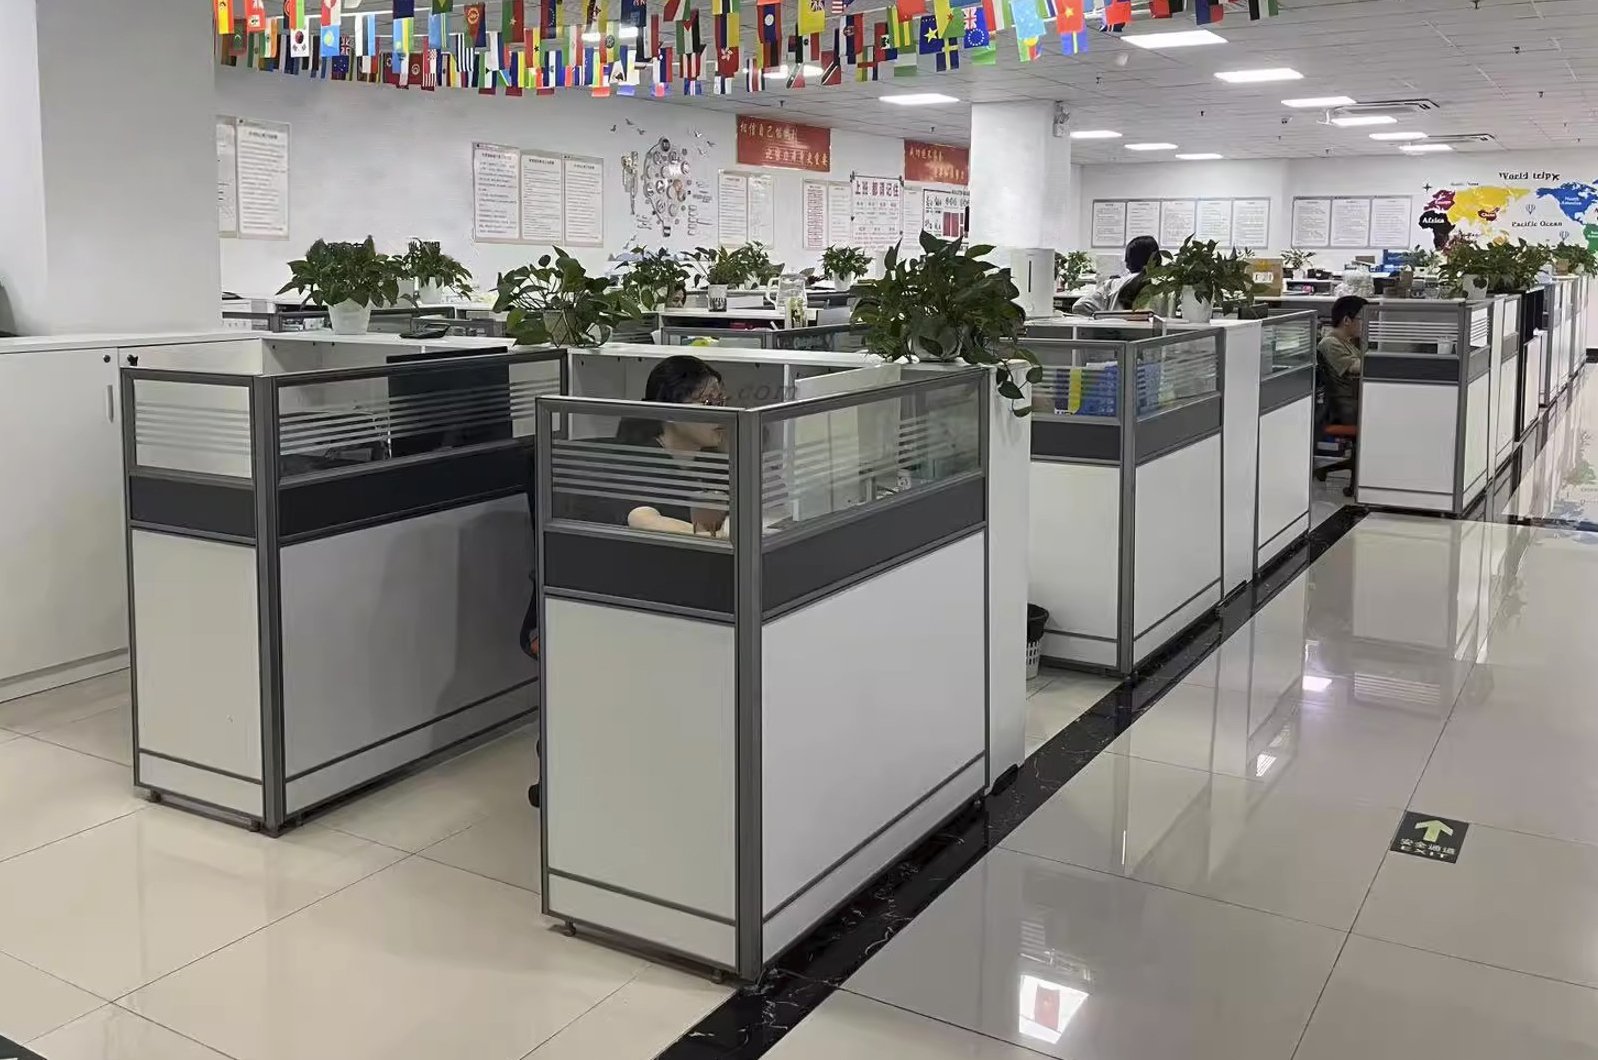
We have been making cards, puzzles, and board games since 1999. Today we run a 16,000-square-meter factory with over 200 workers. We are a direct OEM/ODM manufacturer, not a trading company. We have finished 5,000+ projects and shipped 2.3 million+ products worldwide. You get factory-direct pricing and a team that knows this work inside out.
We handle everything from design to final packing. You can order 1 piece for testing or 10,000 for a full launch — we keep the same quality at any quantity.

CE – EN 71 
amfori BSCI 
ESTS FSC COC 
SGS FSC COC 
ISO 9001:2015 -
ASTM F963-17


Why Bulk Buy From FUNWAY
Competitive Bulk Pricing

Factory-Direct Quality Control

On-Time Delivery Promise

1-on-1 Project Support

Trusted by Global Brands
Secure Payment & After-Sales
OEM / ODM Manufacturing Process

Step 1: Project Review & Component Mapping
We do not quote from a loose parts list. We quote from a complete product plan.
Before pricing, we map every component: board, cards, tokens, rulebook, insert, box, and accessories. We check how they fit as one packed set. This keeps the quote accurate. It also prevents surprises later in tooling, packing, and freight. We check:
Getting this order right keeps your project on budget and on schedule.
Step 2: DFM Check & Manufacturing Review
A bad sample usually starts from a design that was never checked for real production.
Before we build samples, we review your files for real-world manufacturing. We check dielines, bleed, safe zones, fold lines, card thickness, box depth, insert fit, and surface finish. We fix these issues before sampling:
If the packed set cannot close cleanly, changing the finish will not fix it. We fix the structure first.

Step 3: Sample Production & Approval
The sample is not a photo shoot. It is the production standard.
We build the first sample to test material feel, fold strength, color accuracy, box fit, insert tightness, and total weight. You review it. You approve it. This approved sample becomes the Golden Sample. All mass production is checked against it.
After this point, changes to board size, card stock, insert, or box depth will restart cost and lead time. We keep the sample stable so your bulk order stays on track.

Step 4: Tooling & Mold Setup
We open tooling only after the Golden Sample is locked.
Tooling covers die-cut tools for cards, boards, punchboards, inserts, and boxes. For special plastic parts, we may need molds or fixtures.
We never rush tooling while the design is still moving. Once the die is made, changes cost time and money. We wait for your final approval before cutting steel.
This protects your tooling investment and keeps the project on schedule.
Step 5: Pre-Production Validation
Small errors are cheapest to catch before the full run.
We run a small pre-production batch. We check color drift, cutting position, fold accuracy, board thickness, surface finish, and component fit.
If anything does not match the Golden Sample, we stop and fix it before using more material. This step saves both time and cost.
This is why we never skip pre-production validation.

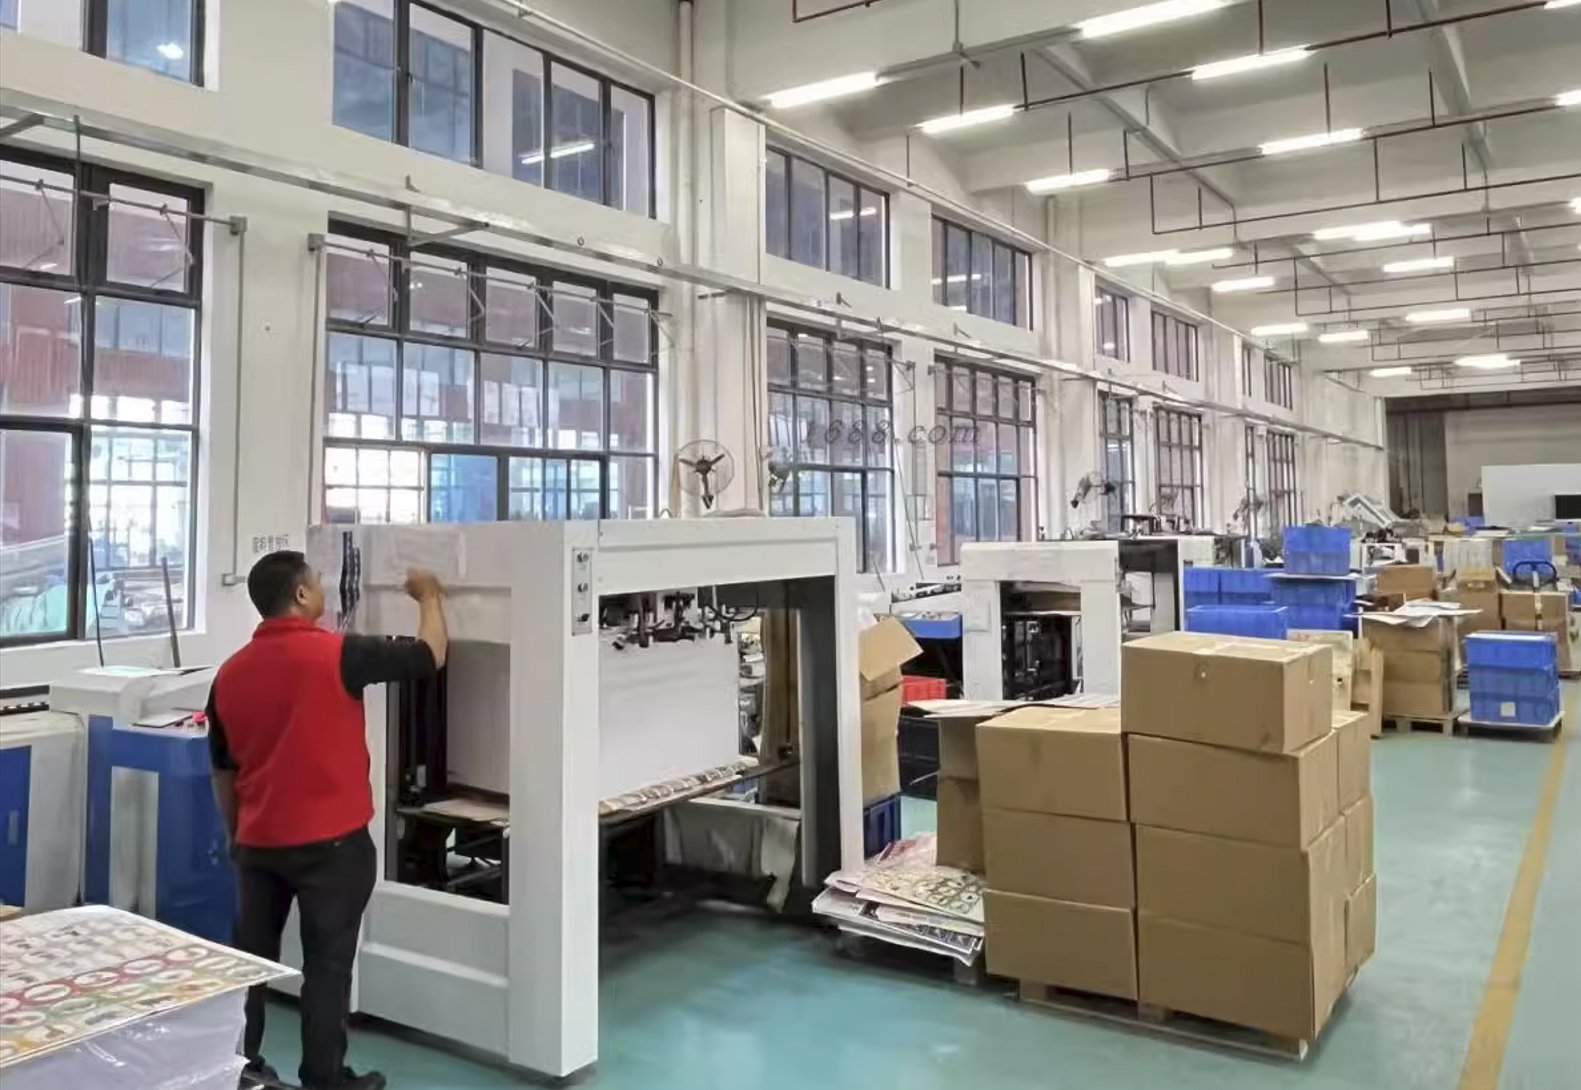
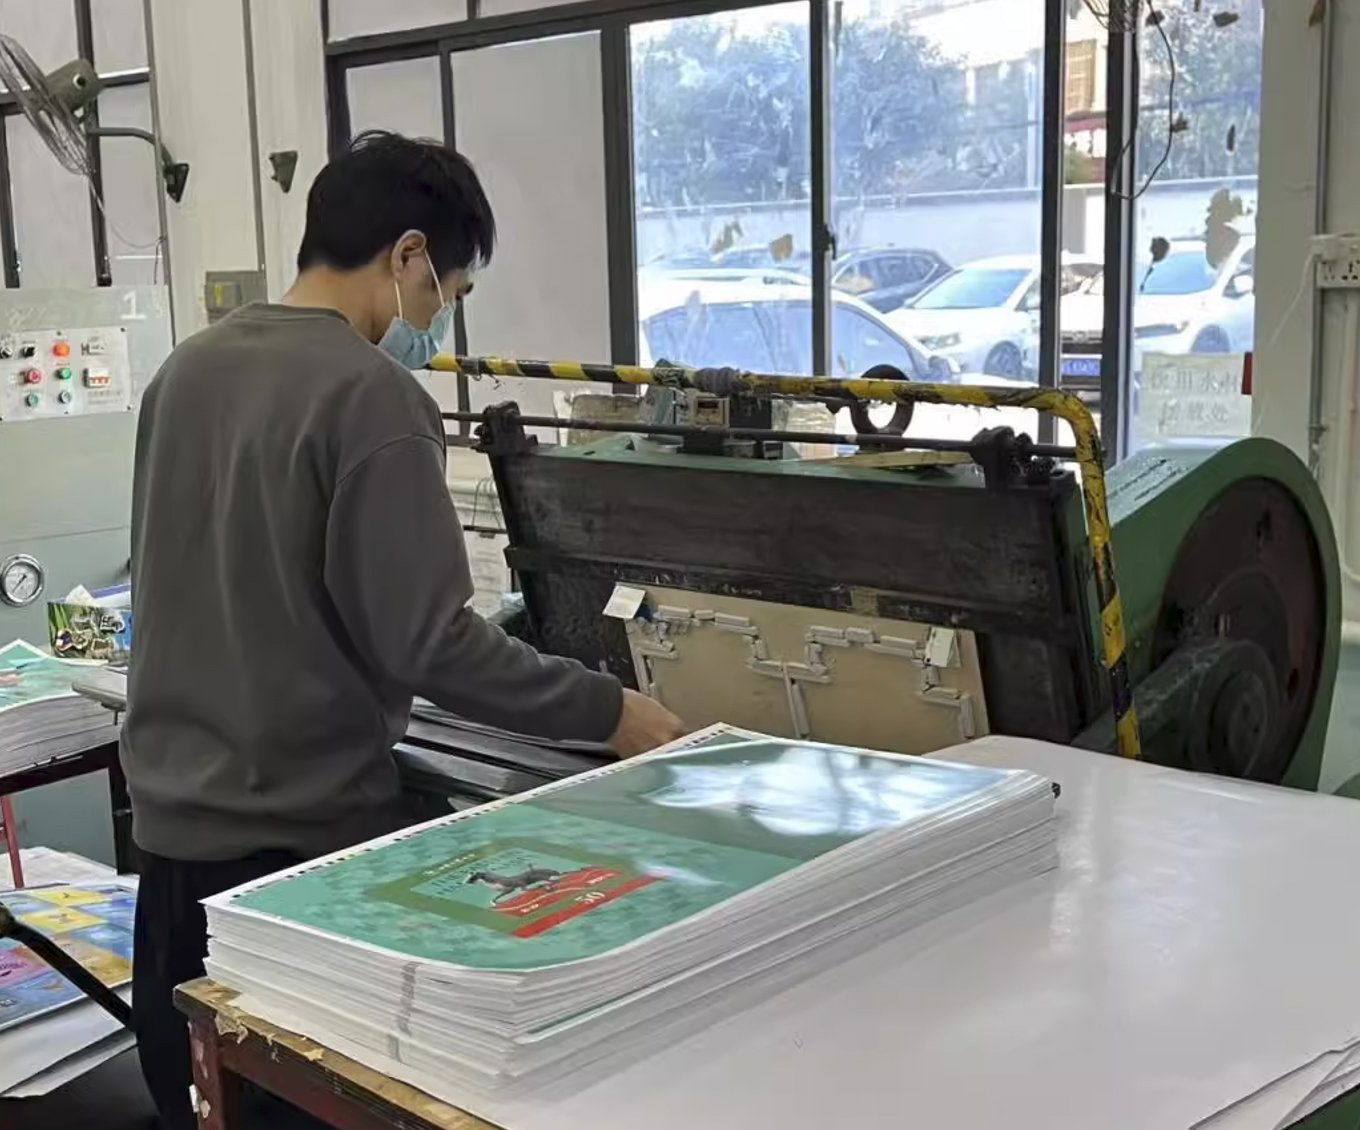
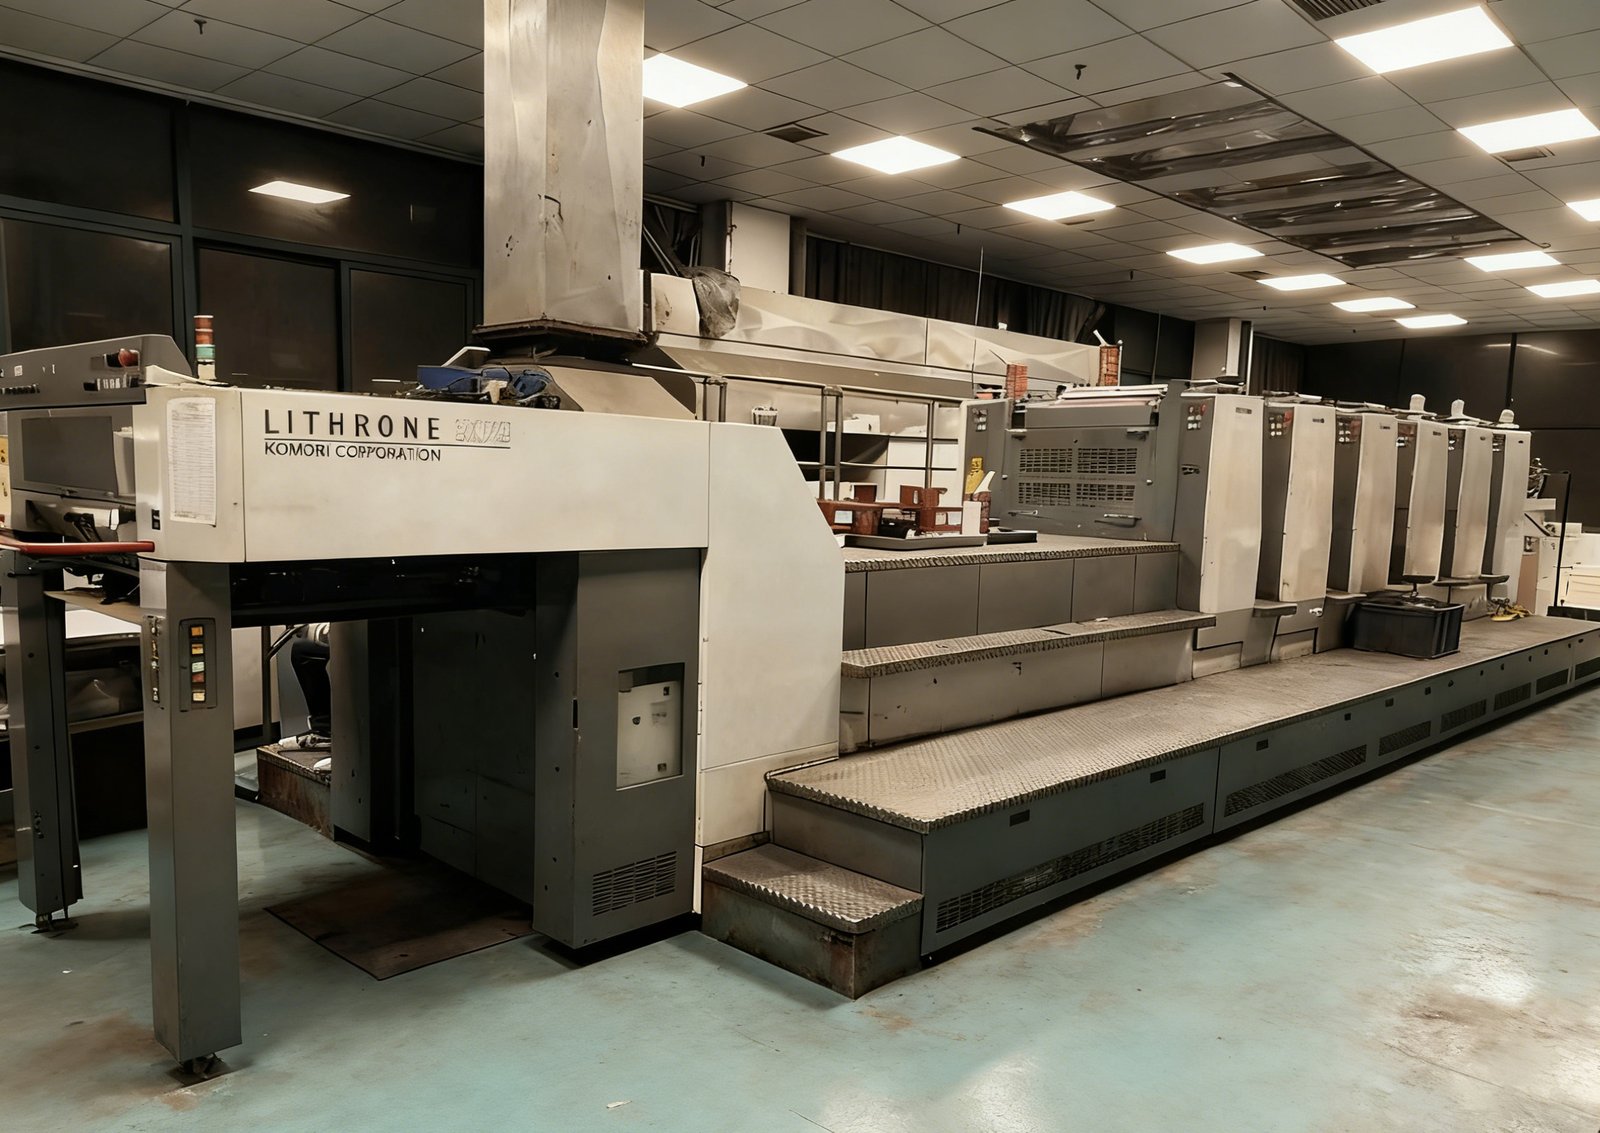
Step 6: Mass Production & Assembly
A game is not done when the parts are printed. It is done when the box closes properly.
Cards, boards, Punchboards, rulebooks, boxes, inserts, wooden pieces, dice, and accessories have to work as one packed set. During assembly, we check whether the approved packing layout still makes sense at production speed.
This is critical for B2B orders. Your distributor receives finished goods, not loose parts. Every set must be packed clean, stack flat, and ship safely.
We control assembly so your goods arrive ready for shelf or warehouse.

Step 7: Final QC & Global Shipping
A perfect product can still fail if the carton is wrong.
Before shipping, we check carton count, sets per carton, gross weight, carton size, shipping marks, and barcode labels. We match everything to your purchase order.
For B2B and retail orders, we also check pallet markings and stack height.
Small direct shipments get standard export packing. We ship by DHL, FedEx, or sea freight with full tracking. Every order leaves our factory with correct paperwork.
Why This Process Matters
Most problems do not show up early. They show up after one wrong decision forces the next.
This process is not meant to slow you down. For simple projects, we keep it fast. For complex projects with many parts, retail rules, or tight deadlines, these checks protect you from costly rework.
Prototyping & First-Article Inspection (FAI)
A miniature should not move from a nice-looking 3D sculpt straight into steel tooling. That is where expensive mistakes usually start. Before the mold is cut, we need to see the sculpt as a physical part. Thin weapons, fingers, horns, or tails may look fine in the file but fail once handled. Small surface textures may disappear at tabletop scale. Deep undercuts can force ugly parting lines or weak mold areas. These are not problems we want to discover after steel tooling has started.
Before any steel tooling investment is made, we use a two-step validation path: first the high-resolution 3D master, then a soft-mold PU sample when the project needs a closer production feel. The 3D file is not treated as final just because it looks good on screen.
High-Resolution 3D Master Prototypes
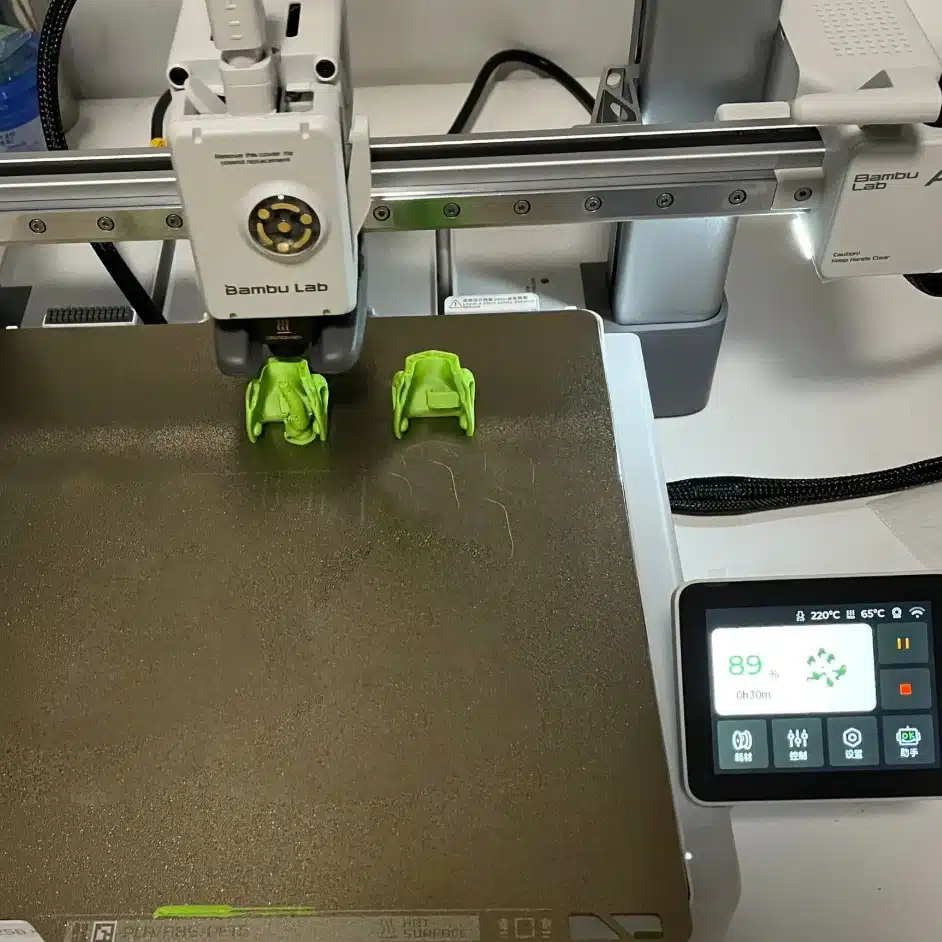
We first produce physical master prototypes using SLA (Stereolithography) or DLP (Digital Light Processing) 3D printing. These processes cure liquid resin layer by layer, with typical layer resolution around 25–50 microns. That gives us a real part to check before the project moves into tooling.
At this stage, we look closely at the details that usually cause trouble later:
Facial expressions and micro-surface textures
Chainmail, armor edges, and organic sculpt transitions
Thin or high-risk elements such as weapons, fingers, horns, tails, and extended limbs
These master prototypes become the locked reference geometry for the next validation steps. If the sword is already too thin, the face is too soft, or the pose makes the figure unstable here, we fix it before the cost moves into steel mold work.
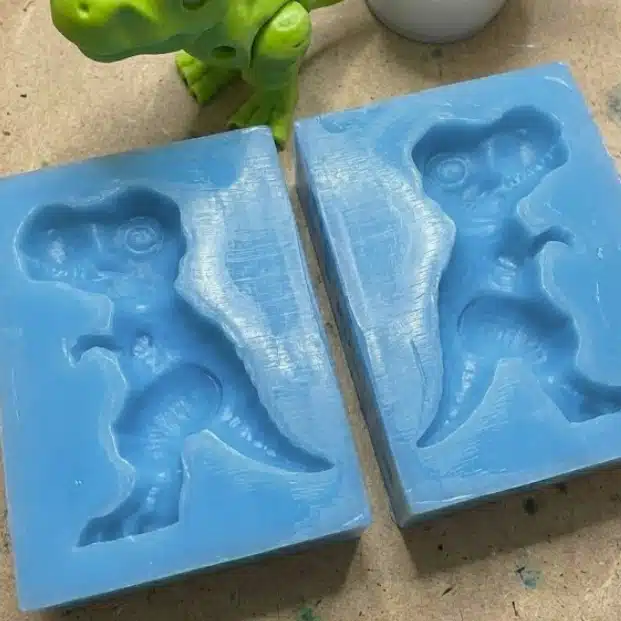
Silicone Soft Mold & PU Casting Samples (Production-Feel Validation)
For premium miniatures, large figures, Kickstarter deluxe tiers, or multi-part pieces, a 3D printed master is often not enough. Approved masters can be used to make a silicone soft mold, and then PU casting samples are produced from that mold.
This step gives a better feel for the part outside of raw resin printing. It helps publishers check:
Real-world part weight and hand feel
Structural balance and center of gravity
Assembly logic for multi-part miniatures
Surface behavior under priming and paint application
A PU sample is not the final PVC, ABS, or HIPS part. It cannot replace a tooling sample. But it does show problems that a raw 3D print often hides. You can feel the weight, check whether the pose stands properly, test how multi-part assembly works, and see whether primer or paint starts exposing surface defects. For premium miniatures or large figures, this step is usually worth doing before steel tooling money is spent.
Design Lock Before Tooling Investment
Once both the 3D master prototype and PU casting sample are approved, the sculpt should be treated as design-locked. This is important because changes after tooling are no longer small changes.
Design lock means:
No major dimensional or structural changes should be made after tooling starts
Steel mold investment can move forward with lower revision risk
Downstream T1–T3 tooling samples are expected to stay within the approved dimensional direction
This step helps avoid the worst kind of delay: discovering after the mold is cut that the weapon is too weak, the parting line is ugly, the base does not sit flat, or the painted surface no longer matches what was approved in the digital sculpt.
T1–T3 Production Pulls: Once the industrial steel molds are completed, we produce T1 samples directly from the actual production tooling, using the final specified material such as PVC, ABS, or HIPS.
This is where the mold starts telling the truth. A resin print or PU sample can still hide problems, but a T1 production pull will not. Once the part comes out of the actual steel mold in the final material — PVC, ABS, or HIPS — shrinkage, parting lines, ejector marks, mold flow, and assembly fit all become visible.
At T1 stage, we check:
Material shrinkage and scale compensation
Parting line placement and visibility
Ejector pin positioning and surface impact
Wall thickness consistency and mold flow
Surface detail after real production pull
Fit and alignment for multi-part assemblies
If T1 exposes a weak sword, a soft face, a bad ejector mark, uneven shrinkage, or a joint that does not close cleanly, we do not treat it as a small cosmetic issue. That is the kind of problem that gets worse in mass production, not better. It needs to be corrected before approval.
If needed, the mold is adjusted and checked again through T2 and T3 samples. We only move forward when the miniature is stable in the real production material: the size is right, the surface detail holds, the parting line is acceptable, and the assembly still works after molding. That is the point where mass production becomes safe to start.
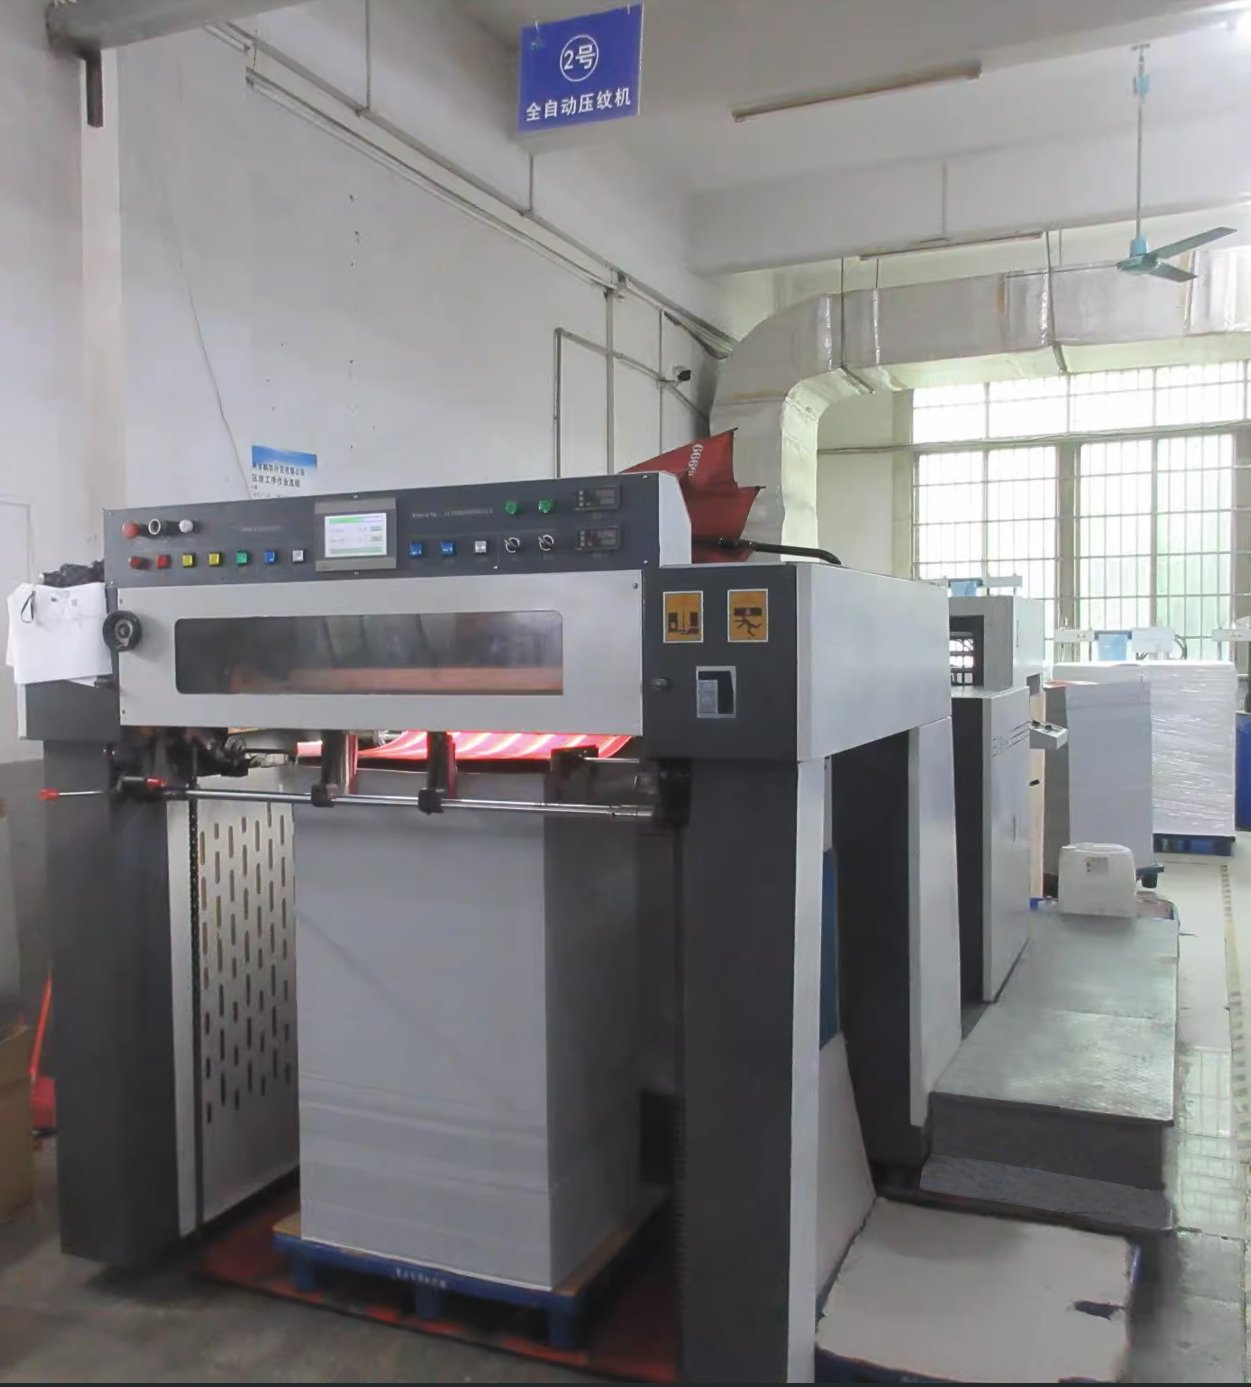
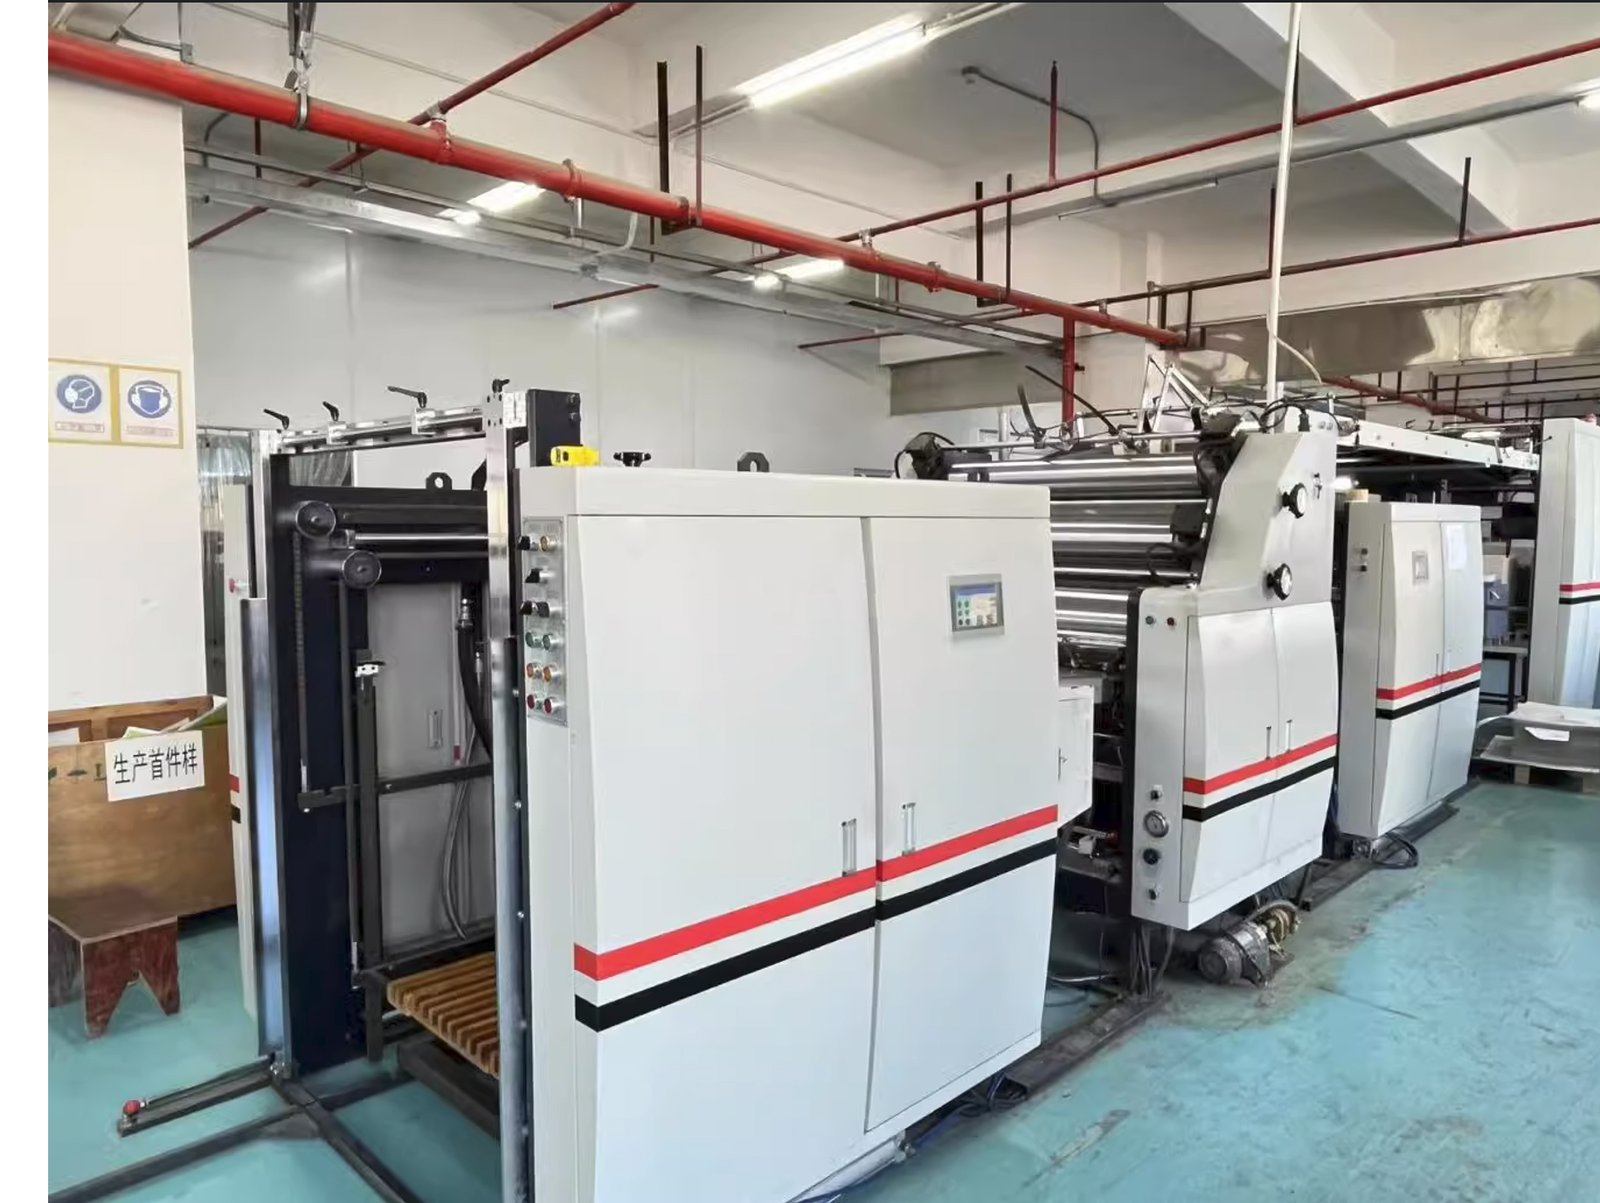
Mass Production & Quality Control

Once the FAI sample is approved, mass production should follow that approved sample, not the original render. The approved sample becomes the reference. If the factory keeps chasing the digital sculpt after that point, the run can start drifting.
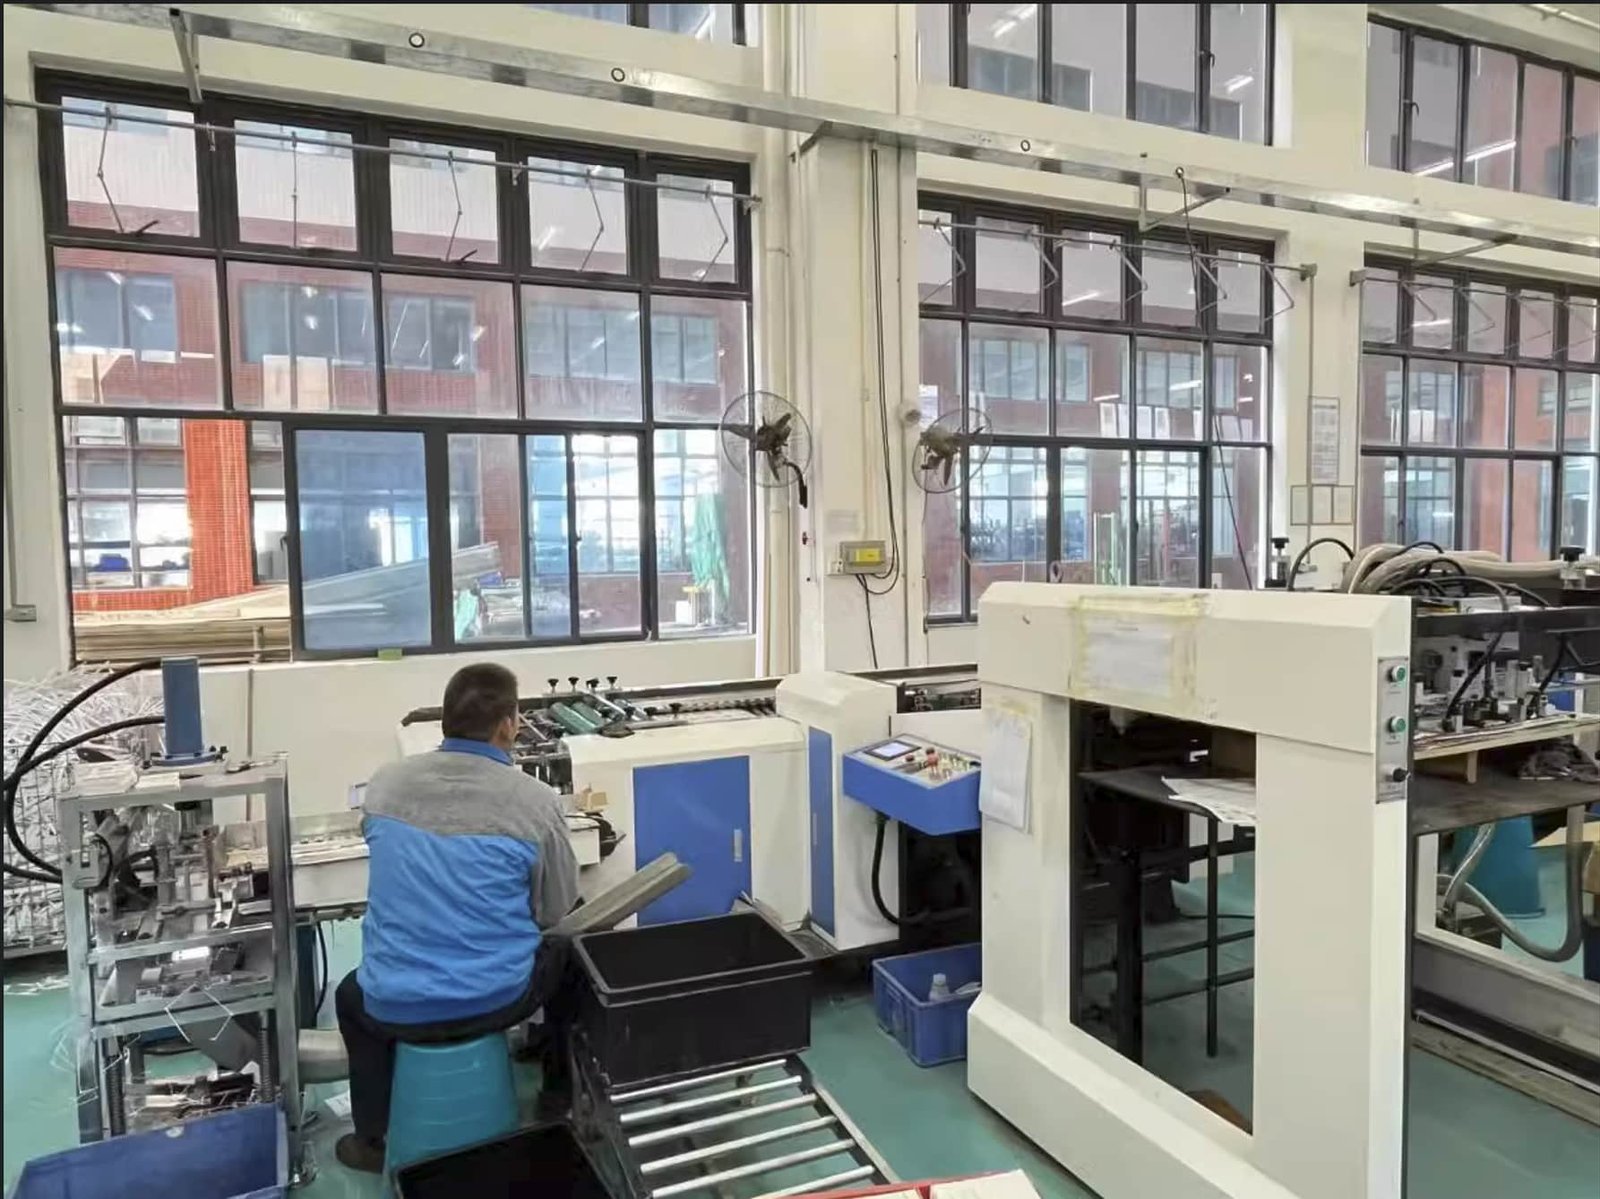
Injection Molding Control
For PVC or plastic miniatures, molding has to stay stable across the run. If pressure, temperature, cooling, or cavity balance moves too much, the result shows up fast: soft detail, short shots, deformation, or parts that no longer assemble cleanly.
Assembly & Bonding
Multi-part miniatures are where small shortcuts show up fast. A joint may look fine in the approved sample, but if the contact area is too small, or the part is pulling against the glue line, it can crack loose after a few plays. We check whether the parts seat properly, whether the bond has enough area to hold, and whether the finished figure can be picked up, dropped into the tray, and handled like a real game piece before it goes into packing.
In-Line Inspection
Miniature QC cannot wait until the end. We check during production for visible deformation, missing detail, rough parting lines, unstable bases, color issues, and assembly defects. If these are only found after packing, the rework cost is much worse.
Compliance Checks
For board game and tabletop products, materials can be checked against the required market standards, such as EN71 for the EU or ASTM F963 for the US, when the project needs children’s product or retail compliance support.
Factors Influencing Unit Cost
Miniature cost usually gets out of control before mass production even starts. The expensive decisions are often already inside the sculpt: undercuts, thin parts, part count, material choice, scale, and whether the figure needs painting or assembly.
Tooling Complexity & Mold Engineering
Deep undercuts, crossed arms, capes, weapons, horns, tails, and complex silhouettes all make the mold harder. Every extra slide, insert, or mold split adds cost. If the sculpt ignores molding direction, the figure may look good in the render but become expensive or unstable in tooling.
Part Count, Assembly & Labor Intensity
A single-piece miniature is usually the cleanest route for mass-market board games. Once the figure is split into multiple parts, cost starts moving: more molds, more assembly, more bonding checks, more alignment risk.
Multi-part figures make sense when the pose or detail truly needs it. If the split is only there because the sculpt was not designed for production, the project pays for that mistake later.
Scale, Weight & Material Consumption
Larger miniatures use more material and take more space in the box. They also need more control around wall thickness, shrinkage, and base balance. A 35 mm figure and a 28 mm figure are not just different heights; they can change material use, packing density, tooling cost, and freight.
Heavy figures may feel better in hand, but they also raise material cost and shipping weight. If the scale is pushed too far, the miniature can become the reason the whole game box gets larger.
Production Volume
We support low-volume production, but the tooling amortization doesn’t change. The mold must still go through a complete cycle of machining, sampling, and adjustment before the geometry is stabilized. For low-volume runs, resin or soft tooling may make more sense. For larger runs, PVC or plastic molding usually becomes more practical because the tooling cost can be spread across more units.
Cost Control Before Tooling
The best time to reduce cost is before tooling. Once the mold is made, most savings become painful: removing detail, changing part splits, reducing material, or accepting a weaker result.
We usually look for cost savings early: simplify risky undercuts, thicken weak parts, reduce unnecessary assembly, choose the right material, and keep the scale practical. That protects the miniature better than trying to force a cheaper price after the sculpt is already locked.
Project Cases

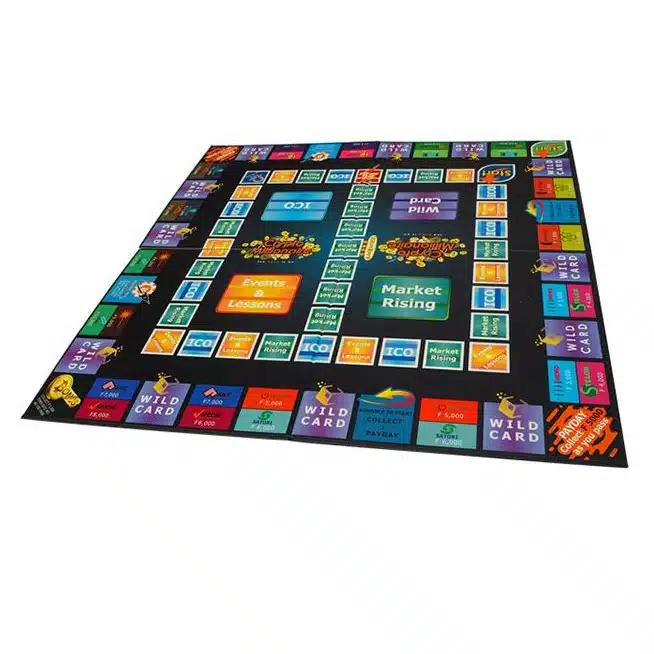
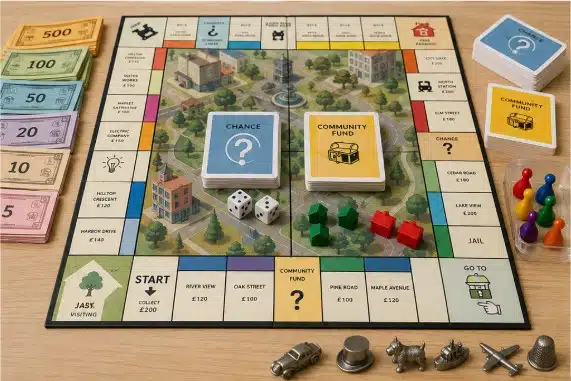
Monopoly-Style Trading Game
A U.S. client brought this project to us in February. The game idea was already close to a Monopoly-style property trading game, but the physical parts were not ready for production yet. We made the first sample with a quad-fold board, paper money, pawns, dice and house tokens. The packing was adjusted once before the bulk order.
At the beginning we used standard game pieces first. No new mold at this stage. The client wanted to test the rules and artwork before putting more budget into custom parts. After sample approval, the same build went into a 3,000-set run. Before shipment, we also helped arrange SGS China testing for ASTM F963 / CPSC requirements for U.S. sales.

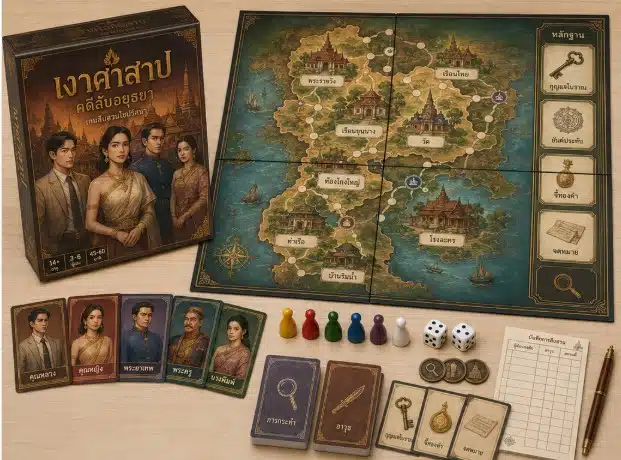
Clue-Style Mystery Game
A Thai client came to us with a mystery deduction board game idea. The rough direction was already close to a Clue-style game, but the physical parts were not ready for production. We helped fix the card groups and card quantity first, then prepared dieline templates for the cards, board and box.
The first images were made with AI, but some faces, rooms and board details were not suitable for direct printing. We helped the client find a designer in China to rebuild the artwork into printable files. Once the sample was approved, the same card count, board layout and packing structure was adopted for the bulk production.
○
FAQs about Custom Miniature
YOU MAY ALSO LIKE
Manufacturing Insights
Custom Board Game Pricing Guide (2026)
Wondering how much it costs to make a board game? Get real factory pricing examples ($4.5-$26/set), hidden shipping fee calculations,…How to Calculate the True Landed Cost of a Custom Board Game
Stop losing your crowdfunding profit to unexpected shipping bills. Learn how to calculate the true landed cost of a custom…Puzzle Materials: Blue core Cardboard Vs. Standard Cardboard
What material are puzzles made of? Learn about puzzle cardboard material from a real factory. We compare blue core, white…What to Prepare Before Requesting a Custom Board Game Quote
How to Organize Your Specifications Before Contacting a Manufacturer Requesting a custom board game quote should be a straightforward step,…