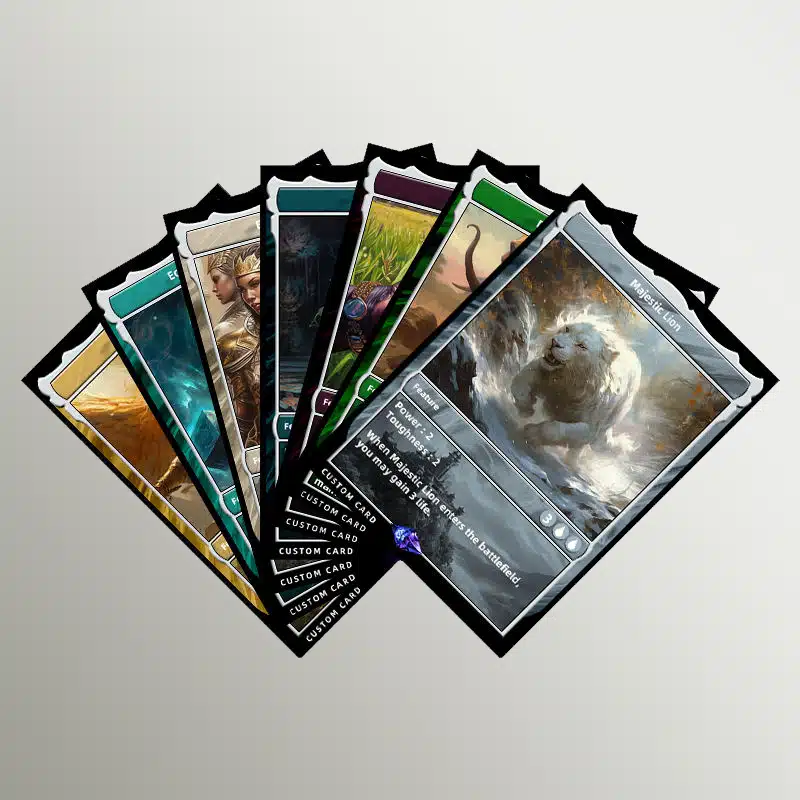
Custom Playing Cards for
Board Games & Tabletop Games
Built for repeated handling, clean cutting, and stable gameplay
Playing cards are usually the component players touch the most. If the stock is too soft, the deck feels weak. If the coating is wrong, the cards start sticking, marking, or wearing too early. If the cutting is not clean, the edges feel rough and the deck will not shuffle properly. We treat custom game cards as a real production component, not just as printed paper.
For board games and tabletop projects, we start from how the cards will actually be used: shuffle frequency, hidden information, card count, hand size, box fit, and target market. From there, we help choose the right core stock, thickness, surface finish, and cutting setup. Collector decks may need stronger opacity and edge durability, while lighter game decks may need a more cost-controlled structure. FSC-certified cardstock options are also available when the project needs them.
We Provide All options for Custom Playing Cards
Custom Card Size Options & Standard Formats
We lock in the card size early because it dictates everything else. It’s the difference between a deck that’s easy to shuffle and one that’s a nightmare to handle. It also ripples down to the box and insert specs. You don’t want to realize a size is wrong after you’ve already invested in the artwork or tooling.
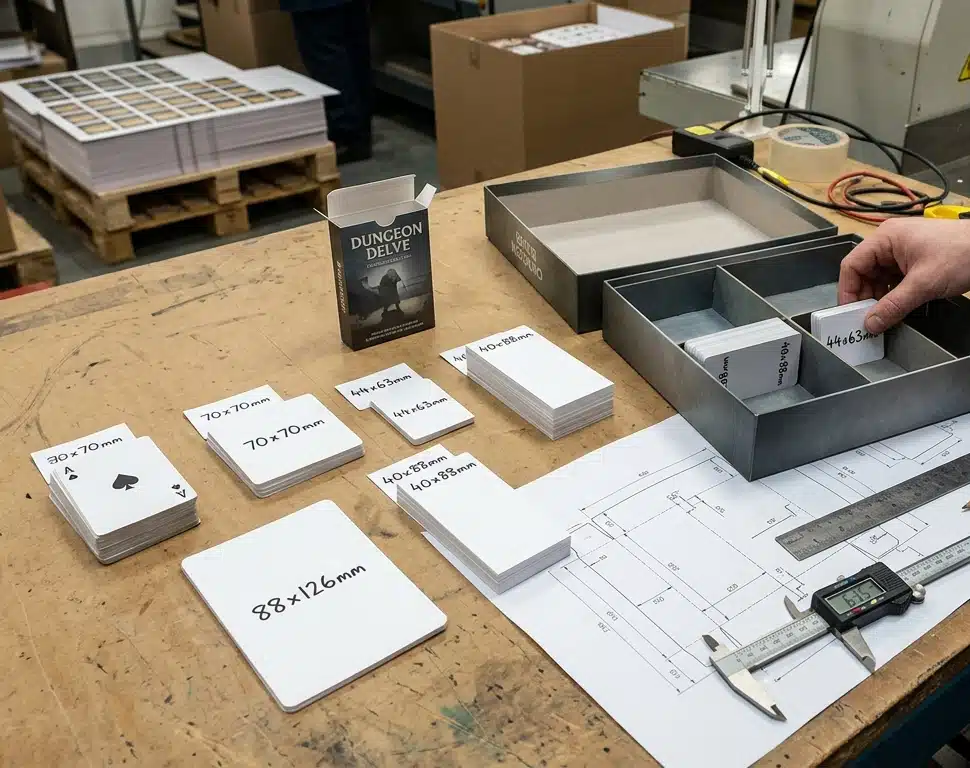
Standard Card Size
Most board game and tabletop card projects start with standard sizes. They are easier to quote, easier to cut, and usually easier to match with tuck boxes, inserts, and packing plans. For most standard formats, the cutting dies are already available, so the setup is faster and the risk is lower. In addition, it provides us with a more predictable baseline when inspecting deck height, box fitting tolerance and insert clearances.
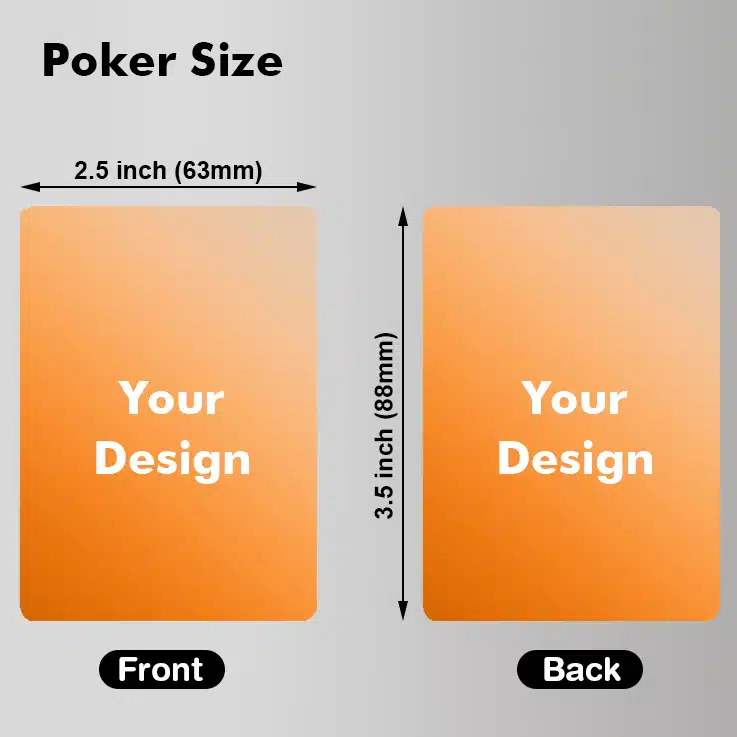
Poker Size: 63 × 88 mm / 2.5 × 3.5 inch: This is the industry standard since it’s the sweet spot for board games—you have the enough space for icons and art design, but the deck is still comfortable to hold and shuffle.You really can’t go wrong with this format for most card-driven projects..
Bridge Size: 57 × 88 mm / 2.25 × 3.5 inch: Bridge size is useful when players need to hold a lot of cards at once. The trade-off is layout space. Thick borders, large icons, or longer labels start crowding the card quickly, so this size works best when the face design is kept clean.
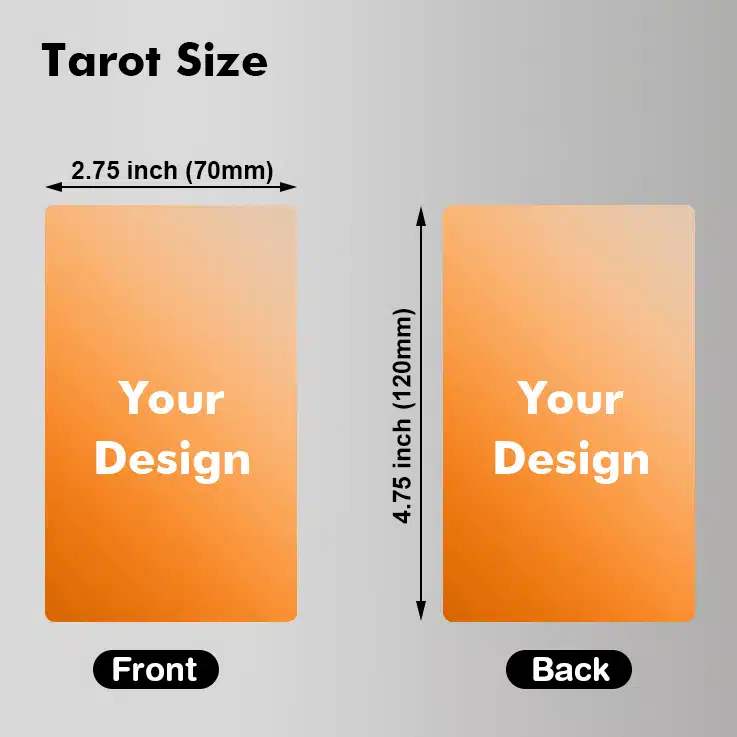
Tarot Size: 70 × 120 mm / 2.75 × 4.75 inch: Tarot size gives the artwork more room, so we use it for story cards, character cards, large illustrations, or cards with more text. The downside shows up in the stack. The deck gets thick fast, and the box or insert usually has to be planned around that from the beginning.
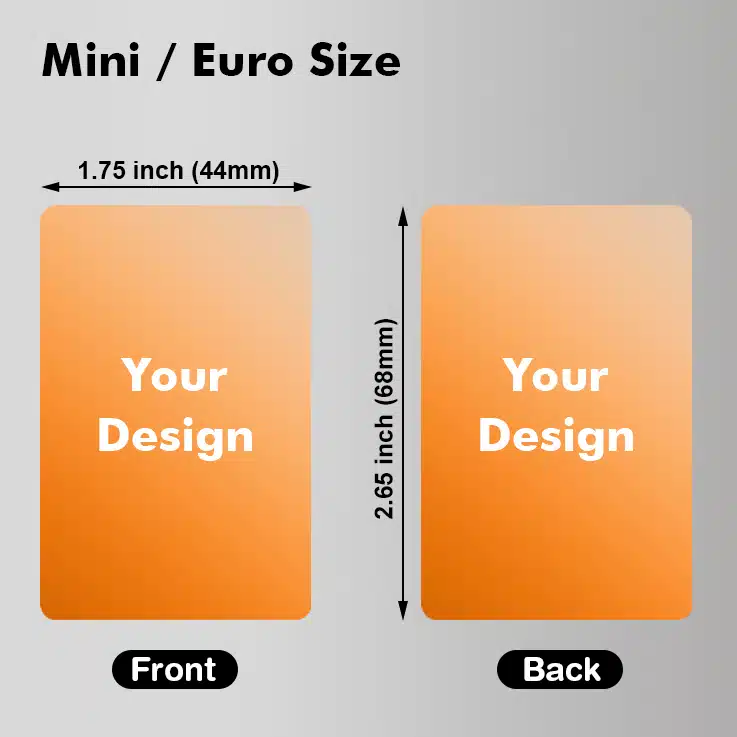
Mini / Euro Size: 44 × 68 mm / 1.75 × 2.65 inch: Mini / Euro size works well for cards that support the game rather than carry the whole gameplay load. Resource decks, reference cards, helper cards, and travel editions are common uses. It saves space, but there is not much room to hide a crowded layout. Small text and too many icons become tiring very quickly.
Square & Specialty Sizes: Used for icon-driven games, modular systems, deduction games, or table-based card play. These sizes can work well, but they usually need more attention on sheet layout, cutting, and box fit.
Standard sizes are not only easier to produce. They also reduce avoidable cost because the die line, sheet layout, and packaging path are already more predictable.

Custom Card Sizes
Custom card sizes are useful when gameplay or artwork demands it, such as unusual layouts or specific box fits.
But custom size affects more than the card. It impacts die cutting, sheet yield, corner radius, deck height, box fit, insert clearance, and carton efficiency. Even small changes can increase cost, waste, and packing complexity.
Only use custom sizing if it improves playability or fit. Otherwise, standard sizes are more reliable, easier to produce, and help avoid unnecessary cost and technical issues.
Custom Cards Material

In custom playing card manufacturing, material choice decides more than print quality. It affects opacity, snap, shuffle feel, edge wear, and how the deck holds up after repeated use.
We usually do not start with which stock sounds better. We start with whether the deck needs anti-see-through performance, how often it will be shuffled, and whether the project is play-led or print-led. That is where custom card printing decisions start separating from real custom game cards production.
Material Selection Logic
Material choice usually goes wrong when artwork is approved before card handling is defined. The better sequence is:
If this order is reversed, the deck may still look fine in sample form but fail in actual use. That happens more often with custom deck manufacturing than people expect.

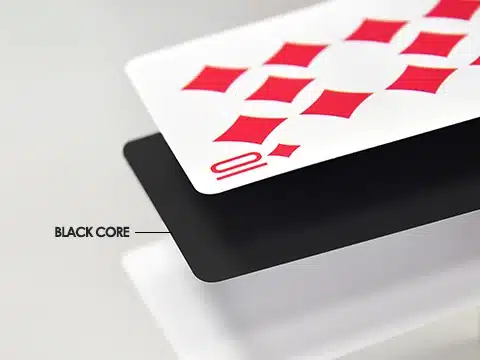
Black Core Paper — 280–350gsm
Black core is the safest choice for custom playing and game cards where hidden information matters.
Its key advantage is opacity. For poker-style use, TCG play, or sensitive card backs, it prevents show-through and offers a firmer snap with better shuffle control.
It’s not the cheapest option, but if secrecy matters, cutting black core is usually a bad compromise.
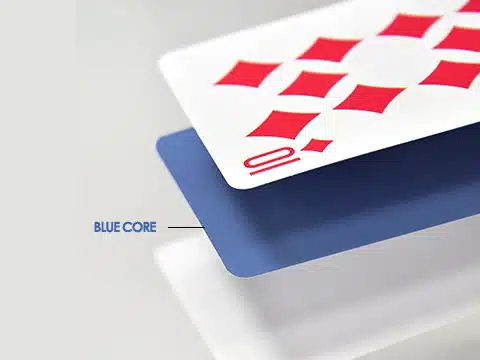
Blue Core Paper — 280–350gsm
Blue core is a mid-range option when real card handling is needed but black core is too costly.
It offers acceptable opacity, decent shuffle feel, and a more game-card-like quality than standard coated stock—enough for many commercial decks.
However, with dark backs, hidden roles, or frequent shuffling, its limits show sooner. It’s a budget choice, not a premium one.
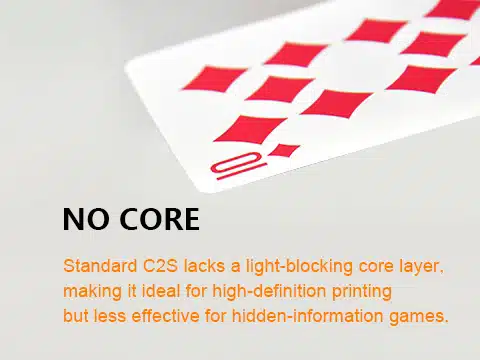
C2S Coated Paper — 300gsm / 350gsm
C2S is best for print-focused projects, not shuffle-heavy use.
It offers a clean surface and sharp images, making it suitable for flash cards, promo cards, and educational decks where handling is minimal.
However, it has lower opacity, wears faster, and performs poorly with repeated shuffling. If the deck needs true playing card handling, C2S is usually the wrong choice.
PVC Plastic — typically 0.32 mm
PVC is chosen for durability, not paper-card feel.
It is waterproof, wipe-clean, and stable in wet or high-contact use, making it suitable for bar, kids’, and outdoor cards. Around 0.32 mm is a common thickness for flexibility without being too soft.
If a traditional paper snap is needed, PVC is not ideal. It’s used to handle tough conditions, not to mimic casino-style cards.

Practical Starting Point
- Black core 280–350gsm: for opacity and strong shuffle handling
- Blue core 280–350gsm: for playing-card feel on tighter budgets
- C2S 300/350gsm: for print-focused decks with light handling
- PVC 0.32 mm: for water resistance over paper feel
For decks with frequent shuffling, hidden info, and tight handling, material choice matters more than print quality. The wrong stock quickly makes cards feel unlike real game cards.
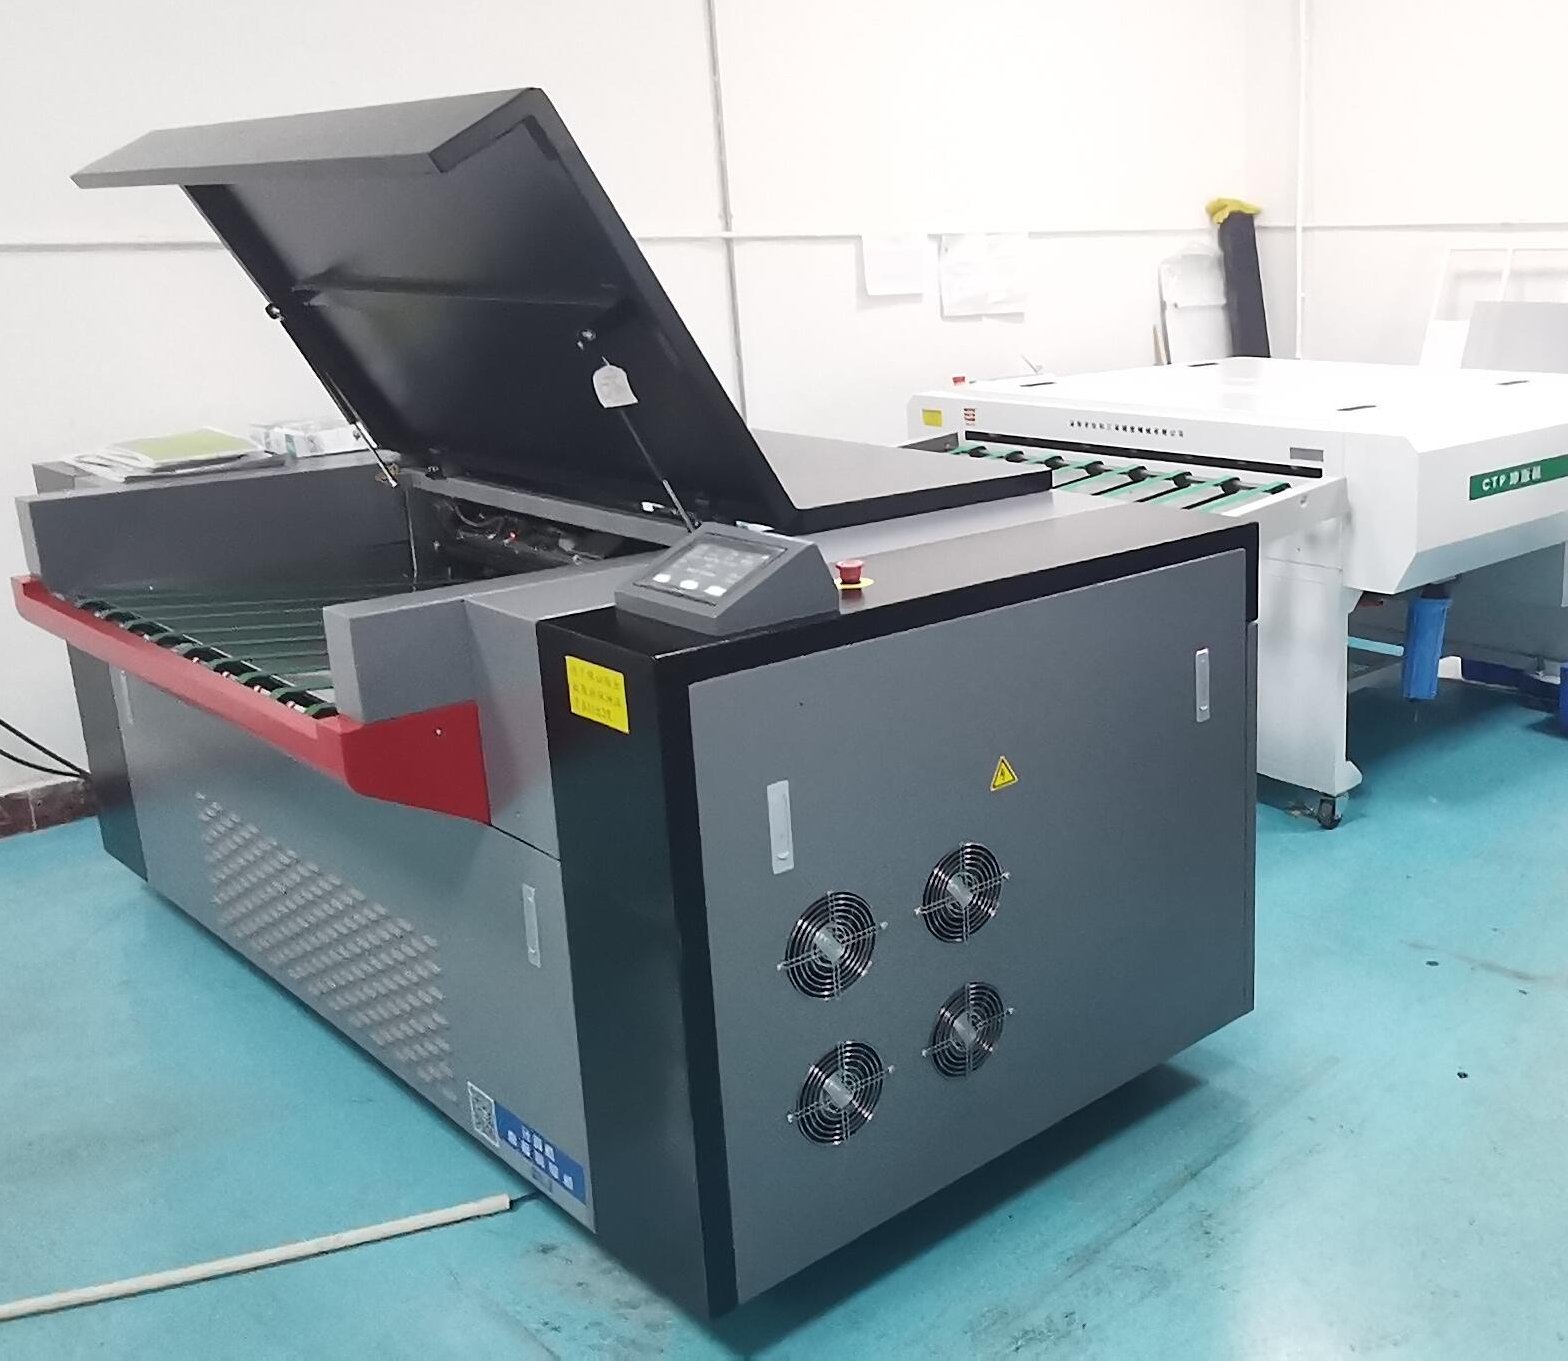
Custom Playing Cards Printing Methods & Specialty Effects

Printing for custom playing cards is not just about color. It affects registration, edge consistency, and run-to-run stability.
Most issues come from mismatched methods, not the artwork. The printing process must align with the material, production plan, and tolerance early, or problems will appear later.
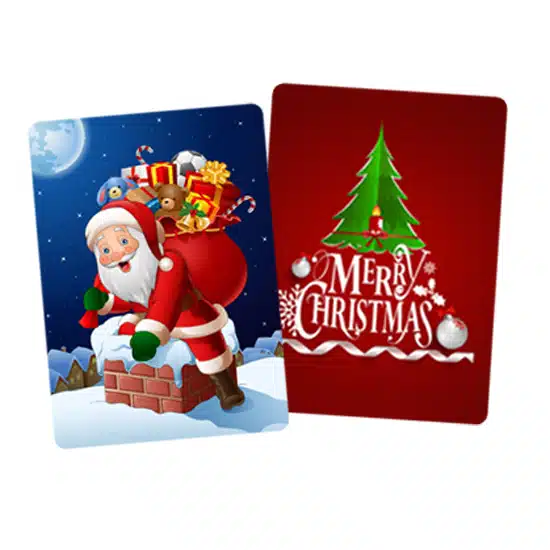
Full color printing: the most economical and reliable choice
Full color cards use two main methods: digital printing for small or limited runs, and offset printing for high-volume production. Both deliver strong color accuracy and vibrant results.
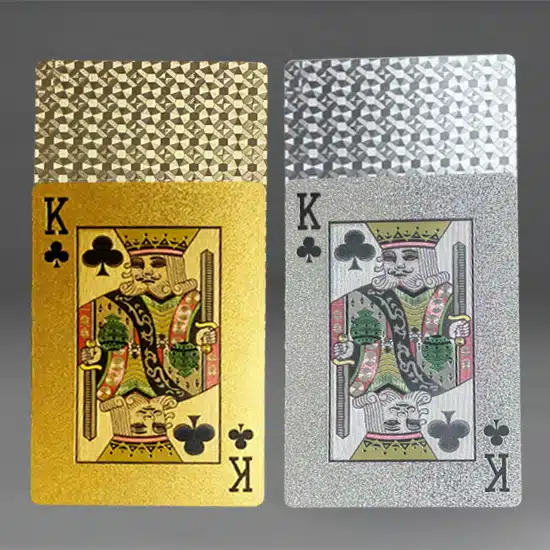
Gold/Silver foil stamping printing: high-quality and high-end
Gold and silver foil stamping adds a premium metallic finish that elevates a deck’s visual impact. It is commonly used to create a luxury look and make custom cards stand out.
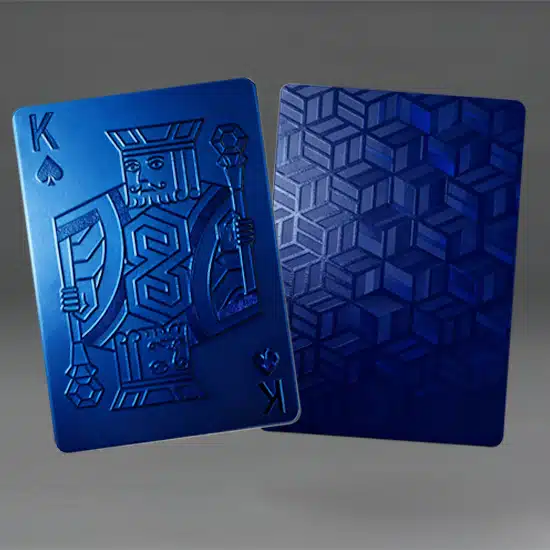
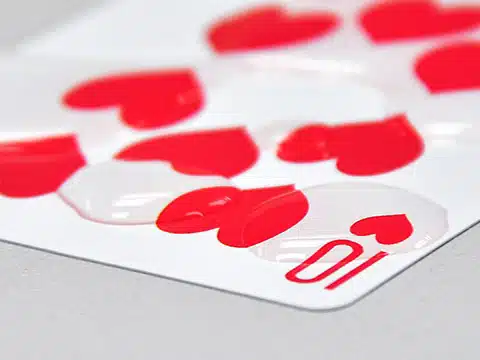
Spot UV printing: Showcases a sharply elevated pattern with a pronounced 3D look
Spot UV adds a clear glossy coating to selected areas, creating contrast with matte surfaces and adding texture and visual depth.
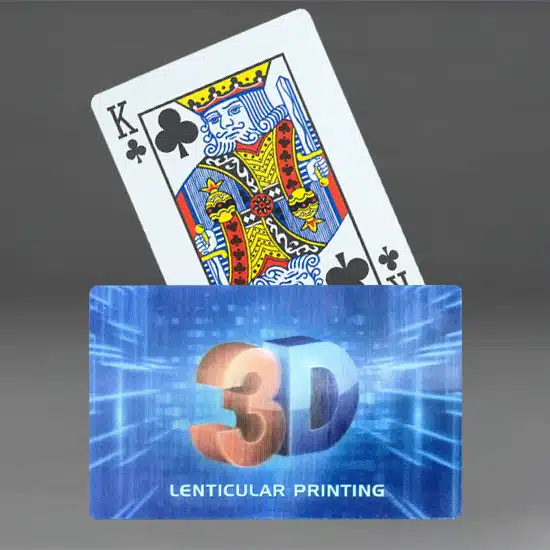
3D lenticular printing: provide things out of the ordinary
3D lenticular printing uses a lens over interlaced images to create motion, depth, or 3D effects, making card visuals appear animated or layered.

Printing Selection Logic
Printing decisions usually go wrong when the method is chosen after artwork is already fixed. The more reliable sequence is:
- first confirm the substrate
- then check run size and repeat requirement
- then review coverage, detail density, and alignment sensitivity
- only after that, lock the printing route
If this order is reversed, the project may pass approval but start drifting later — usually at reorder stage, not sample stage.

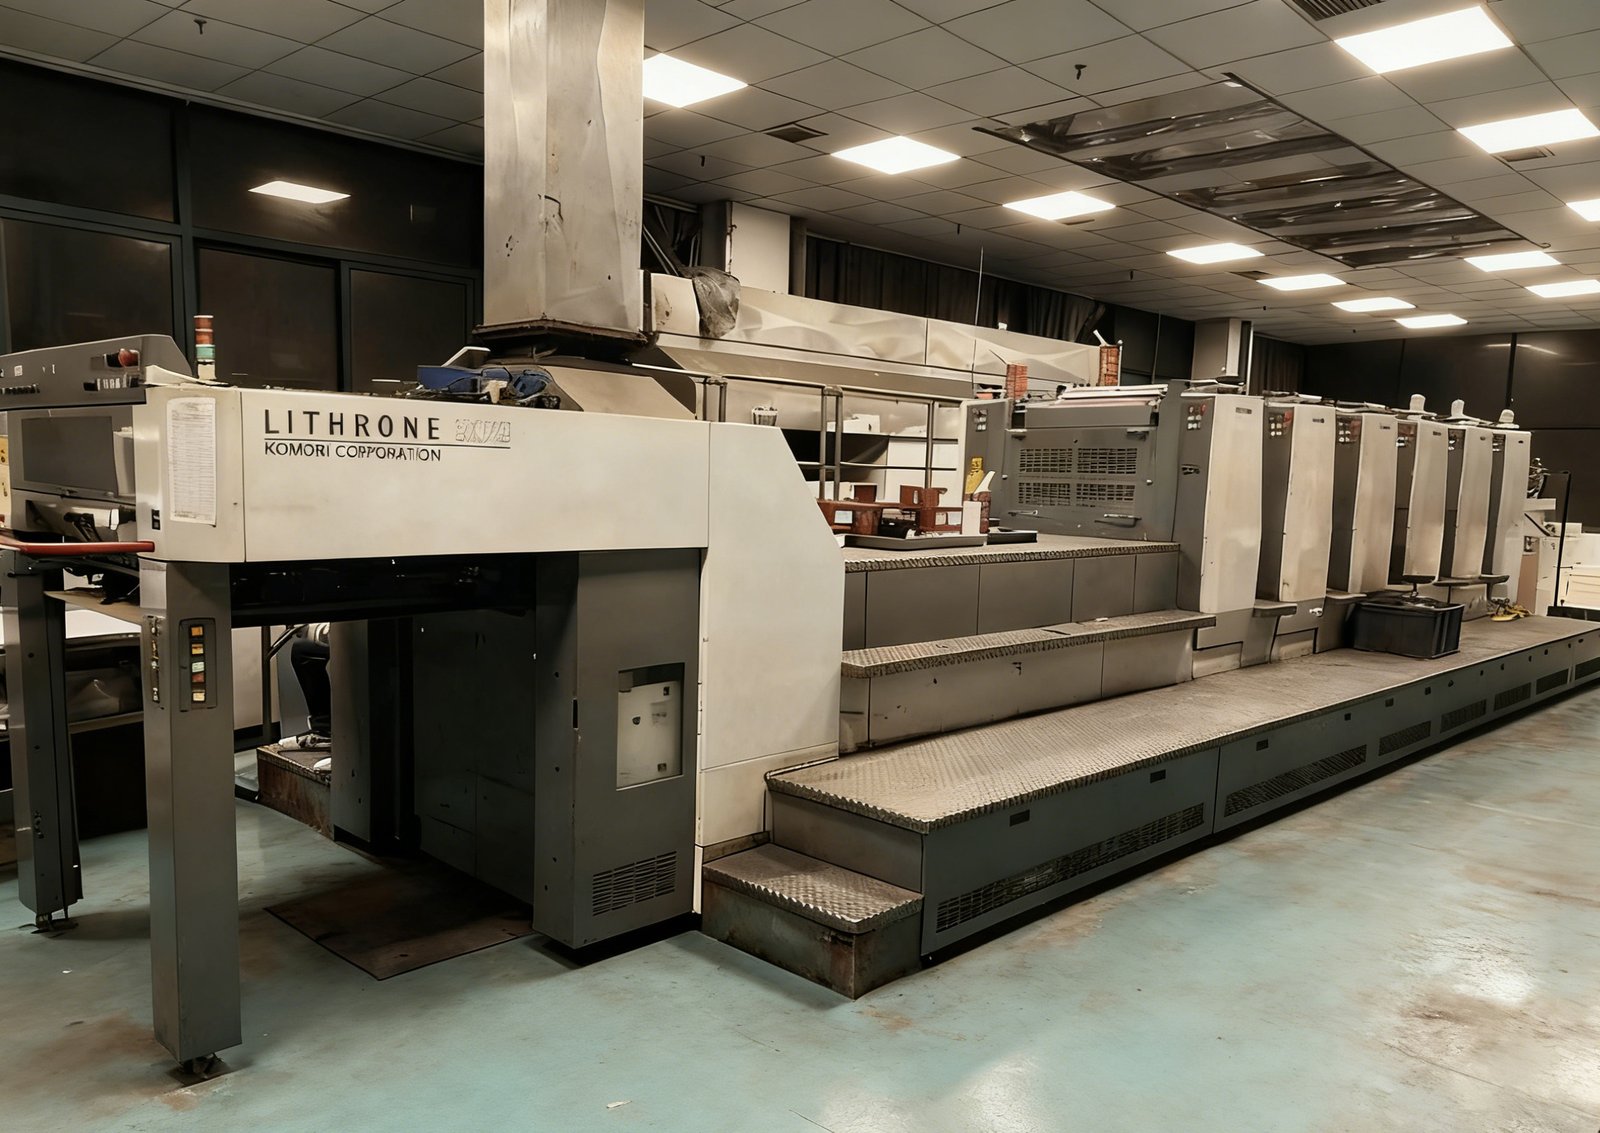
Offset Printing (Paper Cards)
Offset is the default for paper-based custom playing cards when volume, registration stability, and reprint consistency matter.
It fits best with paper stocks like black or blue core, where controlled color, tight alignment, and consistent full-sheet production are required. It handles solid areas, fine lines, borders, and repeated backs reliably.
The trade-off is setup cost: small runs are inefficient due to plates and calibration, but at scale it becomes the most stable option.
For repeatable production and future reprints, offset is usually the safest choice to lock in early.

UV Printing (Plastic Cards)
UV printing is only used when the material requires it.
On PVC or other non-absorbent plastics, standard paper printing doesn’t apply, so UV ink is cured on the surface instead of absorbed.
It suits waterproof, wipeable, and high-contact cards, but is not suitable when a paper-like feel and flexibility are the goal.

3D Lenticular Printing
Lenticular printing is only appropriate when the visual effect is the core design goal.
It must be planned around lens pitch from the start. If added later, issues usually appear in alignment rather than printing quality.
Key factors are image slicing, lens matching, and strict registration control. When correctly set up, the effect is strong; when not, it fails early with little room for correction in production.

Practical Warning
The first sample rarely reveals real production risk.
Issues often appear in later reorders, across different calibration runs, or when artwork proves less forgiving than expected. That is where incorrect printing choices become costly.
For projects requiring consistent reprints, decisions should not be based on sample appearance alone, as problems typically surface at the reprint stage, not during approval.
Surface Finishes & Texture Treatments

Surface finishing in custom playing cards is not mainly a visual choice. It controls how the deck behaves in use — glare under lighting, shuffle friction, edge wear, and how fast the cards start to feel “old”.
In custom card printing, most issues we see are not caused by printing itself, but by finishing being chosen too late or for the wrong reason.

Finishing Selection Logic
Finishing often goes wrong at step one. Designers choose based on look, then try to fix handling later, which rarely works.
The better sequence is to decide if the deck needs protection or feel, check shuffle frequency, evaluate glare and readability under real lighting, then choose varnish, lamination, or texture.
If reversed, the deck may pass sampling but later stick, glare, or wear unevenly.
Glossy Varnish
Works when cost control and print clarity matter more than durability.
Gloss varnish adds minimal thickness and keeps a more natural paper feel. It suits budget-sensitive cards with moderate shuffle use.
It reflects light strongly, boosting color but reducing readability under overhead lighting, especially for text-heavy designs.
Not ideal for frequent shuffling, as surface wear appears sooner than expected.

Matte Varnish
Used when glare control matters more than surface strength.
Matte varnish reduces reflection and improves readability in tabletop conditions. It keeps a more natural paper feel compared to lamination.
The trade-off shows up in durability. It marks faster, and the surface tends to pick up oils during repeated handling.
Works for strategy-heavy games where players read cards more than they shuffle them. Less suitable for decks that are constantly handled.
Glossy Lamination
Gloss lamination is the more practical option when the deck needs better protection against rubbing, handling, and light moisture than bare paper stock can provide.
The film layer helps the cards hold up better in use and usually makes shuffling easier, but the finish feels more coated and less paper-like in hand.

Matte Lamination
A more controlled version of lamination.
It reduces glare while adding protection. More durable than varnish, but less smooth than gloss lamination.
The main issue is friction. Matte film can increase resistance during shuffling, especially in high humidity.
Works when readability and durability both matter, but not for decks needing very smooth shuffle performance.
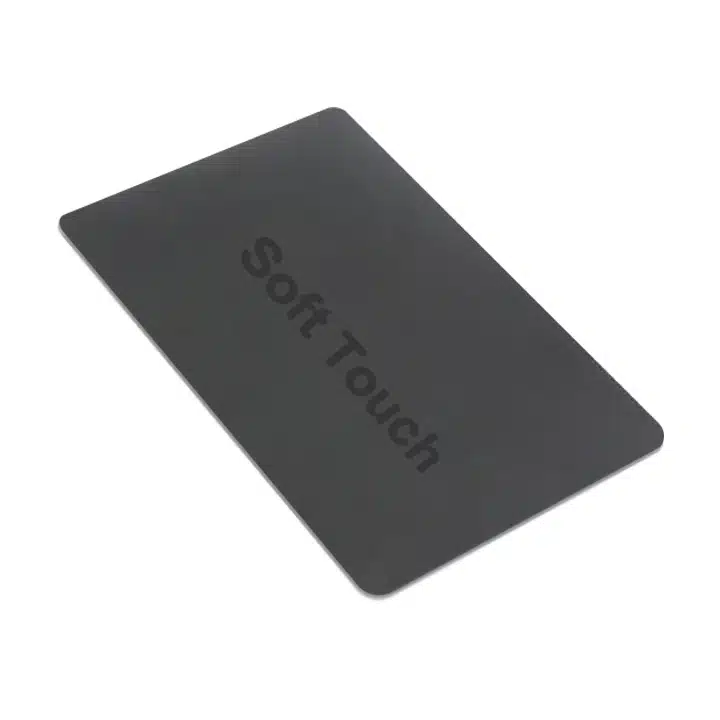
Soft Touch Lamination
Soft touch is chosen for tactile positioning, not gameplay: This finish gives a controlled, suede-like feel, often used in Kickstarter premium decks or custom card projects to create a strong first impression.
The limitation appears later, as the surface is sensitive to scratches, oil marks, and rapid edge wear during frequent handling.
This option is best when presentation is the priority, rather than long-term shuffle performance.

Linen Finish (Embossed Texture)
Linen texture directly affects card handling: This light embossed texture reduces friction, making cards separate more easily and feel less sticky during shuffling.
The process requires controlled embossing pressure and alignment; if the base stock is too soft or the coating is too heavy, the texture loses its effectiveness.
This finish is common in black core playing cards and decks designed for repeated use.
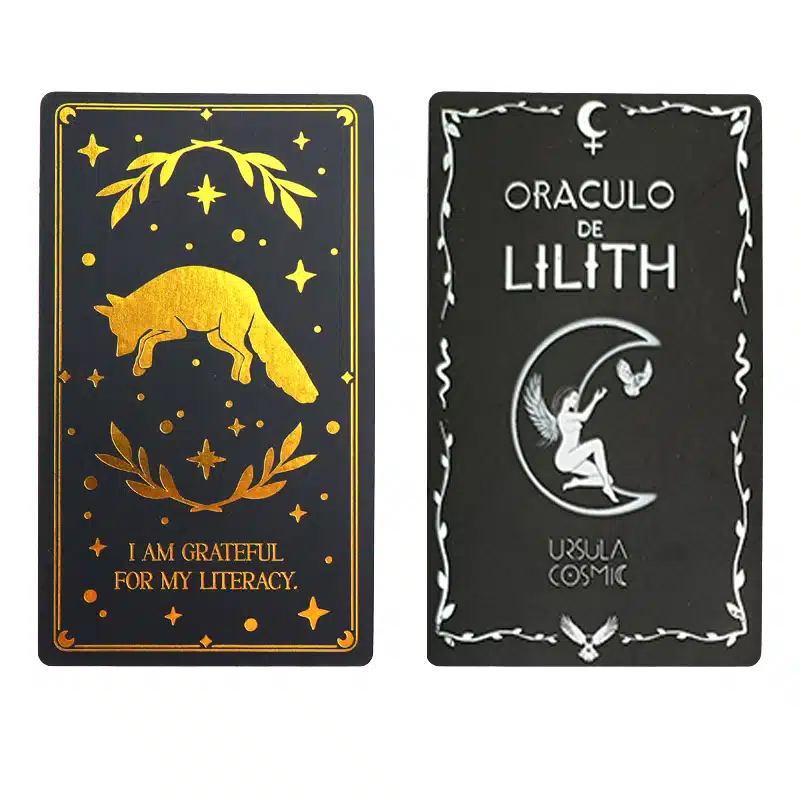
Special Surface Effects Foil Stamping (Gold / Silver)
Foil is used for visual emphasis, not surface performance: This non-functional finish adds significant shelf appeal to logos but does not enhance card longevity or shuffle performance. On a micro-level, heat-stamped foil creates a slight height variance that can affect the uniform slip of the deck during high-frequency handling.
This works well for branding and collector appeal but is not relevant to core gameplay performance.
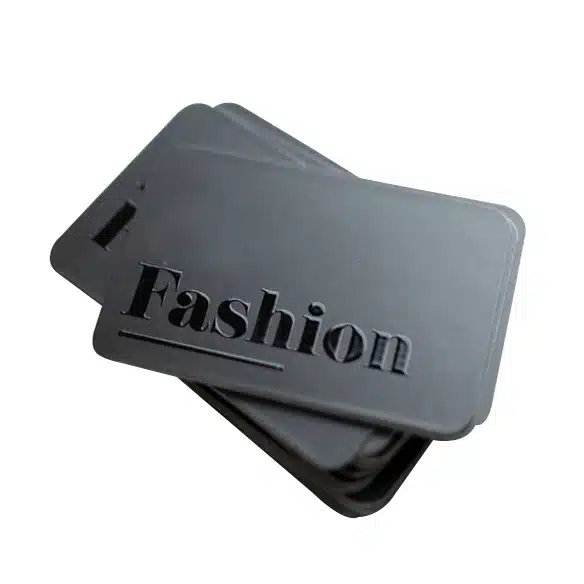
Spot UV
We use Spot UV to create a sharp, tactile lift against the matte base—perfect for making logos or card art catch the light without the glare of a full-gloss finish.
Used to highlight specific elements without changing the entire surface behavior. Like foil, it is a visual layer, not a structural one.
Overuse can create uneven surface friction across the card face, which sometimes shows during stacking or sliding.

Practical Starting Point
If finishing is still open, we usually start from usage, not appearance:
- frequent shuffle + gameplay priority: linen + varnish
- moderate use + balanced durability: matte lamination
- high protection requirement: gloss lamination
- retail / visual-first decks: soft touch + optional foil
If a deck is expected to be shuffled heavily, choosing finishing based on appearance alone will fail early. If the project requires both high durability and soft tactile feel, the trade-off becomes unavoidable.
Custom Card Layout & Artwork Setup
Artwork setup in custom playing cards is not only a design step. It defines how tolerant the deck is in production — especially in cutting alignment, border consistency, and front-to-back registration. In custom card printing, many issues that appear as “printing defects” are actually artwork decisions made too early, before production constraints are considered.
Artwork Decision Logic
Printing decisions fail when methods are chosen after visuals are finalized. Artwork problems usually stem from layout, not printing, making it essential to evaluate production limits before locking designs.
The reliable design sequence is:
- Confirm if the deck uses repeated or multiple card backs.
- Define the card face structure (identical, mixed, or fully unique).
- Check border sensitivity and safe zone tolerance.
- Lock the final artwork layout.
Reversing this order can result in a deck that passes sampling but exhibits misalignment, uneven borders, or visual drift during mass production.

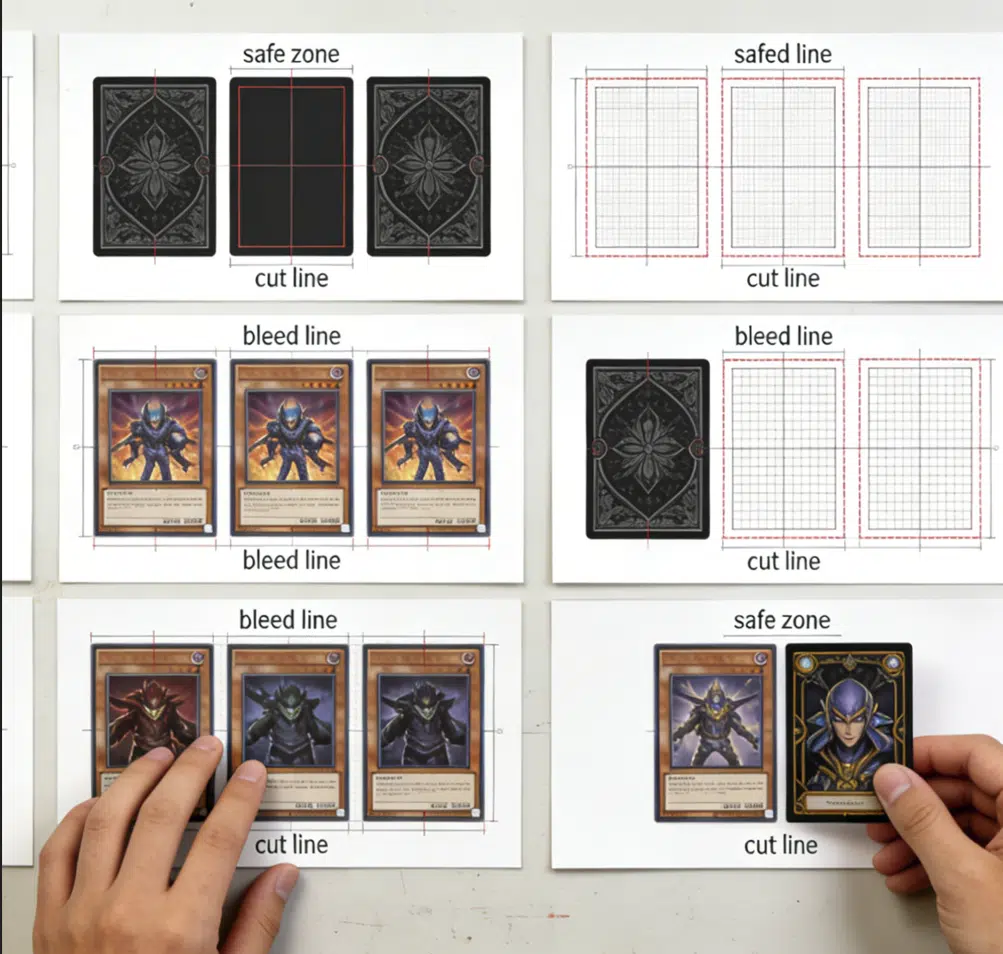
Bleed, Safe Zone & Registration
Artwork should not be built to the final visible edge. We normally require:
–3 mm bleed beyond the cut line
–safe zone inside the trim to protect key elements
Cutting tolerance is typically around ±0.5 mm depending on layout and tooling condition. That is within normal production range, but becomes a problem when artwork relies on edge-critical alignment.
Front-to-back registration is another constraint. If both sides depend on precise positional matching, the layout becomes less tolerant. In practice, perfect alignment across both sides is controlled, but not absolute.

Card Face Layout
The main decision is not style, but tolerance. Full-bleed layouts are more forgiving in production. Minor cutting variation is less visible.
Bordered layouts — especially with thin frames — are less tolerant. Once borders go below a certain width, even normal ±0.5 mm cutting tolerance becomes visible. This is where many “inconsistent cards” complaints come from.
Centered icons or tight framing near edges behave similarly. They look controlled in artwork, but become sensitive once die-cutting is applied.

Card Back Structure
Most custom playing cards use one repeated back. Not for design simplicity, but for collation stability and production consistency.
Multiple back designs are workable, but only when gameplay requires them. Otherwise, they introduce unnecessary sorting risk during packing and increase error exposure in large runs.
If back alignment is critical (for example, directional designs or framed layouts), even small cutting shifts become visible faster than expected.

Variable Artwork Control
There is a difference between:
–identical faces
–mixed faces (limited variations)
–fully unique decks (every card different)
Fully unique decks are common in custom game cards, but they require tighter file control and proofing discipline.
The usual issue is not printing quality, but sequencing. If file naming, sorting logic, or proof validation is loose, errors appear during collation — not during printing. This part is rarely visible in the first sample.

Practical Warning
If your design relies on thin borders, exact centering, or front-to-back positional matching, the artwork becomes less forgiving than the printing process itself.
This is where most production issues start — not because the factory cannot print accurately, but because the layout leaves no tolerance for normal manufacturing variation.
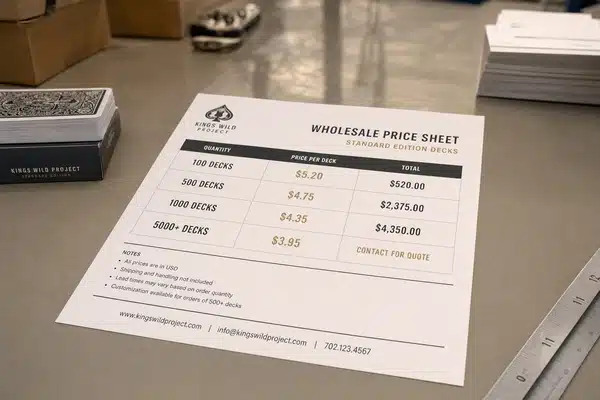
Transparent Pricing
Custom Playing Cards Pricing Examples
See real-world pricing examples for popular board game styles. Every project is unique. these estimates help you plan your budget before requesting a detailed quote.

Standard Poker Cards
Everyday playing cards for casual and traditional card games
Component | Specification | Qty |
|---|---|---|
Card Size | 63×88mm (Poker Size) | 100 pcs |
Card Stock | 300gsm Art Paper | / |
Surface Finish | Linen Finish | / |
Printing | Double-sided Print | / |
Corner Type | Rounded Corners | / |
Estimated Quote (1,000 units)
$2 – 5 / set
Lead time: 15-60 days

Premium Game Cards
High-quality game cards with enhanced finish and durability
Component | Specification | Qty |
|---|---|---|
Card Size | 63×88mm (Poker Size) | 100 pcs |
Card Stock | 350gsm Black Core | / |
Surface Finish | Gloss Lamination | / |
Edge Finish | Gold Gilded Edges | / |
Corner Type | Rounded Corners | / |
Estimated Quote (1,000 units)
$5.5 – 12 / set
Lead time: 15-60 days
Understand Your Costs
Deep-dive guides to help you budget, plan, and avoid surprises.
Individual Component Pricing
Need a quote for just one component? Check individual pricing for each sub-service.
Ready to Get Your Exact Quote?
These are estimates. Your game is unique. Send us your specs and we’ll return a detailed, itemized quote within 24 hours.
Complete Custom Board Game Components
A board game is a system of interconnected components. At FUNWAY, we manufacture every element — from the board and box down to the smallest token — as one integrated production, not separate parts. Here are all the customizable components that go into a complete board game. And of course, you can choose to customize the whole or just a part of it.
| Folded or rigid boards up to 600×900mm with hinge alignment and surface finishing | |

| Telescope, rigid, and magnetic boxes engineered for fit and stacking strength | |

| Neoprene play surfaces and foldable player screens | |
| Cardstock selection, clean cutting, and coatings for stable shuffling | |

| PVC and resin figures with mold review and scale consistency control | |
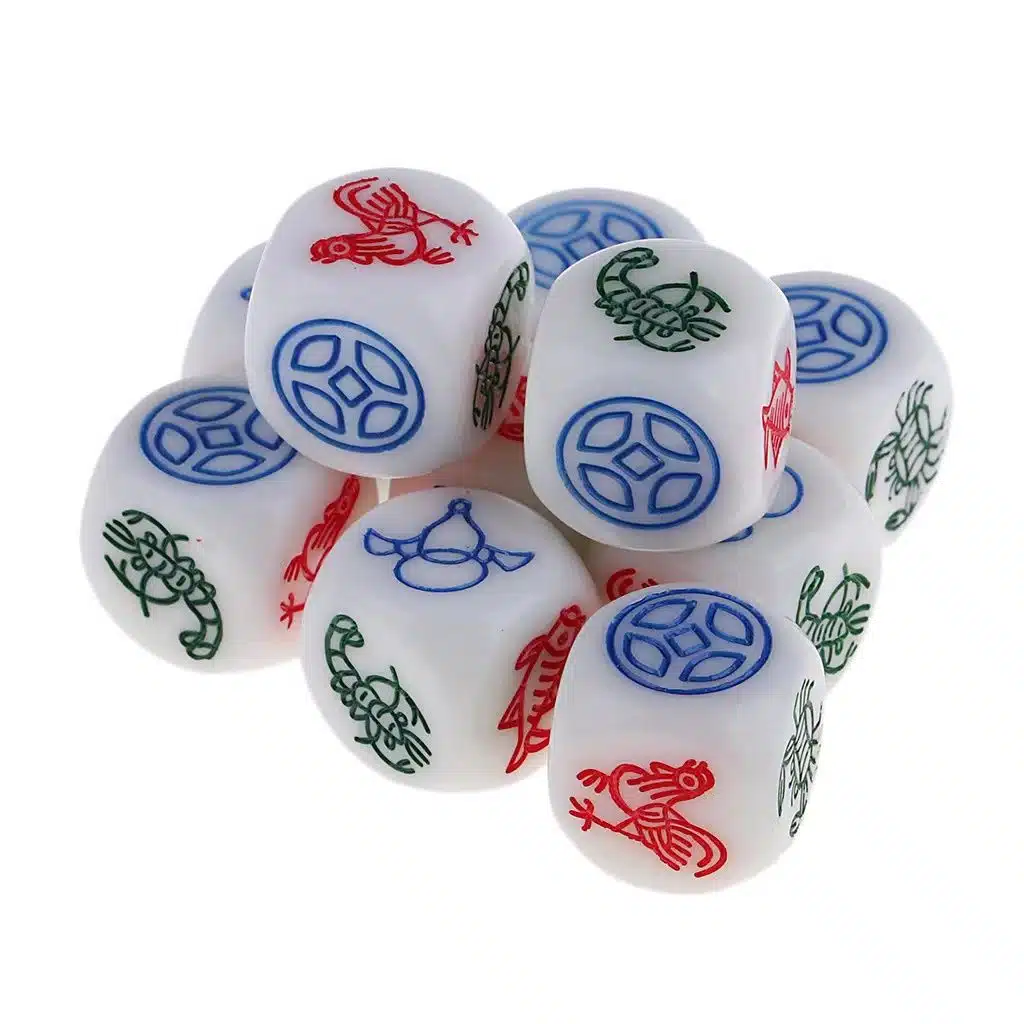
| Precision dice in multiple materials, sizes, and custom face designs | |
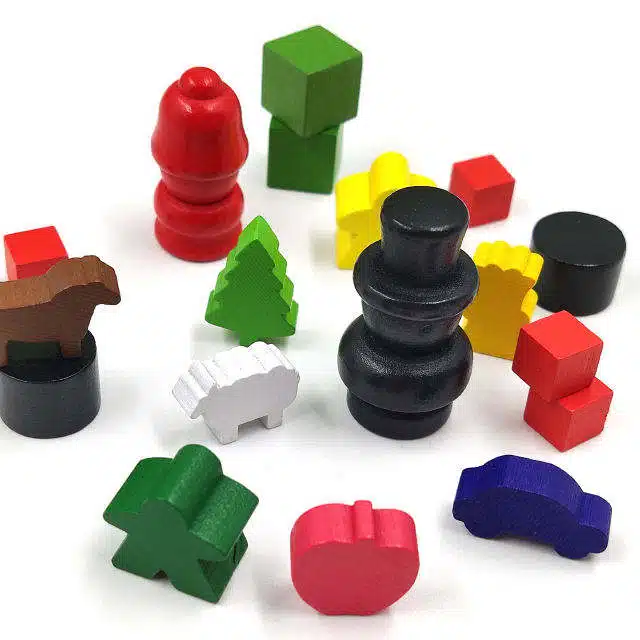
| Player markers in wood or plastic with precise silhouettes and color control | |
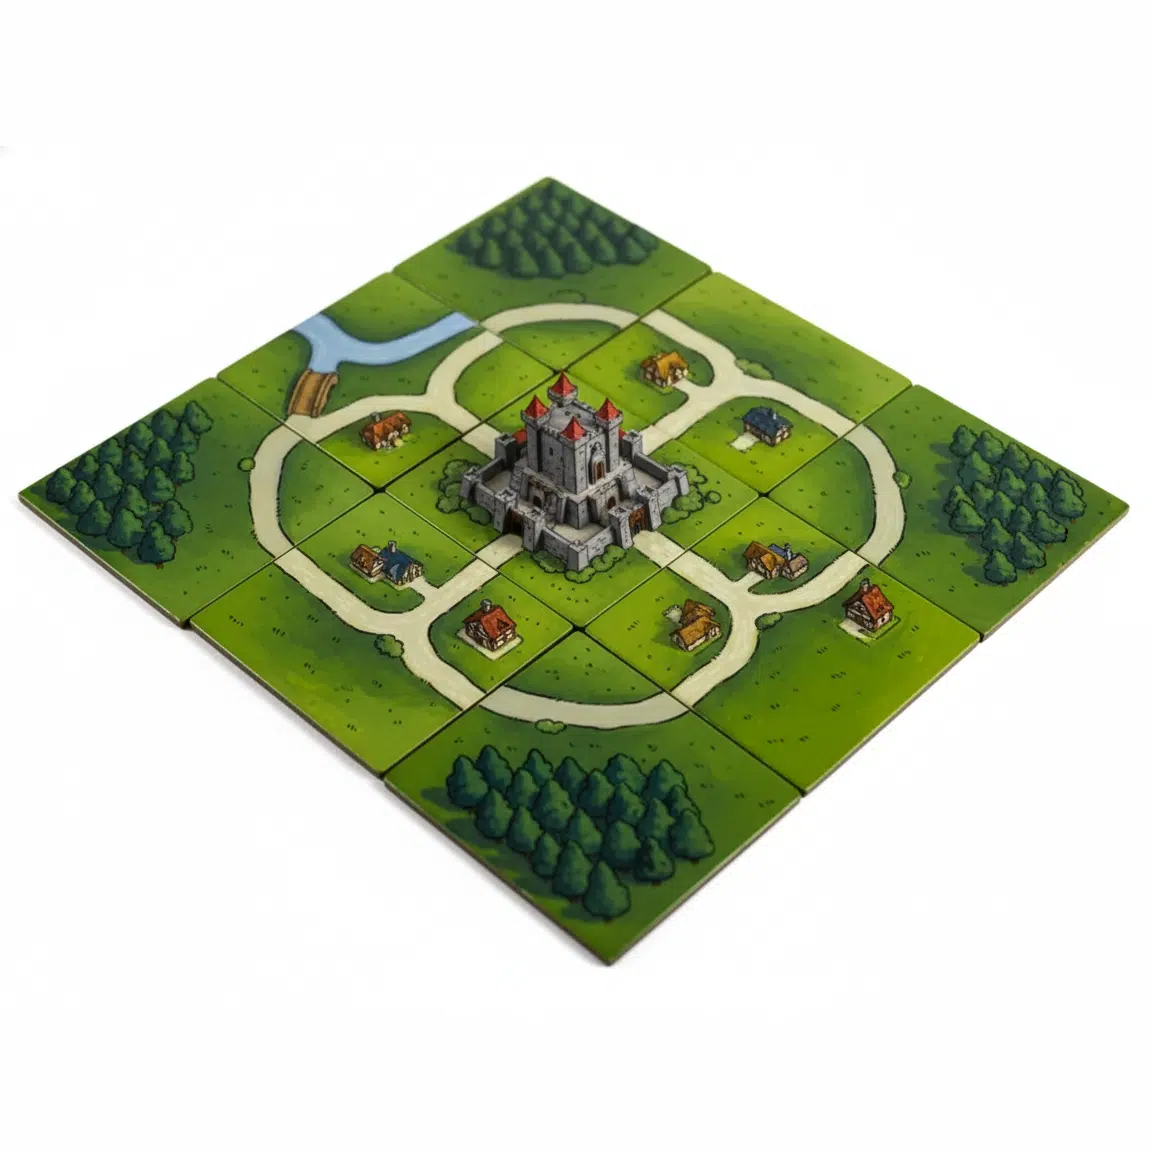
| Map and terrain modules in cardboard, plastic, or acrylic | |
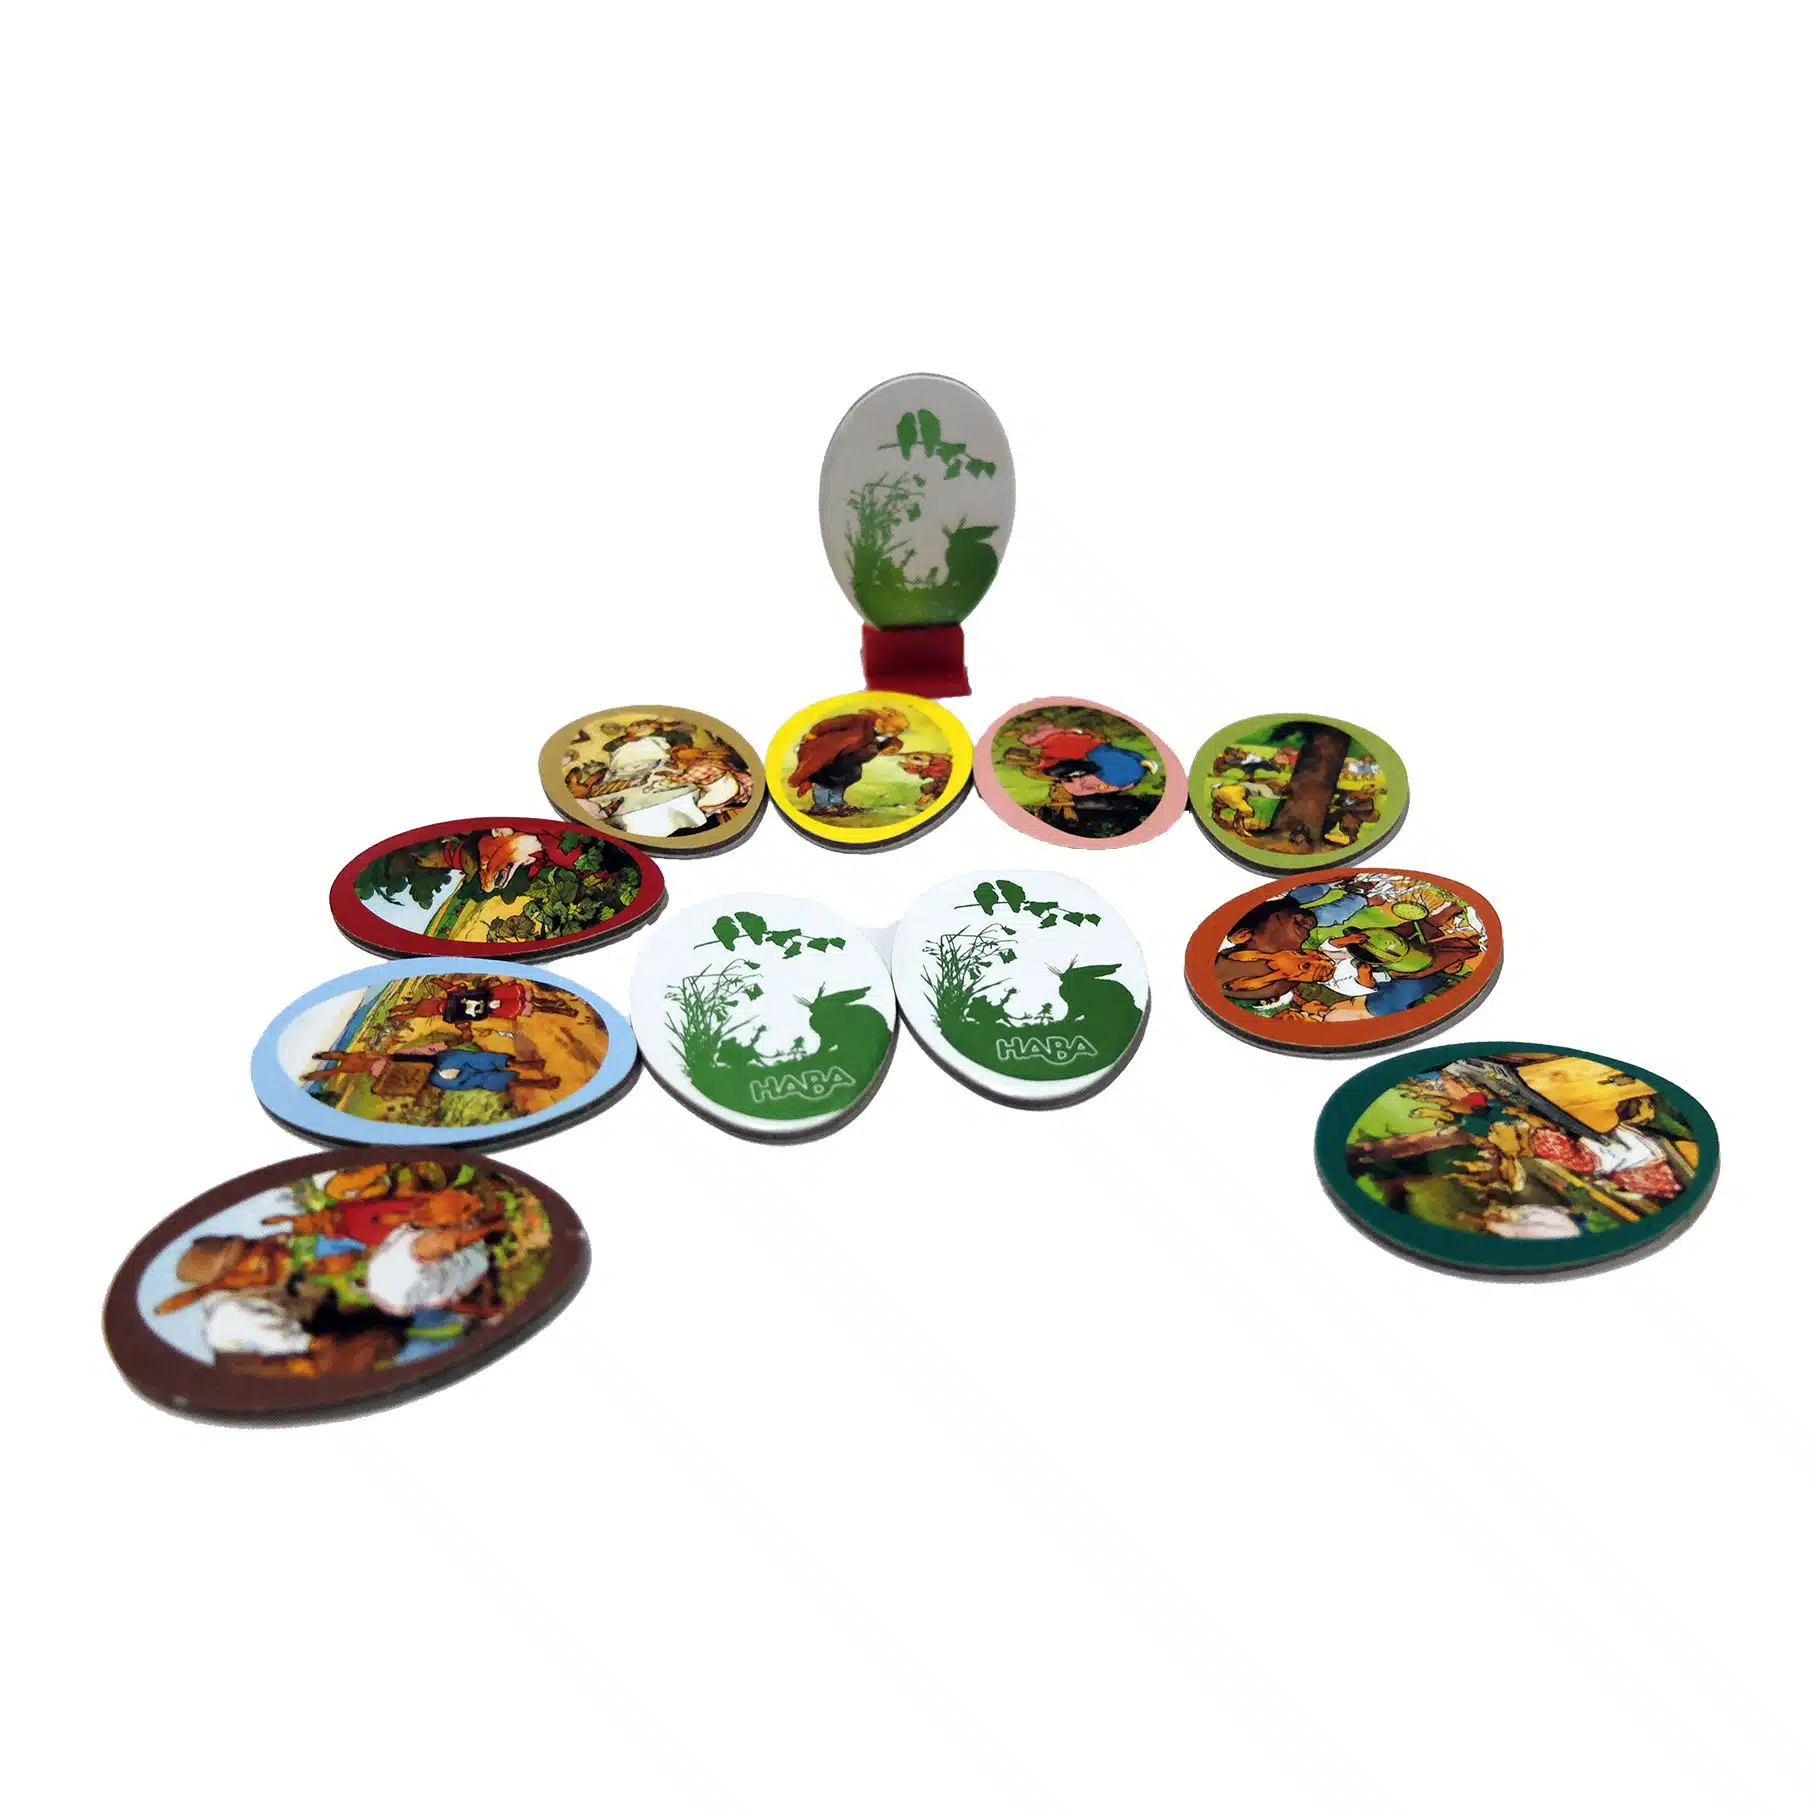
| Punchboard chips, wooden discs, and counters for scores and resources | |
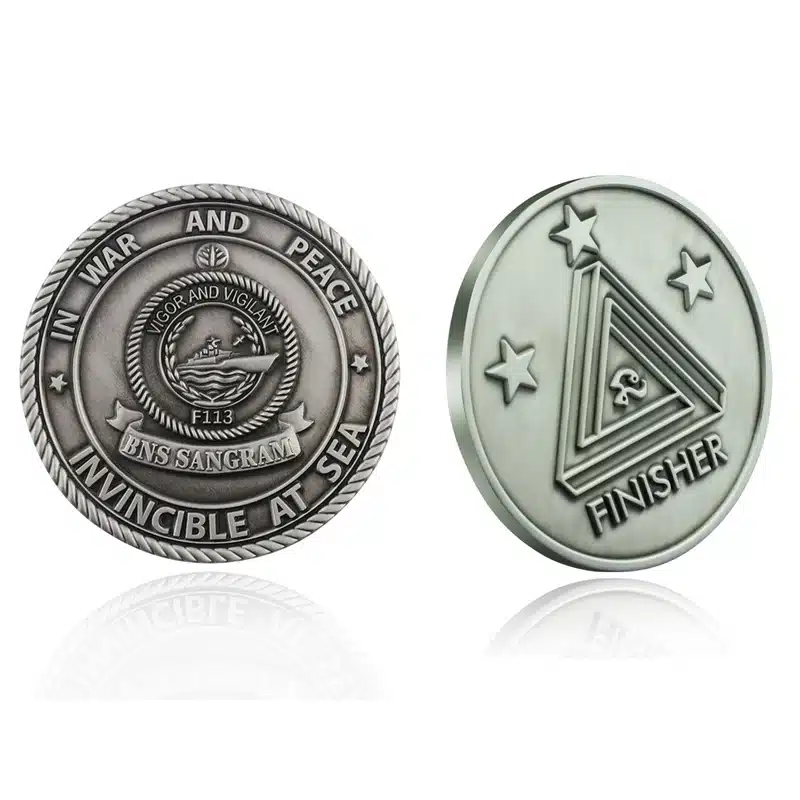
| Metal coins, wooden resources, plastic pawns, standees, and specialty parts | |
| Printed paper essentials for rules, currency, and scorekeeping |
Every component above is manufactured through our integrated production system — from component mapping and engineering review through sampling and mass production. Learn more about our complete custom board game printing services.
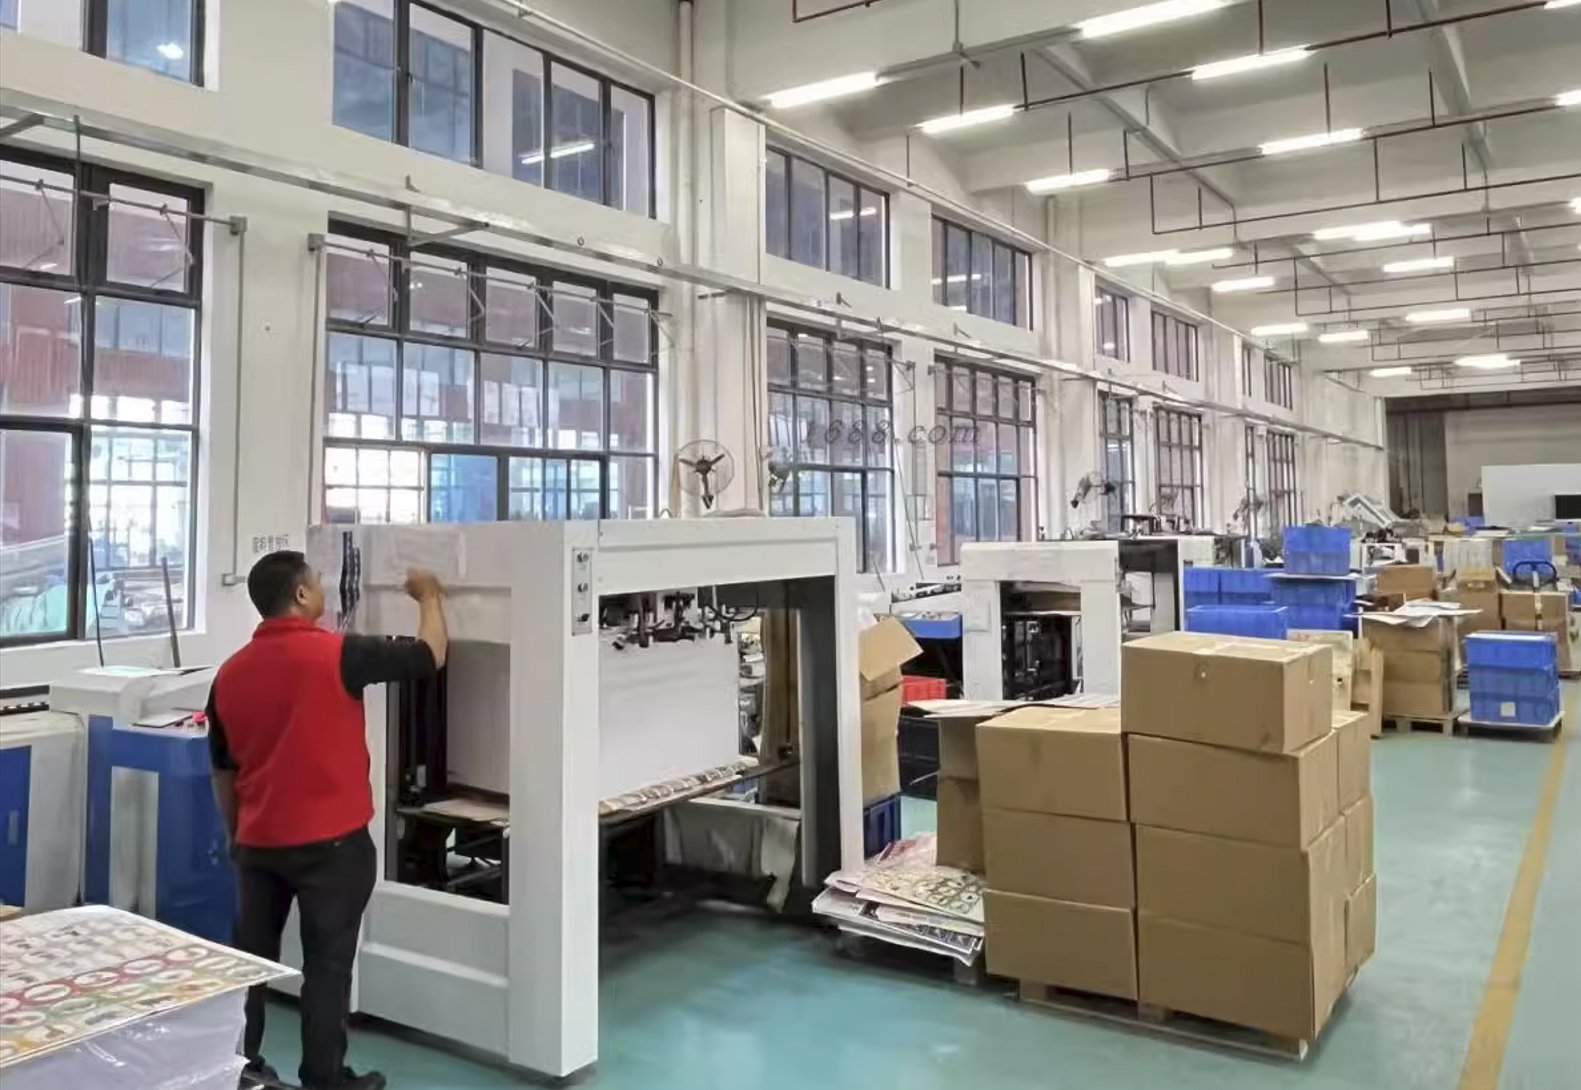
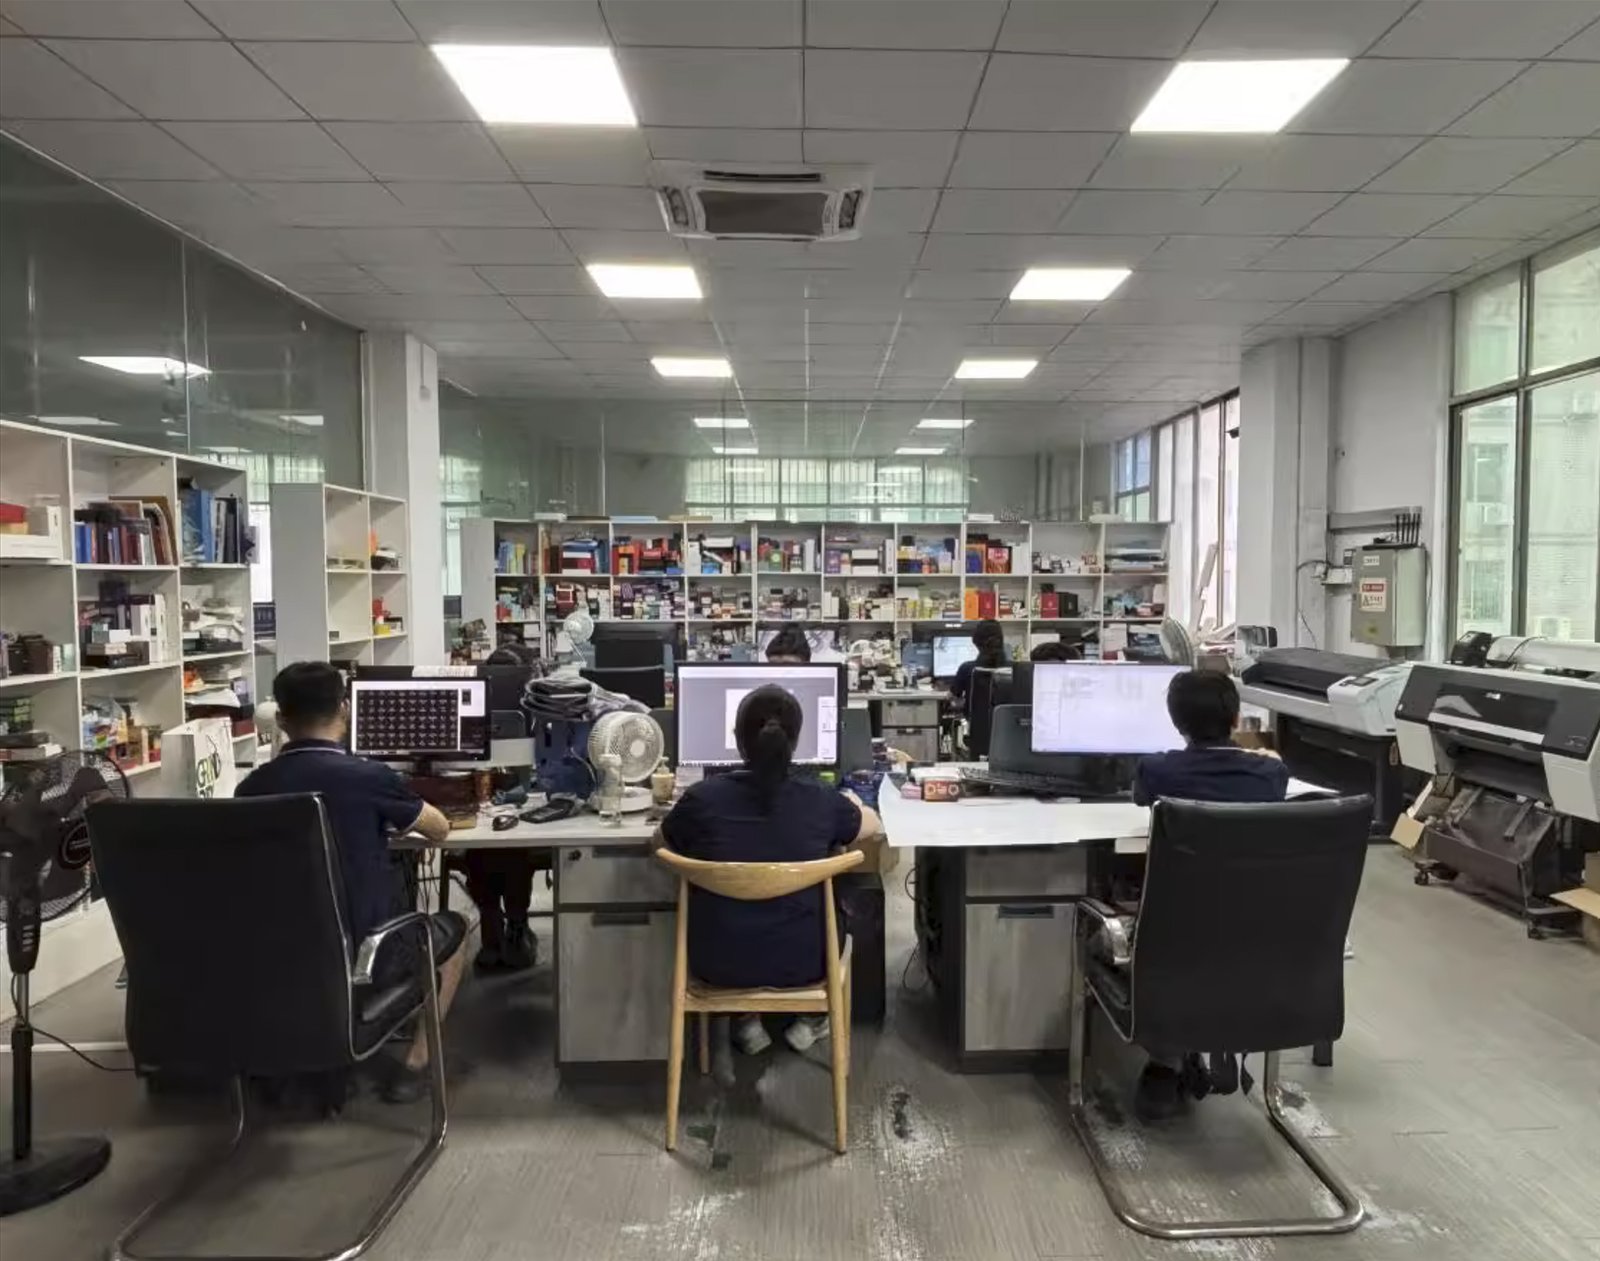
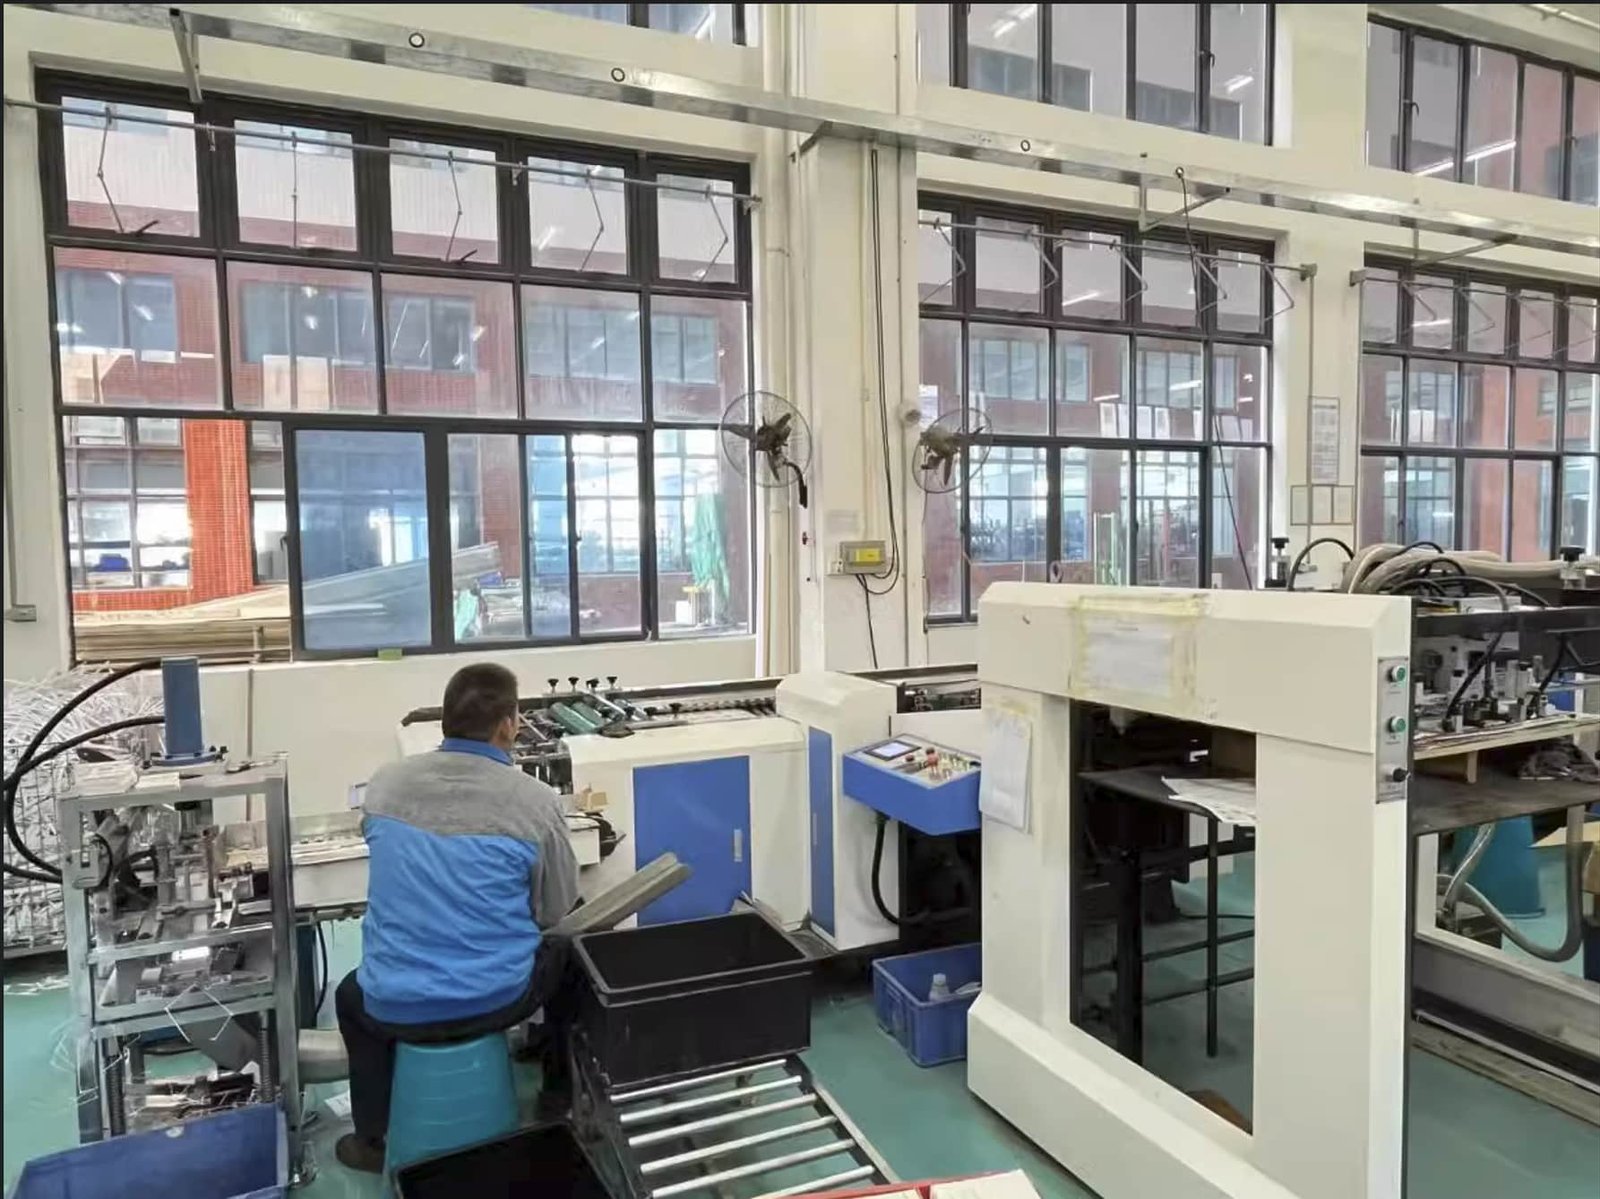
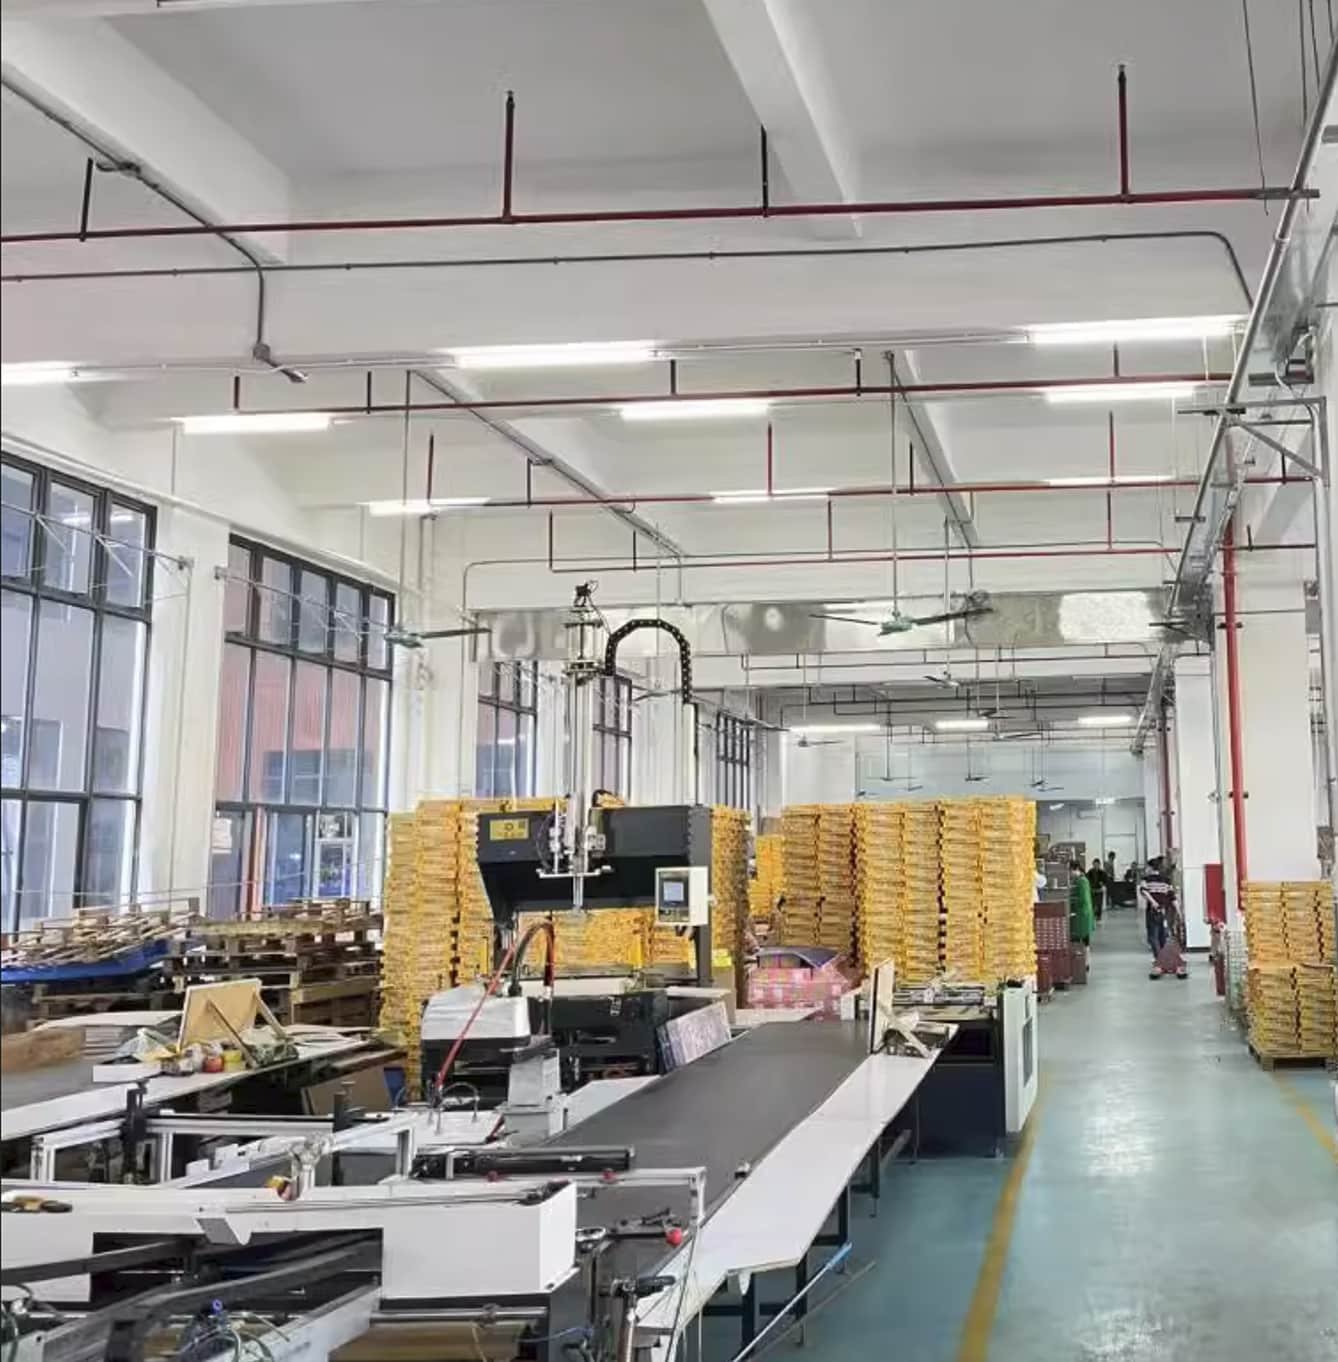
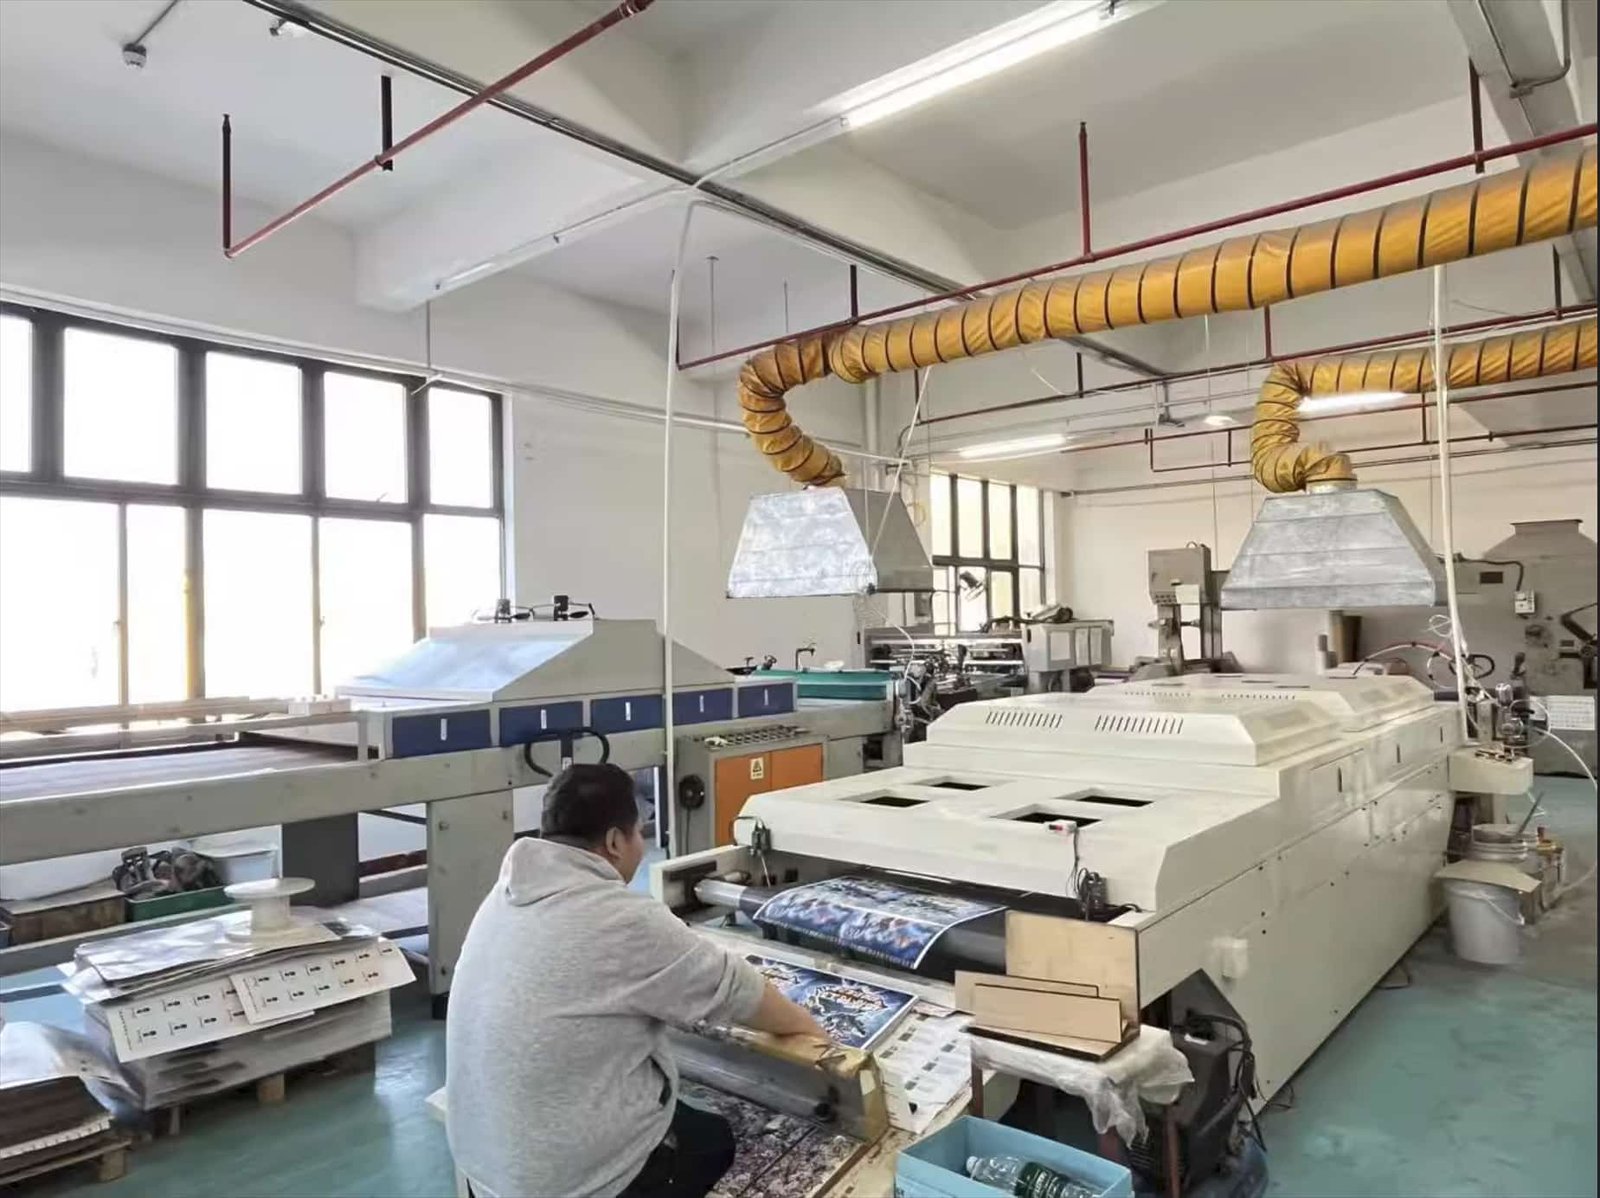
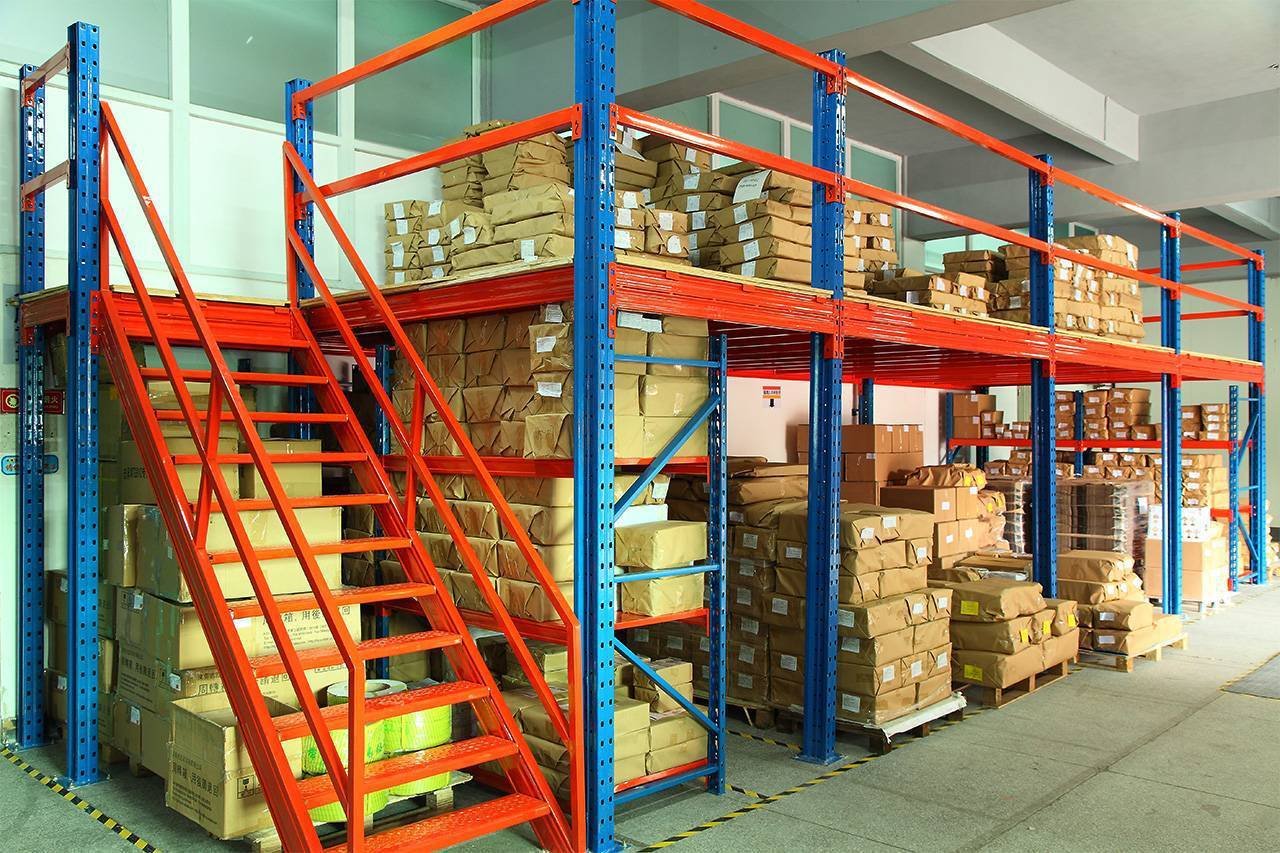
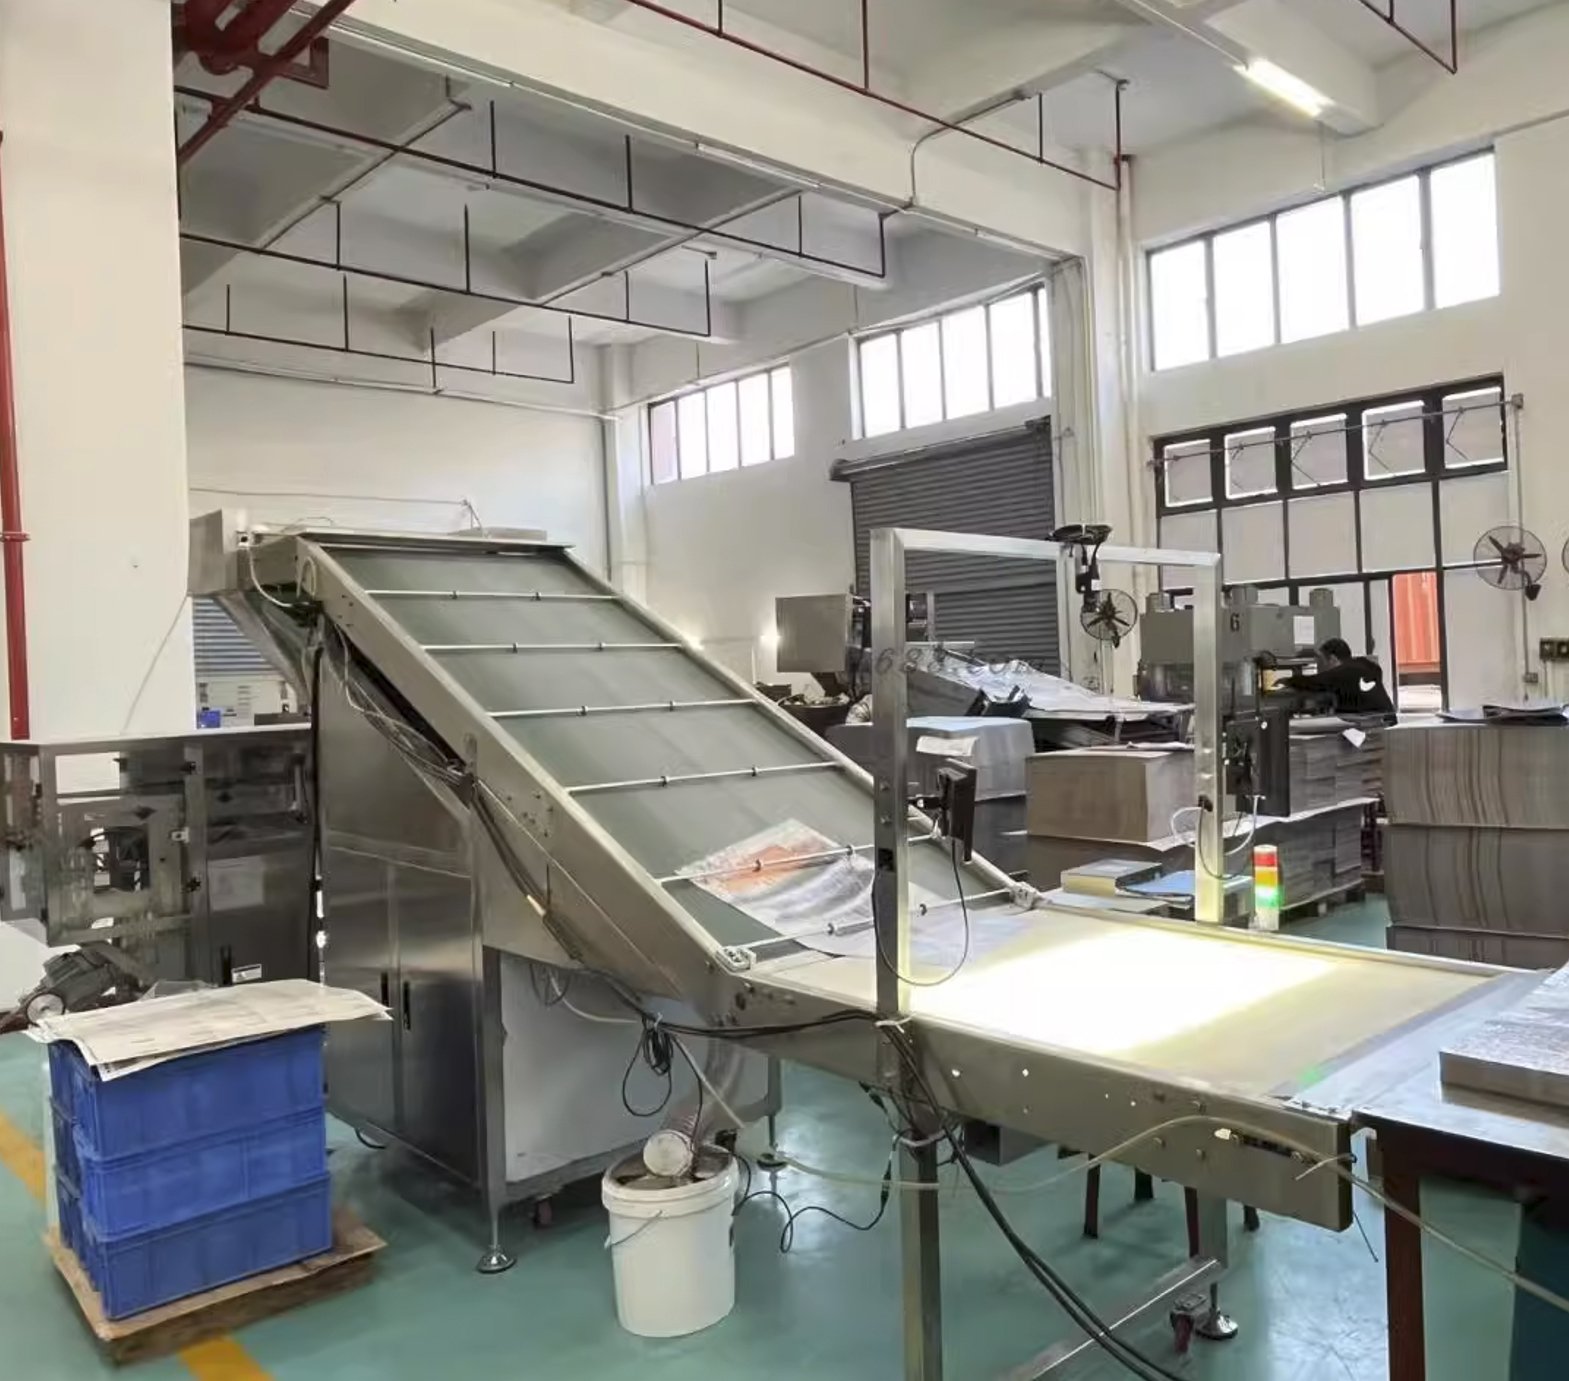
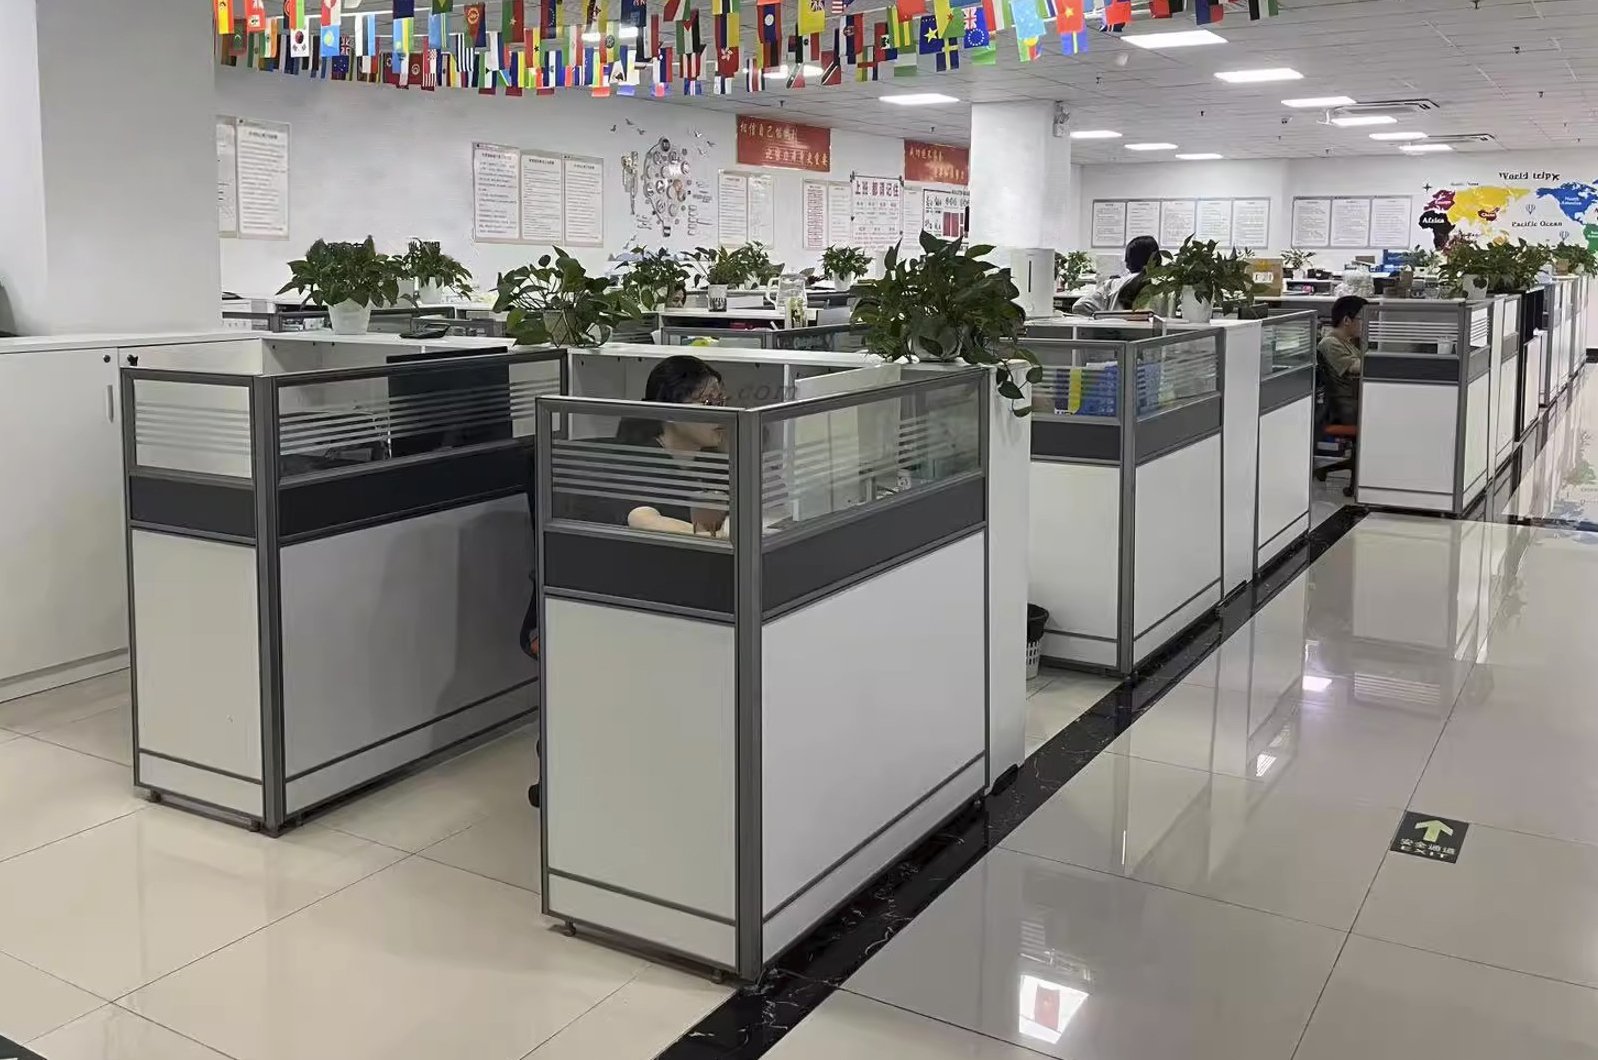
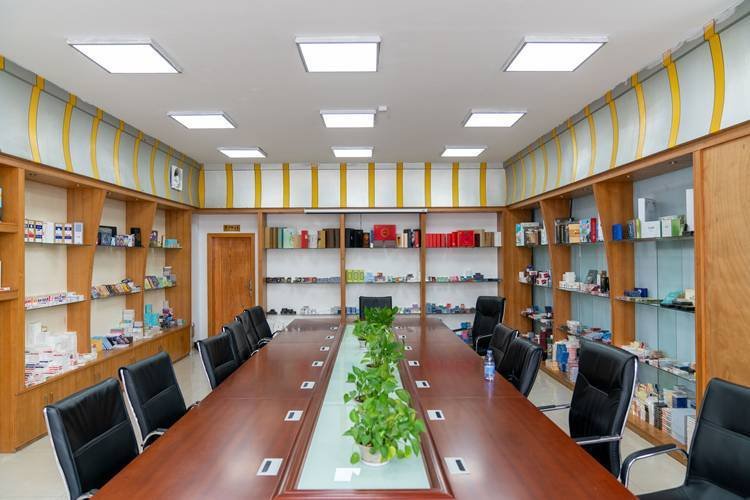
Why Choose FUNWAY
We have been making cards, puzzles, and board games since 1999. Today we run a 16,000-square-meter factory with over 200 workers. We are a direct OEM/ODM manufacturer, not a trading company. We have finished 5,000+ projects and shipped 2.3 million+ products worldwide. You get factory-direct pricing and a team that knows this work inside out.
We handle everything from design to final packing. You can order 1 piece for testing or 10,000 for a full launch — we keep the same quality at any quantity.

CE – EN 71 
amfori BSCI 
ESTS FSC COC 
SGS FSC COC 
ISO 9001:2015 -
ASTM F963-17


Why Bulk Buy From FUNWAY
Competitive Bulk Pricing

Factory-Direct Quality Control

On-Time Delivery Promise

1-on-1 Project Support

Trusted by Global Brands
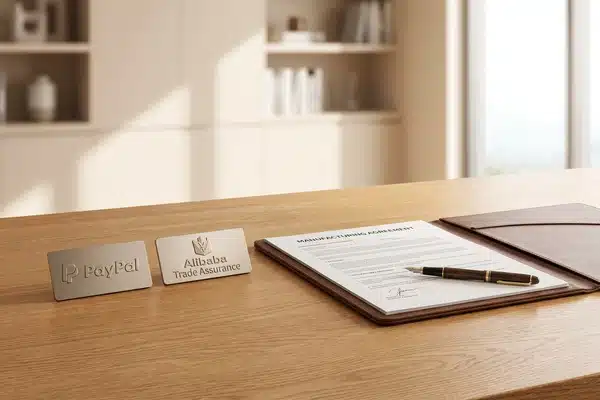
Secure Payment & After-Sales
OEM / ODM Manufacturing Process

Step 1: Project Review & Component Mapping
We do not quote from a loose parts list. We quote from a complete product plan.
Before pricing, we map every component: board, cards, tokens, rulebook, insert, box, and accessories. We check how they fit as one packed set. This keeps the quote accurate. It also prevents surprises later in tooling, packing, and freight. We check:
Getting this order right keeps your project on budget and on schedule.
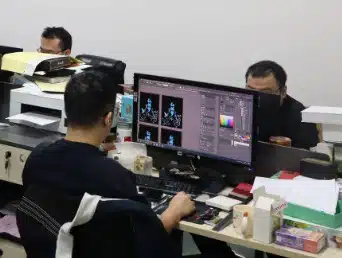
Step 2: DFM Check & Manufacturing Review
A bad sample usually starts from a design that was never checked for real production.
Before we build samples, we review your files for real-world manufacturing. We check dielines, bleed, safe zones, fold lines, card thickness, box depth, insert fit, and surface finish. We fix these issues before sampling:
If the packed set cannot close cleanly, changing the finish will not fix it. We fix the structure first.

Step 3: Sample Production & Approval
The sample is not a photo shoot. It is the production standard.
We build the first sample to test material feel, fold strength, color accuracy, box fit, insert tightness, and total weight. You review it. You approve it. This approved sample becomes the Golden Sample. All mass production is checked against it.
After this point, changes to board size, card stock, insert, or box depth will restart cost and lead time. We keep the sample stable so your bulk order stays on track.

Step 4: Tooling & Mold Setup
We open tooling only after the Golden Sample is locked.
Tooling covers die-cut tools for cards, boards, punchboards, inserts, and boxes. For special plastic parts, we may need molds or fixtures.
We never rush tooling while the design is still moving. Once the die is made, changes cost time and money. We wait for your final approval before cutting steel.
This protects your tooling investment and keeps the project on schedule.
Step 5: Pre-Production Validation
Small errors are cheapest to catch before the full run.
We run a small pre-production batch. We check color drift, cutting position, fold accuracy, board thickness, surface finish, and component fit.
If anything does not match the Golden Sample, we stop and fix it before using more material. This step saves both time and cost.
This is why we never skip pre-production validation.

Step 6: Mass Production & Assembly
A game is not done when the parts are printed. It is done when the box closes properly.
Cards, boards, Punchboards, rulebooks, boxes, inserts, wooden pieces, dice, and accessories have to work as one packed set. During assembly, we check whether the approved packing layout still makes sense at production speed.
This is critical for B2B orders. Your distributor receives finished goods, not loose parts. Every set must be packed clean, stack flat, and ship safely.
We control assembly so your goods arrive ready for shelf or warehouse.

Step 7: Final QC & Global Shipping
A perfect product can still fail if the carton is wrong.
Before shipping, we check carton count, sets per carton, gross weight, carton size, shipping marks, and barcode labels. We match everything to your purchase order.
For B2B and retail orders, we also check pallet markings and stack height.
Small direct shipments get standard export packing. We ship by DHL, FedEx, or sea freight with full tracking. Every order leaves our factory with correct paperwork.
Why This Process Matters
Most problems do not show up early. They show up after one wrong decision forces the next.
This process is not meant to slow you down. For simple projects, we keep it fast. For complex projects with many parts, retail rules, or tight deadlines, these checks protect you from costly rework.
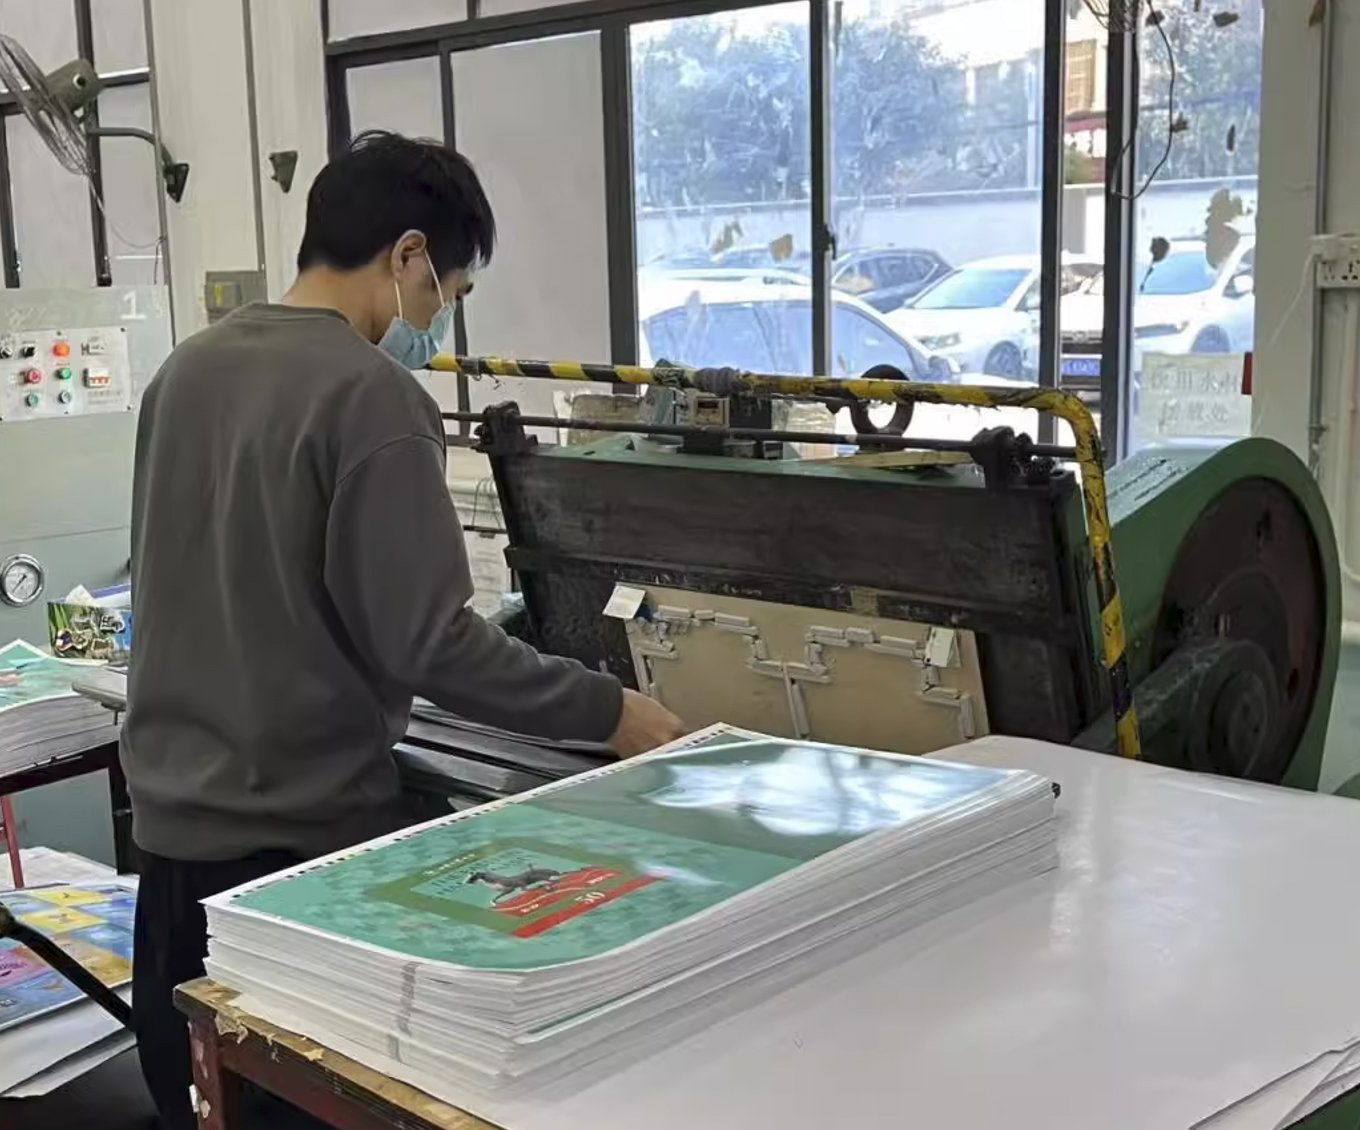
Die-Cutting Accuracy & Edge Durability Control
The print can be approved and the deck can still feel wrong if the cutting is off. The stack starts looking uneven, the edges feel rough in hand, and shuffling is usually where the problem gets noticed first.For playing cards, cutting accuracy is not only about the final size. It also affects corner feel, deck height, tuck box fit, and how the card edges hold up after repeated use.
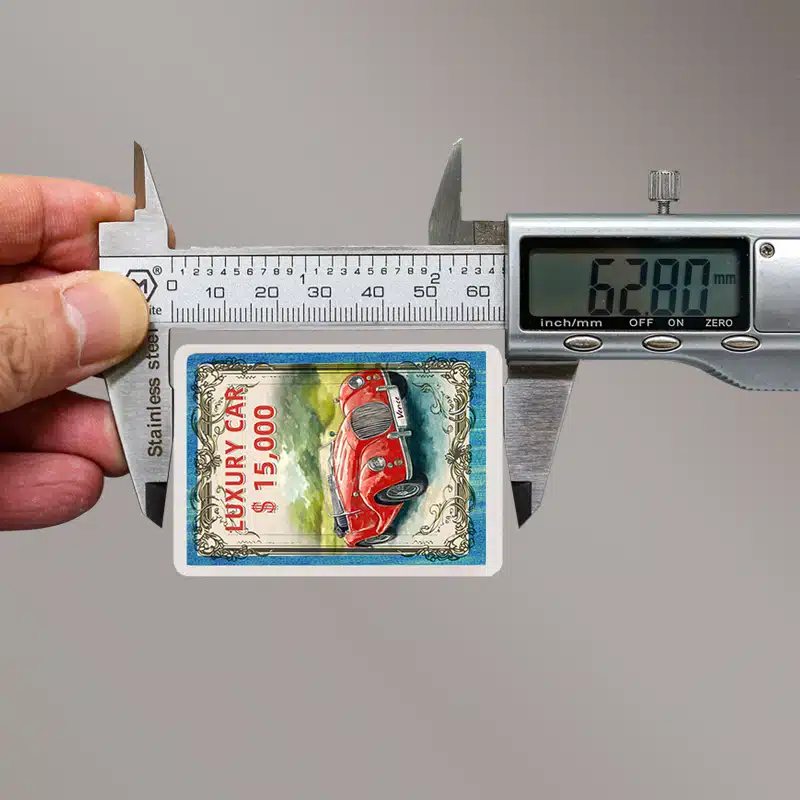
Dimensional Tolerance & Deck Uniformity
For each run, we control card length and width within a practical production tolerance so the deck stacks cleanly and fits the planned box or wrapping. This matters more on larger decks. A small size drift on one card is not a big issue, but across 100 or 200 cards, the difference can start showing in the stack.
Size Control: Card size is checked during cutting, especially when the deck needs to fit a tuck box, rigid box, insert, or cellophane wrap. If the tolerance is too loose, the first complaints usually come from uneven stacking or a deck that feels slightly off in hand.
Deck Height Check: Card thickness, finish, and total card count are checked together. A deck that looks fine as a few loose cards can become too tight once the full stack goes into the box.
Cutting dies are checked during production to keep the run stable, especially for repeat orders or decks with tight box fit.

Die-Cutting Geometry & Corner Precision
Corner radius affects more than appearance. It changes how the cards feel during handling and how easily the edges catch during shuffling. For most playing card projects, common corner radius options are around R3, R4, and R5 mm, depending on card size and thickness.
Corner Radius Selection: Smaller corners can look sharper, but they are less forgiving in repeated handling. Larger corners usually feel smoother in play, but they also change the visual footprint of the card. We normally choose the radius together with card size, stock thickness, and how often the deck will be shuffled.
Corner Wear: Corners take the hit first. If the radius is too sharp, or the cut leaves the edge a little rough, you usually see it there before the rest of the card—white edges, fuzzy corners, or small points that catch during shuffling.

Edge Compression & Cutting Pressure Control
For decks that will be handled heavily, the edge condition needs more attention during cutting. The goal is to keep the card edge compact, clean, and less likely to fuzz after repeated shuffling.
Reduced Edge Fraying: Proper cutting pressure helps reduce loose fibers, edge fuzzing, and early splitting. This becomes more important on decks used for party games, competitive play, or frequent shuffling.
Better Edge Hold-Up: A compact, clean edge makes the deck feel more consistent in hand and slows down the early fuzzing that usually appears after repeated shuffling. Paper cards will still wear, but the edge should not start looking tired too soon.
For party games, competitive decks, or cards handled by many players, this extra edge control is usually worth adding. For a light-use deck that is only played occasionally, we may keep the standard cutting setup instead.
Cost Drivers & MOQ Optimization
Custom playing card cost usually moves for a few clear reasons: stock choice, card count, finishing, and packaging. If these are fixed early, the quote is easier to control. If they keep changing late, the price usually moves with them.
Core Material Selection
Card stock is usually the first cost driver. Black core costs more because it gives better opacity and a firmer card feel. Blue core can work well when the deck still needs real card handling but the budget is tighter. C2S or lighter stock is more cost-friendly, but it is not the right choice for every game, especially if opacity or frequent shuffling matters.
Deck Size & Card Count
Standard deck counts are easier to plan and usually more efficient to produce. Custom card counts are no problem, but they can change sheet layout, collation time, deck height, and box fit. A few extra cards may look minor at first, but once the full deck is stacked and packed, the cost difference can start showing.
Special Finishing Effects
Foil, Spot UV, soft touch, linen, gilded edges, and other special effects all add extra work. Some finishes are easy to add. Others slow the job down because the sheets need different handling, longer drying time, or more checking before packing. We normally keep these effects for decks where they actually change the product—collector runs, gift sets, or premium editions—not just because the finish list looks more complete.
Packaging Complexity
Packaging can move the price just as much as the cards. A standard tuck box is usually the easiest route. Internal printing, custom seals, rigid boxes, specialty paper, or inserts all add material and assembly work. If the goal is a lower MOQ or tighter unit price, keeping the packaging simple usually helps more than people expect.
Project Cases

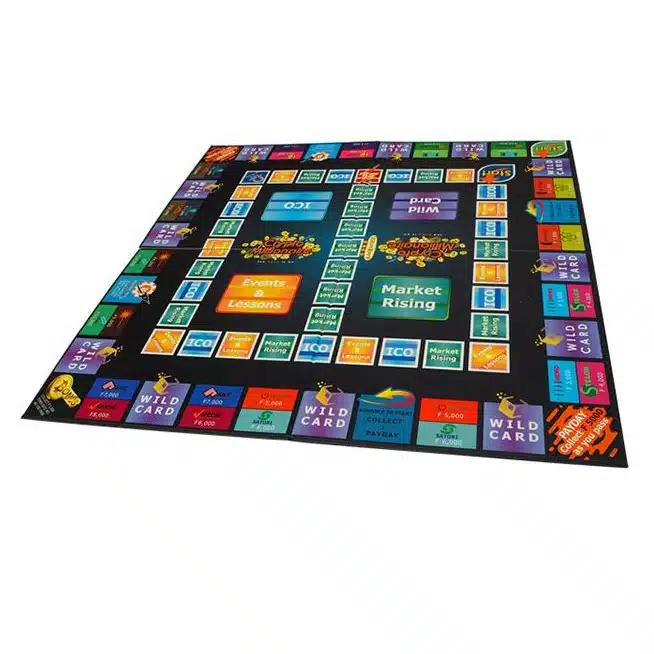
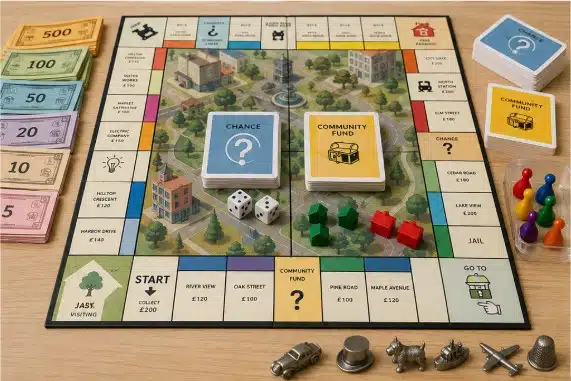
Monopoly-Style Trading Game
A U.S. client brought this project to us in February. The game idea was already close to a Monopoly-style property trading game, but the physical parts were not ready for production yet. We made the first sample with a quad-fold board, paper money, pawns, dice and house tokens. The packing was adjusted once before the bulk order.
At the beginning we used standard game pieces first. No new mold at this stage. The client wanted to test the rules and artwork before putting more budget into custom parts. After sample approval, the same build went into a 3,000-set run. Before shipment, we also helped arrange SGS China testing for ASTM F963 / CPSC requirements for U.S. sales.

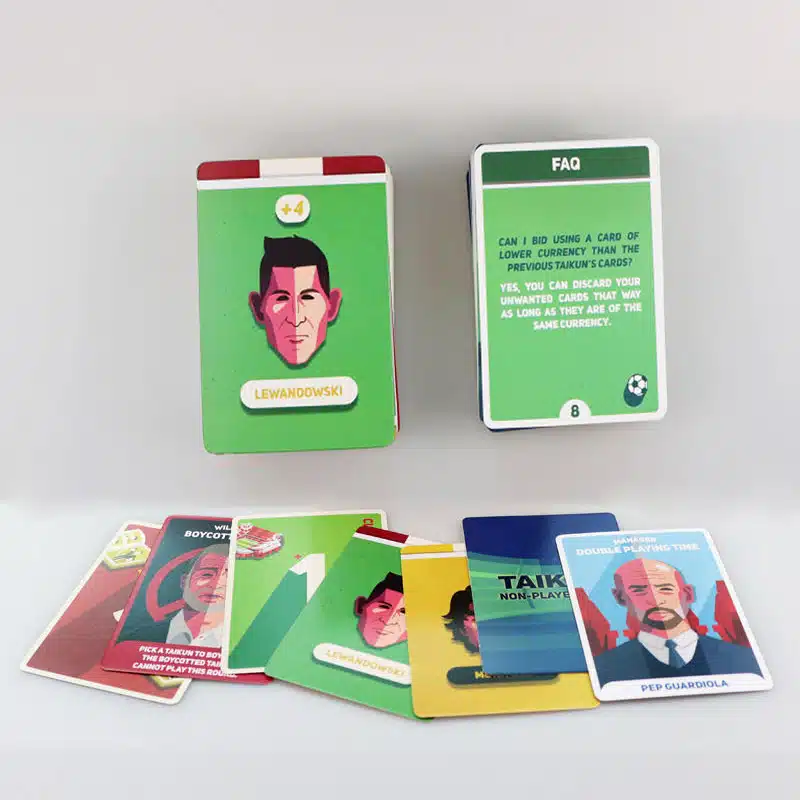
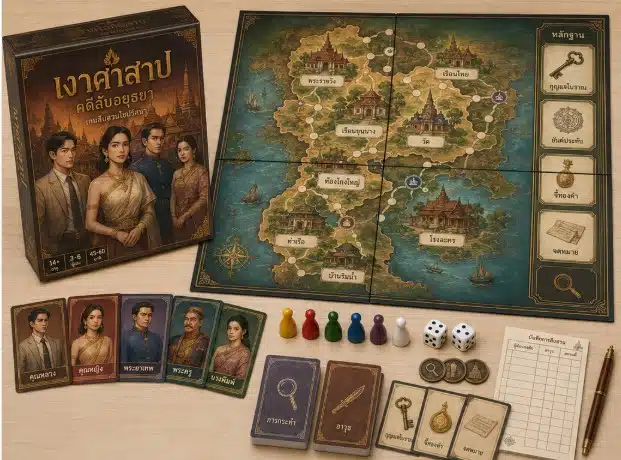
Clue-Style Mystery Game
A Thai client came to us with a mystery deduction board game idea. The rough direction was already close to a Clue-style game, but the physical parts were not ready for production. We helped fix the card groups and card quantity first, then prepared dieline templates for the cards, board and box.
The first images were made with AI, but some faces, rooms and board details were not suitable for direct printing. We helped the client find a designer in China to rebuild the artwork into printable files. Once the sample was approved, the same card count, board layout and packing structure was adopted for the bulk production.
YOU MAY ALSO LIKE
Manufacturing Insights
Custom Board Game Pricing Guide (2026)
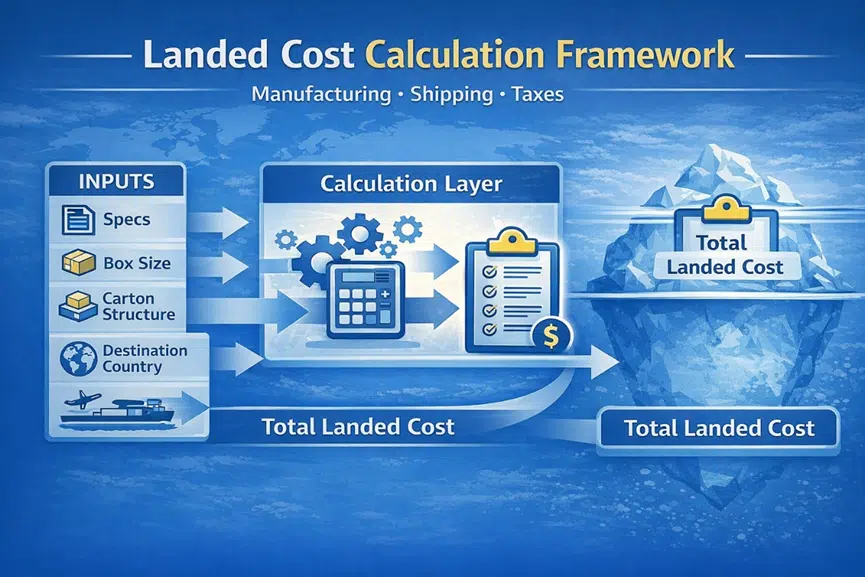
Wondering how much it costs to make a board game? Get real factory pricing examples ($4.5-$26/set), hidden shipping fee calculations,…How to Calculate the True Landed Cost of a Custom Board Game
Stop losing your crowdfunding profit to unexpected shipping bills. Learn how to calculate the true landed cost of a custom…Puzzle Materials: Blue core Cardboard Vs. Standard Cardboard
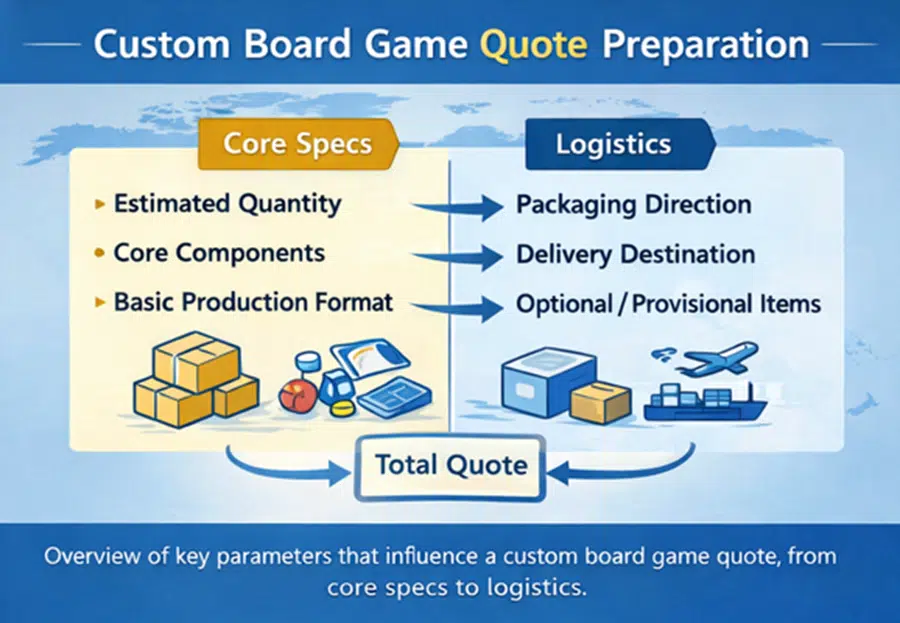
What material are puzzles made of? Learn about puzzle cardboard material from a real factory. We compare blue core, white…What to Prepare Before Requesting a Custom Board Game Quote
How to Organize Your Specifications Before Contacting a Manufacturer Requesting a custom board game quote should be a straightforward step,…